
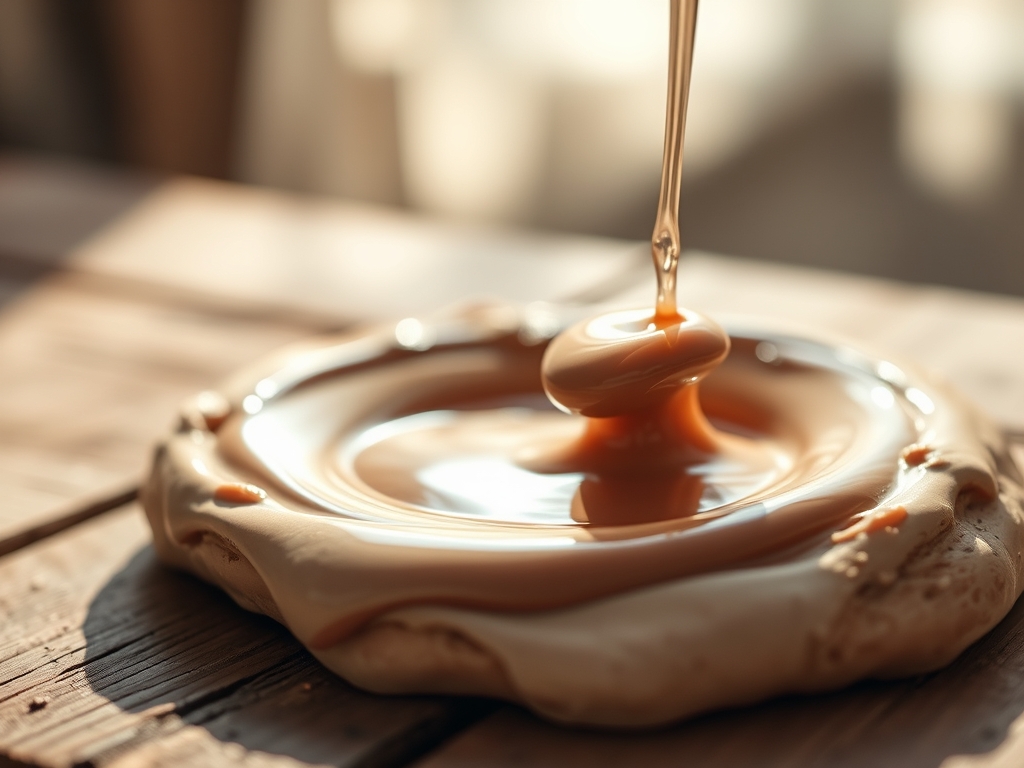
Close your eyes and imagine the cold, slick weight of a leather-hard stoneware bowl resting in your palms. There is a specific, electric tension in the air when you stand over a five-gallon bucket of suspended minerals. We are talking about the art of Fluid Pottery Dipping; a process where gravity and surface tension collide to create wearable art for your table. It is not just about color. It is about the specific gravity of the slurry and how the porous clay body drinks in the water, locking the silica and alumina into its microscopic pores. When you submerge that piece, you are witnessing a high-speed hydraulic exchange. The clay pulls the moisture in, leaving a velvety, unstable skin of powder on the surface. It is tactile, messy, and deeply scientific. You have to move with confidence because the moment the piece breaks the surface, the clock starts ticking on the chemical bond.
THE STUDIO KIT
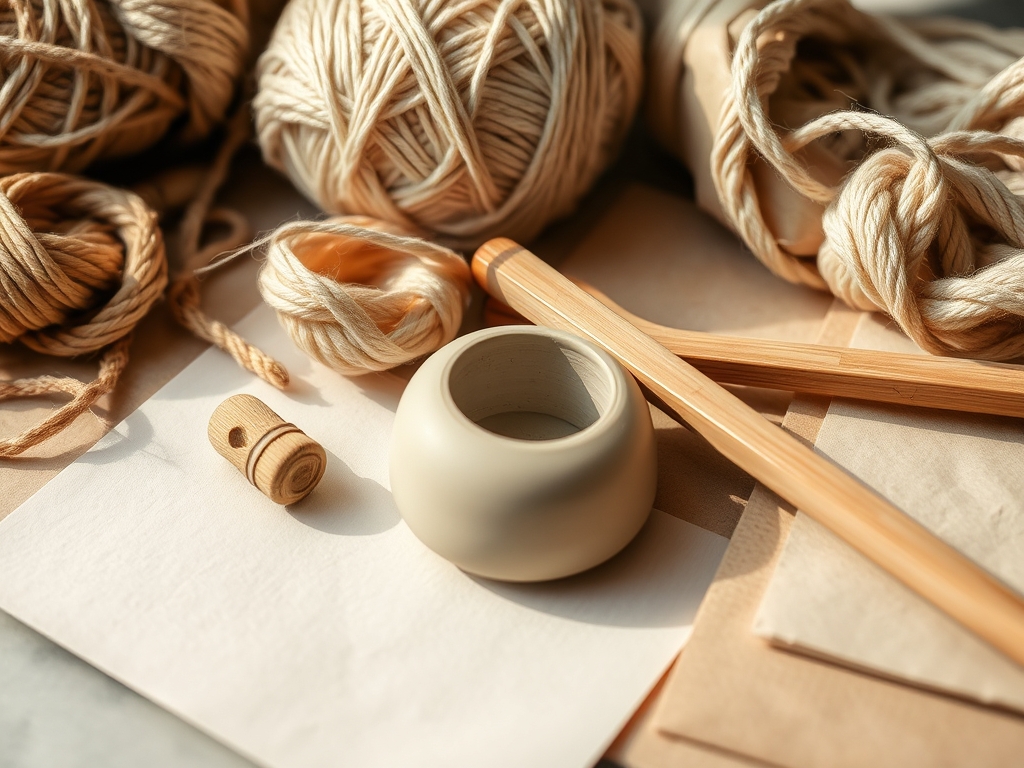
To master Fluid Pottery Dipping, you need more than just a bucket of paint. You need a precision-tuned laboratory. Your primary tool is the hydrometer, a glass instrument used to measure the density of your glaze. Without it, you are just guessing at the viscosity. You will also need stainless steel dipping tongs with minimal contact points to prevent scarring the clay surface. A high-speed immersion blender is non-negotiable for shearing the particles into a homogenous suspension; otherwise, the heavy frits will settle at the bottom, leaving your finish thin and watery.
For the actual layering, keep a caliper nearby to measure the thickness of the rim, as excessive glaze buildup on thin edges can lead to structural failure during the heat of the kiln. If you find yourself missing professional tools, you can utilize a Material Substitution. Instead of a commercial wax resist, use a mixture of paraffin and mineral spirits to protect the foot of your pot. If you lack a commercial dipping vat, a deep plastic storage bin works, provided the volume is sufficient to submerge the piece in one fluid motion without hitting the sides.
THE TEMPO
The Maker's Rhythm is a three-act play. Act one is the Hydration Phase, which takes about thirty minutes. This is where you stir your glazes and check their density. You cannot rush this; the particles need time to fully saturate. Act two is the Execution Phase, which is the fastest part of the process. Each dip lasts exactly three to five seconds. If you hold it longer, the clay becomes oversaturated and might collapse under its own weight. Act three is the Curing Phase. Before these pieces can touch the kiln shelf, they need at least twenty-four hours to off-gas and dry completely. Total active studio time is usually four hours, but the internal physics of the clay requires patience.
THE CORE METHOD
1. Calibrating the Viscosity
Before the first dip, you must ensure your glaze has the consistency of heavy cream. Use your hydrometer to aim for a reading between 1.45 and 1.50 for base coats. This ensures the tensile strength of the glaze layer is high enough to cling to the vertical walls of your vessel without running off immediately.
Mastery Tip: This relies on thixotropy. When you stir the glaze, it becomes more fluid; when it sits, it gels. Understanding this allows you to control exactly how much material sticks to the pot.
2. The Primary Submersion
Grip your piece with the tongs at the sturdiest point, usually the foot or the rim. Submerge the piece at a forty-five-degree angle to prevent air pockets from being trapped inside. An air pocket will create a "bald spot" where no glaze touches the clay.
Mastery Tip: This is a lesson in displacement physics. As the pot enters the liquid, the air must have an escape route. Angle the entry to allow the liquid to displace the air smoothly.
3. The Fluid Layering Technique
Once the first coat is matte (about thirty seconds), dip the top third of the pot into a second, contrasting glaze. This creates a reactive zone where the two chemistries melt together.
Mastery Tip: This stage utilizes capillary action. The dry first layer acts as a sponge, pulling the second layer deep into its structure, which creates those beautiful, flowing "drips" during the firing.
4. The Compression Shake
As you pull the pot out of the second dip, give it a firm, rhythmic shake. This uses centrifugal force to even out the coating and prevents a thick "bead" from forming at the bottom edge.
Mastery Tip: By controlling the kinetic energy of the wet glaze, you prevent "shivering," a defect where the glaze flakes off because it was applied too thickly for the clay's shrinkage rate.
5. The Foot Burnish
Use a damp sponge or a bone folder wrapped in a chamois to wipe the bottom quarter-inch of the pot. Any glaze left on the bottom will fuse to the kiln shelf, ruining both the pot and the equipment.
Mastery Tip: This is about thermal expansion. The clay and glaze expand at different rates. Leaving the foot bare allows the piece to "breathe" as it expands on the shelf during the firing cycle.
THE TECHNICAL LEDGER
Maintenance of your dipping station is vital for longevity. Always seal your glaze buckets with airtight lids to prevent evaporation, which alters the chemical concentration. If a glaze becomes "hard-panned" at the bottom, use an oscillating tool with a mixing attachment to break the molecular bonds and return it to a suspension.
For material variations, consider Premium Calcined Kaolin for a smoother finish, or Recycled Wood Ash for a sustainable, rustic flux. If you want to increase the "flow," add a pinch of Bentonite to keep the heavy minerals from sinking.
The Correction:
- Crazing (Tiny Cracks): This happens when the glaze shrinks more than the clay. Fix it by adding more silica to your glaze mix to adjust the thermal expansion.
- Pinholing: Small bubbles on the surface. This is caused by off-gassing. Fix it by slowing down the cooling cycle of your kiln to let the glaze "heal" over the holes.
- Crawling: The glaze pulls away, leaving bare spots. This is usually due to dust or oil on the bisque. Fix it by wiping every piece with a damp sponge before dipping.
Store your dipped, unfired pieces in a dry cabinet with low humidity. High moisture in the air can cause the raw glaze to re-hydrate and flake off, a process known as "slumping" before it even hits the heat.
THE FINAL REVEAL
When you finally crack the kiln lid, the result of your Fluid Pottery Dipping is a breathtaking display of movement frozen in glass. The colors should bleed into one another with a soft, organic gradient that looks like a photograph of a nebula. The surface will be smooth, tactile, and ergonomically satisfying to hold. You have successfully navigated the complex physics of fluid dynamics and ceramic chemistry to create something that is both structurally sound and visually explosive. It is a high-energy win for any maker.
STUDIO QUESTIONS
Why is my glaze peeling off before firing?
This is usually caused by applying the glaze too thick. The tensile strength of the raw glaze cannot support the weight, causing it to lose its bond with the porous clay body. Aim for a thinner application.
How do I stop the glaze from running off the pot?
Check your specific gravity. If the glaze is too watery, it will run. Add a flocculant like Epsom salts to the mix to help the particles hang together and "grab" the clay surface more effectively.
Can I mix different brands of glazes?
Yes, but be careful of the chemical compatibility. Different brands use different fluxes. Always run a small test tile first to ensure the two glazes do not create an unwanted "boiling" reaction in the kiln.
What is the best tool for mixing large buckets?
A high-torque drill with a stainless steel mixing paddle is the industry standard. It ensures that heavy elements like cobalt or iron are evenly distributed through the suspension for a consistent color.
How long should I wait between layers?
Wait until the first layer loses its "sheen" and looks matte. This usually takes thirty to sixty seconds. If you wait too long, the layers may not bond; too short, and the first layer will slide off.

