

Imagine the scent of freshly cut cedar meeting the metallic tang of cold-rolled steel. Your fingers brush over a surface that is simultaneously gritty and smooth; a tactile paradox that signals your brain to switch gears. Mastering Maker Flow begins exactly here, in the sensory feedback loop between your nerve endings and the raw material. When you pick up a piece of high-density grain wood or a sheet of 20-gauge copper, you are not just grabbing supplies. You are engaging with the tensile strength and molecular density of the physical world. Your pulse slows as the ambient noise of the studio fades into a rhythmic hum. This is the psychological threshold where the "maker's high" kicks in. It is not magic; it is the neurochemical result of focused, manual labor. To reach this state, you must respect the physics of your medium. Whether you are feeling the capillary action of a stain soaking into porous fibers or the resistance of a blade against a knot, your goal is to achieve a state of effortless action where the tool becomes an extension of your own hand.
THE STUDIO KIT
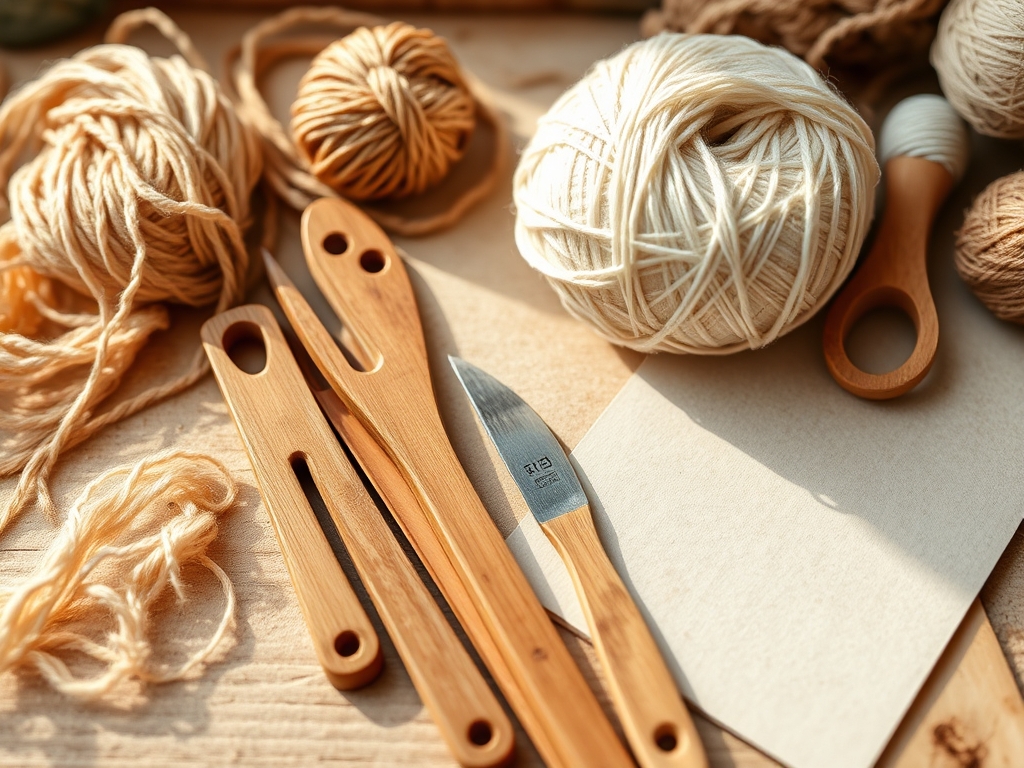
To master the flow, you need a kit that respects the ergonomic alignment of your body. Your primary instrument is the caliper, essential for measuring thickness to within a thousandth of an inch. You will also need a hardwood bone folder for creating crisp, structural creases without tearing the fibers of your substrate. For cutting, skip the flimsy utility knives and reach for a rotary cutter with a tungsten carbide blade; its circular motion distributes pressure evenly, preventing the material from bunching.
For those working with leather or heavy textiles, a diamond-tipped awl is non-negotiable for piercing through multiple plies without compromising the structural integrity of the surrounding area. If you are working with wood, keep a set of Japanese pull saws nearby; their thin kerf allows for surgical precision.
Material Substitutions: If high-density polyethylene is unavailable, substitute with marine-grade plywood for similar moisture resistance. If you lack a professional burnishing tool, a smooth glass jar or a heavy stainless steel rod can achieve the same friction-based polishing effect on raw edges.
THE TEMPO
The "Maker's Rhythm" is a three-act play dictated by the drying times and cooling rates of your materials. Phase one is the Setup (30 minutes), where you calibrate your tools and organize your workspace to minimize "task-switching" friction. Phase two is the Active Build (3 to 5 hours), the period where you enter the deep flow state. This phase is governed by the open time of your adhesives or the malleability window of your metals. Phase three is the Curing Period (12 to 24 hours). You cannot rush the chemistry of polymerization or the setting of a joint. Mastering Maker Flow requires you to work with these natural timelines rather than fighting against them.
THE CORE METHOD
1. Calibrate the Substrate
Before the first cut, you must assess the grain direction of your material. In wood and paper, the fibers run longitudinally; cutting against this grain increases the risk of splintering or "feathering." Use your calipers to verify that your material is uniform in thickness across the entire surface.
Mastery Tip: This is about dimensional stability. Wood expands and contracts based on ambient humidity; by measuring at multiple points, you account for the hygroscopic nature of the material before it ruins your tolerances.
2. The Precision Score
Using your rotary cutter or a sharp awl, create a shallow "score line" along your intended path. This creates a path of least resistance for your primary cutting tool. It prevents the blade from wandering and ensures that the shear force is concentrated exactly where you want it.
Mastery Tip: This utilizes the principle of stress concentration. By creating a microscopic valley in the material, you ensure that the energy of the cut follows a predictable geometric path rather than dissipating into jagged tears.
3. The Structural Bond
When applying adhesives, less is often more. Apply a thin, even layer to both surfaces and wait for the solvent to flash off. This creates a "tack" that allows for an immediate, high-strength bond upon contact. Use a brayer or a heavy roller to expel any trapped air pockets.
Mastery Tip: This relies on interfacial tension. By removing air, you allow the adhesive molecules to achieve maximum surface contact, creating a bond that is often stronger than the base material itself.
4. Refining the Edge
Once the piece is assembled, use a fine-grit abrasive or a burnishing tool to seal the edges. For leather or wood, this friction generates heat, which melts the natural waxes or lignins and creates a smooth, waterproof barrier.
Mastery Tip: This process is called mechanical polishing. By reducing the surface area of the edge, you decrease the likelihood of snagging and prevent moisture from entering through the porous end-grain.
5. The Stress Test
Apply gradual pressure to your joints to ensure they can handle the intended load. Use a spring scale if you need to be precise. Observe how the material flexes; a healthy joint should distribute the load across the entire structure rather than focusing it on a single point.
Mastery Tip: You are looking for elastic deformation. You want the material to bend and return to its original shape. If it reaches the point of plastic deformation, the structure has failed and must be reinforced.
6. The Final Sealant
Apply a protective finish using a high-quality natural oil or a synthetic polymer. This fills the microscopic voids on the surface, preventing oxidation and UV damage. Use a lint-free cloth to ensure no fibers are trapped in the finish.
Mastery Tip: This is about surface energy. A well-sealed surface has low surface energy, meaning liquids will bead up and roll off rather than soaking in and causing rot or corrosion.
THE TECHNICAL LEDGER
Maintenance & Longevity: To keep your tools in peak condition, wipe them down with a thin coat of camellia oil after every session. This prevents rust on high-carbon steel. Sharpen your blades every three hours of active use; a dull blade requires more force, which breaks your flow and increases the risk of injury.
Material Variations:
- Sustainable: Use cork fabric or recycled HDPE for projects requiring high flexibility and water resistance.
- Premium: Opt for Grade 5 Titanium or stabilized burl wood for items that require extreme durability and aesthetic depth.
The Correction:
- The Mistake: Over-sanding that leads to a "dipped" or uneven surface. The Fix: Use a hard sanding block to ensure the pressure is distributed across the high points only.
- The Mistake: Adhesive squeeze-out staining the finish. The Fix: Wait for the glue to reach a "rubbery" state, then peel it away with a plastic scraper rather than wiping it while wet.
- The Mistake: Grain tear-out during a saw cut. The Fix: Apply a layer of blue painter's tape over the cut line to provide temporary lateral support to the fibers.
Studio Organization: Store your materials in a temperature-controlled environment with a relative humidity of 40 percent. Use vertical racks for sheet goods to prevent warping under their own weight.
THE FINAL REVEAL
Look at that finish! The way the light catches the burnished edges and the perfect symmetry of the joints is a testament to your focus. By mastering the physics of your materials, you have created something that feels substantial and intentional. The piece possesses a certain heft and balance that only comes from precise execution. You did not just make an object; you mastered the flow state, and the result is a professional-grade masterpiece that will last for decades.
STUDIO QUESTIONS
How do I stop my wood from splitting?
Always pre-drill pilot holes using a bit that matches the shank diameter of your screw. This removes material rather than just displacing it, which significantly reduces the internal hoop stress on the wood fibers.
What is the best way to clean my cutting mat?
Use a soft eraser to remove debris from the "self-healing" scars. Avoid harsh solvents that can break down the synthetic polymers, causing the mat to become brittle and lose its ability to close up after a cut.
Why does my adhesive keep failing?
The most common cause is surface contamination. Even the oils from your fingertips can prevent a proper bond. Always wipe your surfaces with isopropyl alcohol to ensure they are chemically clean before applying any glue or epoxy.
How can I improve my cutting accuracy?
Focus on your body mechanics. Stand with your feet shoulder-width apart and use your entire arm to drive the tool rather than just your wrist. This provides a more stable pivot point and consistent downward pressure.

