
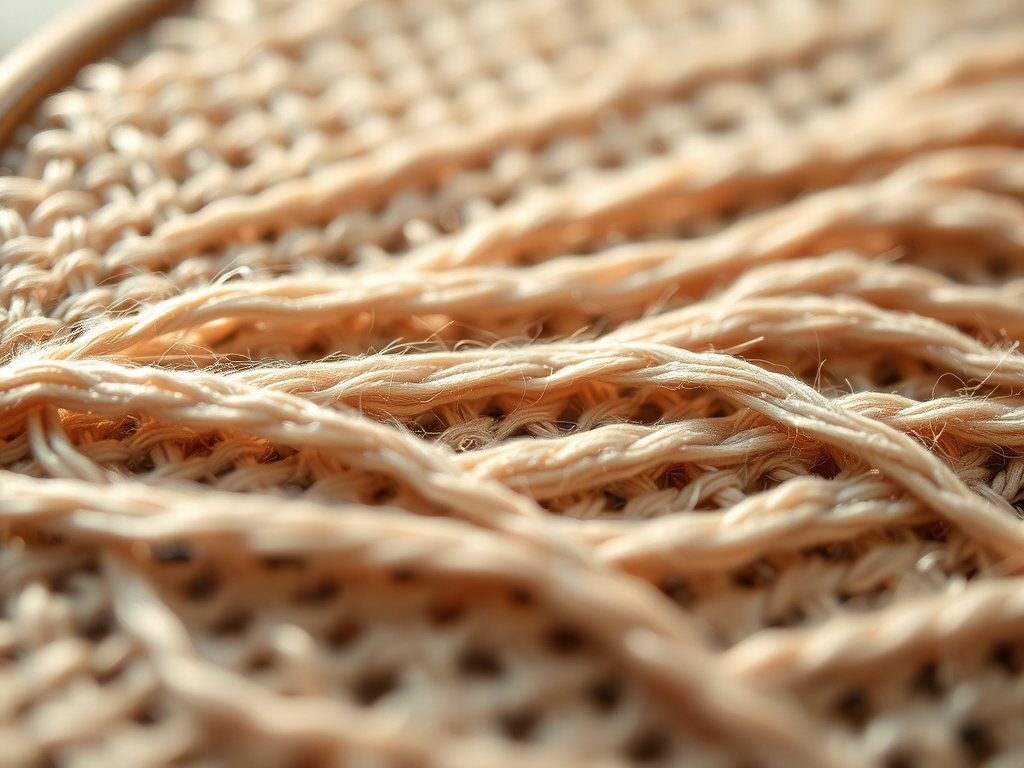
Grab your favorite linen blend and feel the weight of the weave against your palms. There is a specific, tactile thrill when you run your thumb over the crisp surface of a high quality flour sack towel. It is all about the tensile strength of the fibers. When we talk about Rhythmic Embroidery Lines, we are not just discussing decoration; we are talking about the mathematical cadence of the needle passing through the porous grid of the fabric. It is a dance of tension and release. If you pull too hard, the fabric puckers because you have exceeded the material's elastic limit. If you are too loose, the thread sags under the weight of gravity. We are aiming for that perfect, resonant snap where the thread sits flush against the warp and weft. It is a sensory experience that turns a simple kitchen utility into a gallery piece. Let us dive into the physics of the stitch and transform your studio into a laboratory of fiber art.
THE STUDIO KIT
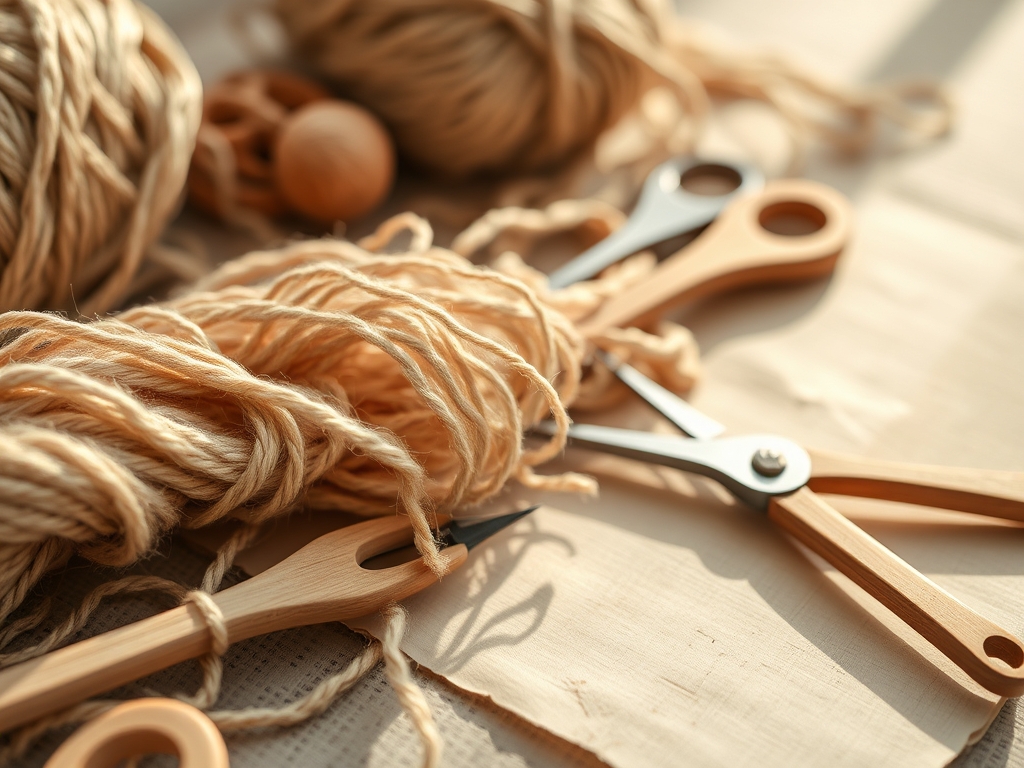
To achieve professional results, you need tools that respect the grain direction of your textile. Start with a set of tapestry needles in varying gauges; a size 24 is usually ideal for the average tea towel weave. You will need a rotary cutter and a self healing mat to ensure your edges are squared to the millimeter. For marking, skip the chalk and use a fine point heat erasable pen; this allows for high precision without leaving permanent residue on the cellulose fibers.
Your thread selection is paramount. I recommend a six strand mercerized cotton. The mercerization process involves treating the cotton with sodium hydroxide to increase its luster and affinity for dye, while also strengthening the molecular structure of the fiber. For material substitutions, if you cannot find linen, a heavy weight hemp fabric offers incredible durability and naturally antimicrobial properties. If you lack a traditional embroidery hoop, a sturdy wooden frame and some brass tacks can provide the necessary drum tight tension required for consistent stitch length.
THE TEMPO
The "Maker's Rhythm" is not just a poetic concept; it is a state of flow where your heart rate synchronizes with the oscillating motion of the needle. For a standard 18 inch border, expect to spend about forty five minutes on the layout and marking phase. This is the "pre flight" check where you ensure your lines are parallel to the selvage.
The actual stitching phase for these nine borders will vary. A simple running stitch might take twenty minutes, while a complex braided chain could require an hour of focused labor. Total project time usually clocks in at around six to eight hours. Remember, the tempo is dictated by the friction coefficient of your thread. If you rush, you risk fraying the ply. Slow down, breathe, and let the needle find the natural gaps in the weave.
THE CORE METHOD
1. The Harmonic Running Stitch
This is the foundational pulse of all Rhythmic Embroidery Lines. By skipping an equal number of threads in the weave, you create a dashed line that mimics a heartbeat.
Mastery Tip: Pay attention to surface tension. If the thread is too tight, it will compress the fabric fibers, creating a "valley" that catches light unevenly. Keep the tension neutral to maintain the flat profile of the towel.
2. The Double Backstitch Anchor
This border provides structural integrity to the edge of the towel. It involves a backward motion that overlaps the previous stitch, doubling the thread density.
Mastery Tip: This stitch relies on shear strength. By overlapping the segments, you create a reinforced line that can withstand the high heat and agitation of a commercial washing machine without unraveling.
3. The Geometric Stem Stitch
Ideal for curved borders, the stem stitch creates a rope like texture. You must maintain a consistent angle relative to the fabric grain.
Mastery Tip: Use a bone folder to flatten the stitches after completion. This process, known as burnishing, seats the thread into the fibers and increases the "hand" or smoothness of the finished textile.
4. The Whipped Satin Perimeter
This involves wrapping a secondary thread around a base line of stitches. It adds three dimensional volume and a secondary color pop.
Mastery Tip: This technique demonstrates capillary action. When the towel gets wet, the tightly wrapped threads will hold moisture longer than the base fabric, so ensure your thread is colorfast to prevent bleeding.
5. The Interlaced Chain Link
A series of looped stitches that creates a heavy, decorative rail. It is excellent for towels made of thicker, high gsm (grams per square meter) cotton.
Mastery Tip: The loops create a series of mechanical interlocks. If one loop is snagged, the surrounding loops distribute the force, preventing a total structural failure of the border.
6. The Zig Zag Chevron
This border uses diagonal lines to create a visual rhythm that leads the eye across the fabric. It requires precise counting of the warp threads.
Mastery Tip: Use a jeweler's saw or a very sharp pair of snips to trim your tails. A clean cut prevents the microscopic "hooks" of the cotton fibers from tangling and causing knots on the underside.
7. The Seeded Border
Small, isolated stitches scattered in a dense line. This creates a textured "grip" on the fabric.
Mastery Tip: The physics here is about mass distribution. By spacing the "seeds" evenly, you prevent the towel from warping or leaning toward one side during the drying process.
8. The Couching Rail
In this method, you lay a thick cord on the surface and secure it with tiny cross stitches. It is the most "industrial" of the borders.
Mastery Tip: This is essentially a load bearing stitch. The tiny securing threads take all the surface abrasion, protecting the decorative cord underneath from wear and tear.
9. The Blanket Edge Reinforcement
The classic finish for the raw edge of a towel. It loops over the hem to prevent fraying.
Mastery Tip: This stitch manages the fray zone. By binding the cut ends of the cellulose fibers, you stop the mechanical breakdown of the weave, extending the towel's lifespan by years.
THE TECHNICAL LEDGER
Maintenance & Longevity: To preserve the integrity of your Rhythmic Embroidery Lines, always wash in cool water. High heat can cause the cotton thread to shrink at a different rate than the linen base, leading to permanent distortion.
Material Variations: For a sustainable upgrade, use recycled PET thread or organic bamboo floss. Bamboo has a higher tensile strength than cotton and a natural sheen that mimics silk without the delicate maintenance requirements.
The Correction:
- Puckering: If the fabric bunches, you have over tensioned. Use an awl to gently lift and redistribute the thread slack.
- Thread Knotting: This usually happens due to static or over twisting. Run your thread through a bit of beeswax to smooth the cuticle of the fiber.
- Misalignment: If the line drifts, use calipers to re measure your distance from the hem and mark a new guide line.
Studio Organization: Store your finished towels flat in a breathable cotton bag. Avoid plastic bins, as they can trap moisture and lead to mildew oxidation of the natural fibers. Use acid free tissue paper between layers to prevent "ghosting" of the embroidery patterns.
THE FINAL REVEAL
Look at that! You have successfully navigated the complex physics of fiber and tension. Your tea towels are no longer just rags; they are engineered masterpieces of Rhythmic Embroidery Lines. The way the light catches the mercerized sheen and the way the borders provide a structural frame for the fabric is nothing short of brilliant. You have mastered the ergonomic flow of the needle and the mathematical precision of the grid. Go ahead, hang them in the kitchen and let everyone admire your technical prowess and artistic flair!
STUDIO QUESTIONS
What is the best fabric for embroidery borders?
Linen or heavy cotton flour sacks are best due to their stable weave and high tensile strength. These materials provide a consistent grid that supports rhythmic stitching without sagging or distorting over time.
How do I prevent my thread from tangling?
Cut your thread no longer than eighteen inches. This reduces the frictional drag as the strand passes through the fabric, preventing the fibers from twisting into knots or fraying during the stitching process.
Can I use a sewing machine for these lines?
While possible, hand stitching allows for superior tension control. A machine often applies too much pressure, which can crush the delicate fibers of a high quality tea towel and ruin the tactile rhythm.
How do I finish the back of the towel?
Weave your ends back through the existing stitches for at least an inch. This creates a friction lock that stays secure without the bulk of a knot, keeping the towel's reverse side clean and professional.
Why does my fabric pucker after washing?
This is usually caused by differential shrinkage. If the embroidery thread is not pre shrunk or if it is pulled too tight, it will contract more than the towel, causing the fabric to gather.

