Imagine the scent of cold press cotton paper meeting a sudden, deliberate flood of pigment. There is a specific, electric thrill when the first bead of water breaks the surface tension of a pristine sheet. We are not just painting; we are choreographing a dance between gravity and chemistry. To master Fluid Watercolor Washes, you have to understand that your paper is a living, breathing landscape of cellulose fibers. When we talk about soft skies, we are talking about the precise manipulation of molecular suspension. It is about that moment where the grit of the pigment settles into the valleys of the paper grain while the water evaporates at a perfectly controlled rate. Grab your favorite ceramic palette and let's get messy. We are diving into the physics of flow to turn your studio into a laboratory of light and atmosphere. This is where the magic of fluid watercolor washes becomes second nature; it is tactile, it is technical, and it is absolutely addictive.
THE STUDIO KIT
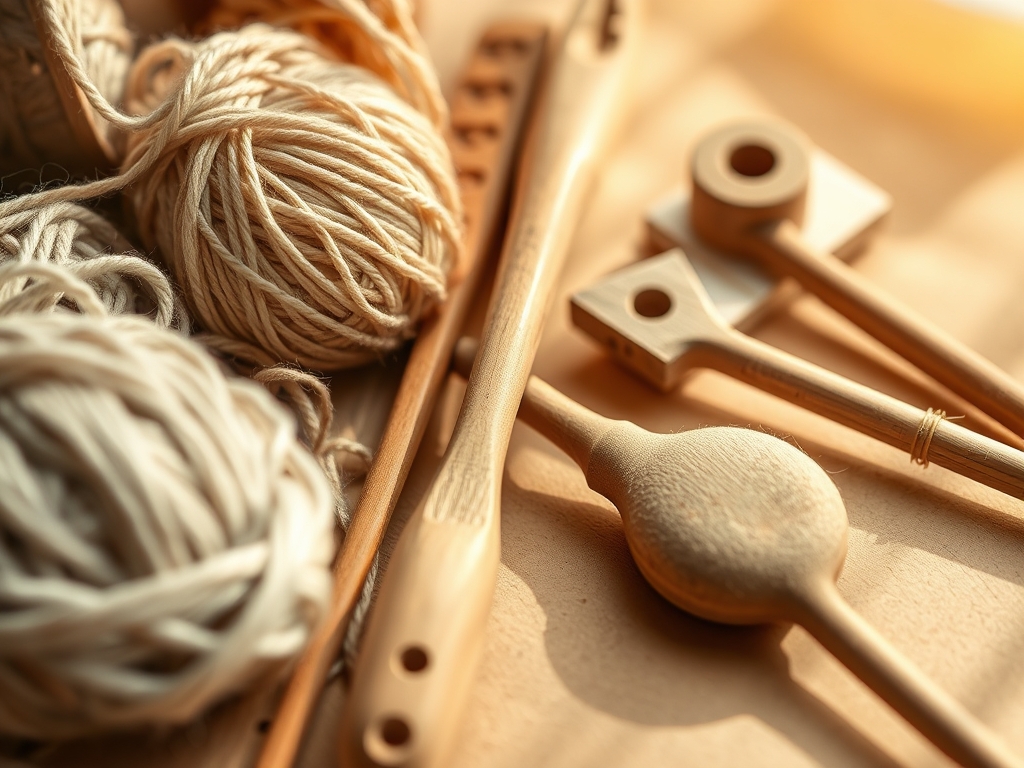
To achieve professional results, your inventory must account for absorbency and tensile strength. Start with 140lb (300 gsm) 100 percent cotton rag paper. Cotton fibers have a higher capillary action than wood pulp, allowing the pigment to travel deeper into the substrate without buckling. You will need a large flat wash brush, preferably a squirrel hair blend for its incredible water-carrying capacity, and a round synthetic sable for detail work.
Material Substitutions: If you lack a professional porcelain palette, a white enamel butcher tray is a superior alternative because it does not cause the paint to bead up. Instead of expensive masking fluid, a simple paraffin wax stick can create permanent resists. For those without a dedicated drafting table, a piece of gator board or even a smooth plywood scrap works perfectly as a support, provided you secure the edges with archival artist tape to manage the expansion and contraction of the wet fibers.
THE TEMPO
The "Maker's Rhythm" in watercolor is governed by the evaporation rate. You have three distinct windows of time. The first is the "Flood Phase," which lasts roughly ninety seconds; this is when the paper is fully saturated and colors move freely. The second is the "Damp Phase," lasting about three to five minutes, where you can lift color or add soft textures without creating harsh edges. Finally, the "Bone Dry Phase" occurs after twenty minutes, depending on your studio's humidity. Mastering the tempo means knowing exactly when to step away. If you agitate the fibers during the transition between the damp and dry phases, you risk "blooming," which is a structural collapse of the pigment distribution.
THE CORE METHOD
1. The Saturation Prime
Before a single drop of color touches the page, you must hydrate the paper. Use a clean, wide brush to apply a uniform layer of distilled water. This prepares the porous surface to receive pigment without immediate staining.
Mastery Tip: This step relies on hydrostatic pressure. By pre-wetting the paper, you neutralize the initial thirst of the cotton fibers, allowing the pigment to float on top of the water film rather than being instantly sucked into the grain.
2. Gravity-Assisted Gradient
Elevate your board at a fifteen-degree angle. Load your brush with a high concentration of pigment and run it across the top. Let gravity pull the bead of water down the page.
Mastery Tip: This technique utilizes fluid dynamics. As the "bead" (the line of excess water at the bottom of your stroke) moves downward, it carries a consistent density of pigment, ensuring a smooth transition from dark to light without streaks.
3. The Variegated Merge
While the first wash is still in the "Flood Phase," introduce a second color from the opposite direction. Do not stir them; let them meet and mingle naturally.
Mastery Tip: This involves molecular diffusion. Different pigments have different weights and particle sizes (sedimentary vs. staining). Heavier minerals like Ultramarine Blue will sink into the paper valleys, while lighter phthalos will float, creating a complex, layered visual texture.
4. Softening the Horizon
To create those ethereal, hazy sky effects, use a "thirsty brush" (a damp, clean brush) to sweep along the bottom edge of a wet wash. This pulls the pigment away gently.
Mastery Tip: This is a lesson in surface tension. The damp brush has a lower water potential than the saturated paper, acting like a vacuum to lift excess moisture and pigment without disturbing the underlying fiber structure.
5. Charging the Wash
Drop concentrated pigment into a damp wash to create "explosions" of color. This is the secret to dramatic, stormy clouds.
Mastery Tip: Known as the Marangoni Effect, the difference in surface tension between the concentrated paint and the diluted wash causes the pigment to spread outward in a starburst pattern, mimicking natural atmospheric turbulence.
6. Lifting for Luminescence
Use a stiff synthetic brush or a damp sponge to gently "scrub" areas of the damp wash to reveal the white of the paper.
Mastery Tip: This requires an understanding of pigment adhesion. Staining pigments (like Quinacridones) bond chemically with the fibers, while sedimentary pigments (like Earth tones) sit on top and are much easier to lift without damaging the paper's internal sizing.
7. The Final Glaze
Once the paper is completely dry, apply a very thin, transparent layer of a single color over the entire sky to unify the piece.
Mastery Tip: This utilizes refractive index physics. A glaze changes how light bounces off the different layers of pigment, "locking" the colors together and adding a professional, cohesive depth to the final fluid watercolor wash.
THE TECHNICAL LEDGER
Maintenance & Longevity: Always rinse your brushes in cool water; hot water can dissolve the glue in the ferrule. Store brushes horizontally to prevent water from seeping into the wooden handle, which causes the wood to swell and the paint to chip.
Material Variations:
- Sustainable: Bamboo or hemp-based papers offer a unique, high-tensile alternative to cotton.
- Premium: Handmade papers with deckled edges provide a distinct tactile experience and irregular grain for experimental washes.
The Correction:
- The Cauliflower: A back-run caused by adding too much water to a drying wash. Fix it by waiting for it to dry, then lightly re-wetting the area and blending with a soft brush.
- The Mud: Over-mixing colors on the page. Fix it by letting it dry completely, then using a bone folder to gently scrape away excess pigment before glazing over with a fresh color.
- The Streak: Caused by a dry brush on dry paper. Fix it by immediately softening the edge with a damp, clean sponge.
Studio Organization: Store finished washes in acid-free glassine sleeves. Keep them flat in a cool, dark drawer to prevent UV degradation and moisture-induced warping.
THE FINAL REVEAL
Look at that! You have successfully manipulated the laws of physics to create something breathtaking. Your sky should look effortless; a seamless transition of light and air that belies the technical precision you just applied. The way the pigments have settled into the porous grain of the paper creates a sense of depth that a flat digital image could never replicate. Your Fluid Watercolor Washes are now a masterclass in atmospheric perspective. Take a second to run your hand over the dry surface; feel that slight tooth and the way the paper has held its tensile integrity despite the flood. You didn't just paint; you engineered a masterpiece.
STUDIO QUESTIONS
How do I prevent my paper from buckling?
Secure your paper to a rigid board using archival tape or staples while it is dry. This maintains tensile strength as the fibers expand when wet and pull tight again as they dry, ensuring a perfectly flat surface.
Why do my washes look dull when they dry?
Watercolors naturally lose about twenty percent of their intensity during evaporation. This is due to the refractive index changing as water leaves the pigment. Always mix your colors slightly more saturated than you want the final result to appear.
Can I use tap water for my washes?
While possible, tap water contains minerals and chlorine that can affect pigment suspension and long-term pH balance. Using distilled water ensures a neutral chemical environment, preventing unexpected color shifts or granulation issues over time.
What is the best way to clean a stained palette?
For plastic or enamel palettes, a small amount of non-gel toothpaste and a soft cloth will gently lift stains without scratching the surface. Maintaining a smooth, non-porous surface is vital for accurate color mixing and water bead control.