
Imagine the smell of fresh linoleum and the crisp snap of a perfectly honed blade catching on a dense fiber. There is a specific, addictive music to the process of repetitive block carving; it is the rhythmic shuck-shuck-shuck of steel removing material in uniform channels. When you are deep in the zone, your hand becomes an extension of the tool, navigating the molecular resistance of the block with a surgeon's precision. We are not just making marks here. We are manipulating the structural integrity of a surface to hold ink in the valleys and repel it on the peaks. This is where physics meets high art. You feel the tactile feedback through your palm, sensing exactly when the grain is about to fight back or when the density of the substrate changes. It is a high-stakes game of subtractive sculpture where every micron of depth matters. If you are ready to turn your studio into a laboratory of fine lines and geometric perfection, grab your favorite apron. We are diving into the gritty, glorious details of the tools that make this precision possible.
THE STUDIO KIT
THE STUDIO KIT
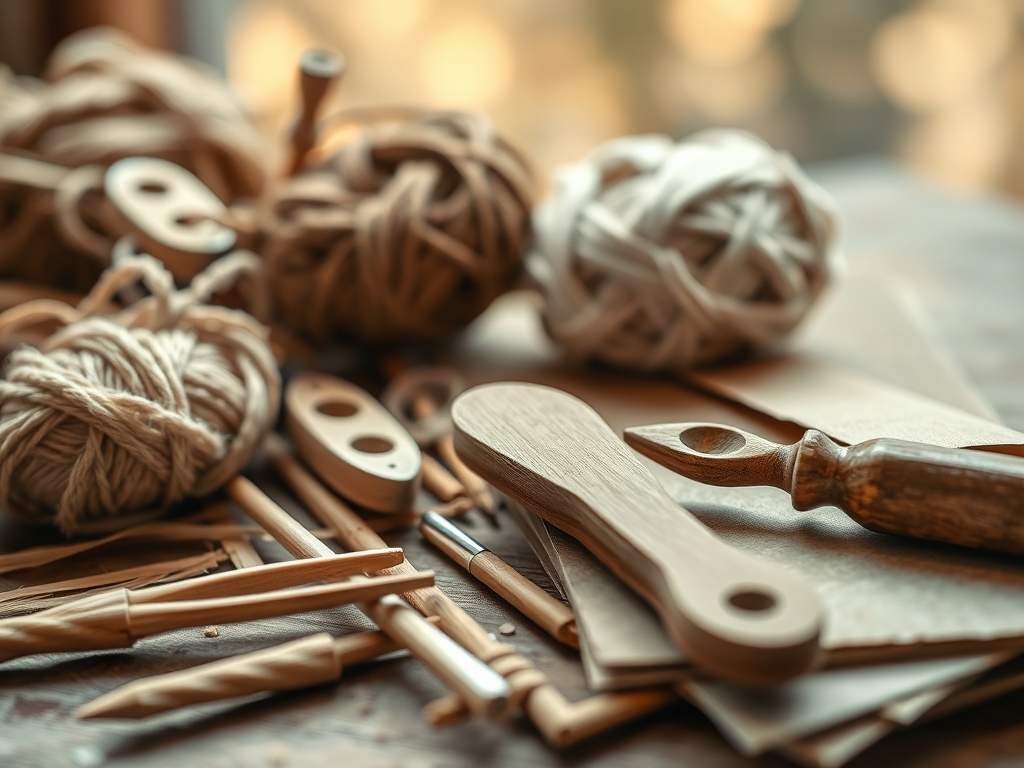
To master repetitive block carving, your kit must prioritize ergonomic efficiency and metallurgical superior quality. You cannot achieve a 0.5mm line with a dull, stamped-steel blade. You need high-carbon steel that holds a razor edge through thousands of strikes. Start with a u-gouge for bulk removal; its semi-circular profile distributes pressure evenly to prevent stalling. For those hair-thin details, a v-tool with a 60-degree angle is your best friend. You will also need a bench hook to provide a mechanical stop, ensuring your block stays stationary while your energy translates into forward cutting force rather than stabilization.
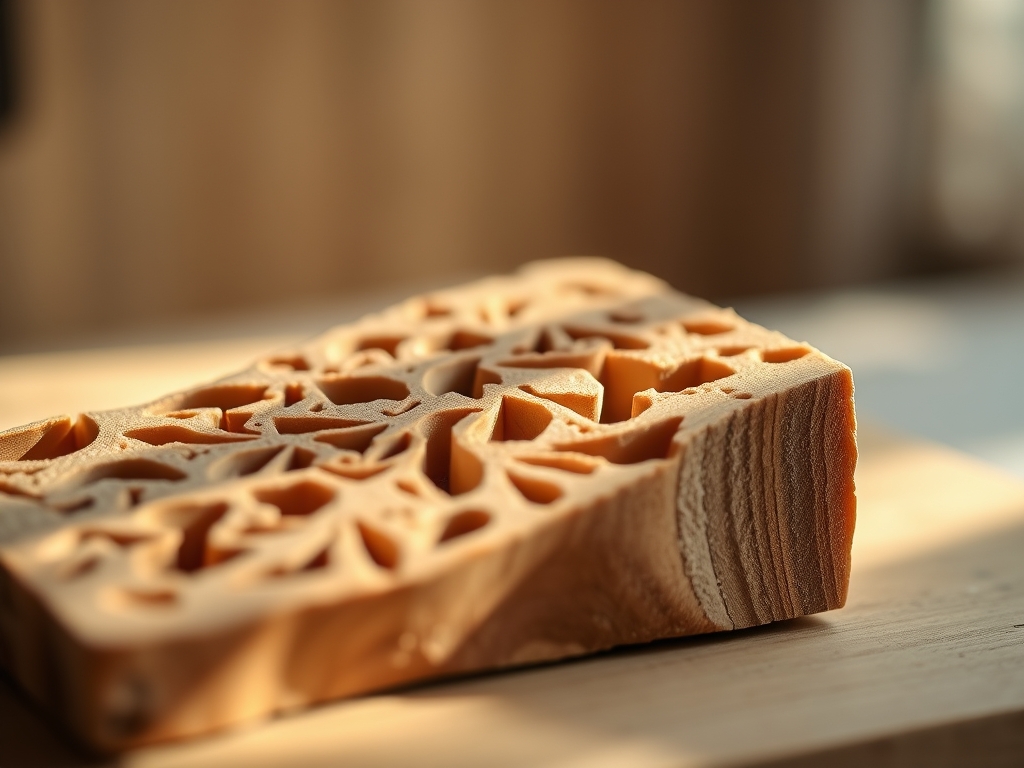
Your material choice defines the tensile resistance you will encounter. Traditional battleship gray linoleum is the gold standard for its high density and lack of grain direction, which prevents the blade from "skating" or following a natural wood fiber. If you want a more forgiving experience, look for high-density carving rubbers. Material Substitutions: If you cannot find professional linoleum, a thick slab of PVC or even a high-density polyethylene (HDPE) cutting board can work, though the latter requires significantly higher torque and frequent blade stropping. Always keep a burnisher or a simple bone folder nearby to smooth out any accidental burrs on the surface before inking.
THE TEMPO
The maker's rhythm is a biological metronome. For a standard six-by-eight-inch block, expect to spend approximately two hours in the "transfer and mapping" phase. This is where you use a caliper to ensure your geometric repetitions are mathematically perfect. The actual carving phase is the marathon, often requiring six to ten hours of focused labor. You must account for "muscle fatigue intervals." Because repetitive block carving requires sustained isometric tension in the hand, you should stop every forty-five minutes to reset your focal point and stretch your carpal tunnels.
The final phase is the "proofing and refinement" stage, which takes about ninety minutes. This involves taking a test print, identifying "chatter" (unwanted marks in the negative space), and surgically removing them. The tempo is not about speed; it is about the consistency of the stroke. A steady, slow crawl produces a cleaner edge than a fast, jerky motion because the heat generated by friction remains constant, preventing the material from tearing at the microscopic level.
THE CORE METHOD
1. Surface Preparation and Mapping
Before the first cut, you must degrease the block with a light wipe of isopropyl alcohol to remove factory oils. Use a fine-point drafting pen to map out your repetitions. This layer acts as a visual guide, but also as a chemical barrier that slightly alters the surface tension of the material, making it easier to see where the blade has passed.
Mastery Tip: Use a thin wash of red acrylic paint over the block before carving. As you cut, the underlying light color of the material reveals your progress in high contrast. This utilizes the science of visual acuity to reduce eye strain and ensure your depth of cut remains uniform across the entire plane.
2. Establishing the Perimeter
Use your v-tool to outline the primary shapes. Always cut away from your body, maintaining a thirty-degree angle relative to the block surface. This angle is critical; if you go too shallow, the blade will slip and mar the surface. If you go too steep, you increase the drag coefficient, making it harder to maintain a straight line.
Mastery Tip: Focus on the "shear strength" of the material. By pre-cutting the boundaries, you create a physical break in the surface tension. This prevents the larger u-gouge from accidentally lifting or "tearing" the material beyond your intended line during the bulk removal phase.
3. Bulk Material Removal
Switch to the u-gouge to clear out the large negative spaces. This is where the repetitive nature of the work becomes most apparent. Use long, sweeping motions, keeping your non-dominant hand behind the blade at all times. The goal here is to create a flat, recessed floor that will not catch ink during the printing process.
Mastery Tip: This step relies on "mechanical advantage." By pivoting your wrist slightly while pushing forward, you create a slicing motion that reduces the force required to move through the polymer. This preserves the sharp edge of your tool for a longer duration by minimizing direct impact friction.
4. Refining the Fine Lines
For the most intricate details, return to a small micro-v-tool or a jeweler's saw if you are working with wood. This is where you create the "high-frequency" textures that give the piece its depth. These cuts should be shallow; if they are too deep, the thin walls of the material may collapse under the pressure of a printing press.
Mastery Tip: Understand "structural integrity." When carving fine lines close together, leave a slightly wider base at the bottom of the cut (a trapezoidal profile rather than a vertical one). This provides a solid foundation that prevents the delicate ridges from snapping off during the high-pressure inking phase.
THE TECHNICAL LEDGER
Maintenance & Longevity: Your tools are only as good as their last sharpening. Use a leather strop infused with green chromium oxide honing compound every fifteen minutes of active carving. This aligns the "wire edge" of the steel at a molecular level, ensuring the cleanest possible exit from the material.
Material Variations:
- Sustainable: Cork-based linoleum is biodegradable and offers a unique, pitted texture.
- Recycled: Repurposed rubber flooring tiles offer extreme durability for large-scale industrial patterns.
- Premium: Boxwood blocks provide the highest tensile strength, allowing for lines so thin they appear like hair when printed.
The Correction:
- The Slip: If the blade slips and gouges a "keep" area, fill the void with a mixture of super glue and fine wood dust. Once cured, sand it flush with a high-grit sanding block.
- The Undercut: If a line is too thin and starts to wobble, use a tiny amount of epoxy resin to reinforce the "wall" from the back.
- The Chatter: If the background is picking up ink, the "floor" is too shallow. Use a wider gouge to deepen the negative space by at least 1mm.
Studio Organization: To prevent degradation, store your carved blocks flat in a cool, dark environment. Linoleum becomes brittle over time if exposed to UV light or extreme heat. Wrap them in acid-free glassine paper to prevent the residual oils in the material from reacting with the atmosphere.
THE FINAL REVEAL
There is nothing quite like pulling that first proof. After hours of repetitive block carving, seeing those thousands of fine lines translate into a crisp, high-contrast image is pure dopamine. The finished piece should feel tactile; you should be able to run your fingers over the block and feel the topography of your labor. The precision you have achieved is a testament to your mastery over the physics of the material. It is sharp, it is clean, and it is ready to be multiplied across a hundred sheets of premium paper. You didn't just carve a block; you engineered a masterpiece of relief.
STUDIO QUESTIONS
What is the best way to sharpen micro-tools?
Use a dedicated slipstone with a profile that matches your gouge's interior radius. Always finish with a leather strop to remove the burr. This ensures the blade slices the fibers rather than crushing them through the material.
Why does my linoleum keep crumbling?
Your material is likely old and has lost its essential oils. Linoleum is a mix of linseed oil and cork; when it dries out, the tensile strength drops. Try warming it slightly with a hair dryer to restore flexibility.
Can I use a rotary tool for fine lines?
Yes, but it requires a high-speed steel (HSS) bit and a very steady hand. The high RPM can melt synthetic blocks, so keep the tool moving constantly to dissipate heat and prevent "gumming" up the delicate detail lines.
How do I stop my hand from cramping?
Switch to ergonomic mushroom-handled tools that distribute pressure across the palm. Ensure your bench hook is at the correct height so your shoulder does the heavy lifting, rather than relying solely on your small wrist muscles and finger grip.

