
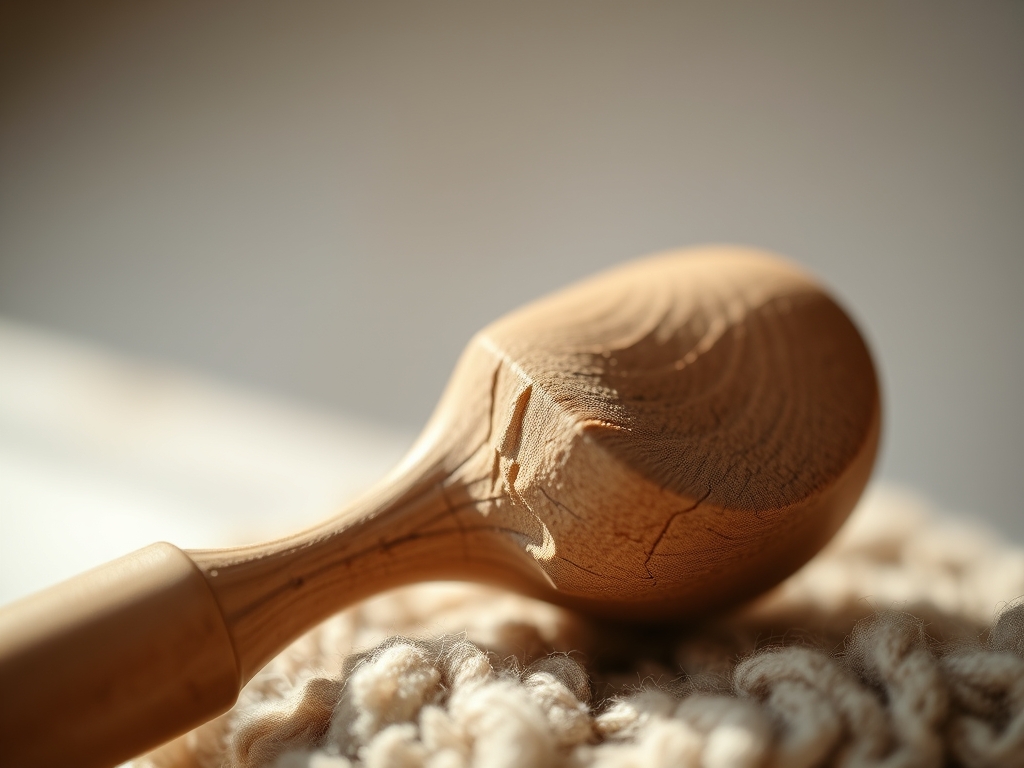
Grab your bench knife and a fresh block of Western Red Cedar because we are about to turn that frantic brain chatter into silent, aromatic sawdust. There is something visceral about the way a sharp blade shears through the soft, straight grain of cedar. It does not just cut; it peels back in satisfying, curled ribbons that release a burst of thujaplicin, the natural preservative that gives this wood its iconic scent. Meditative Wood Whittling is not about rushing to a finished product. It is about the tactile feedback of steel meeting cellulose. When you press your thumb against the back of the blade, you feel the resistance of the latewood rings versus the earlywood. This contrast requires a delicate touch and a sharp edge to prevent crushing the fibers. We are aiming for that perfect flow state where the world shrinks down to the size of your palm. By focusing on the structural integrity of the wood and the rhythmic repetition of the paring cut, we transform a simple hobby into a high-precision mental reset.
THE STUDIO KIT
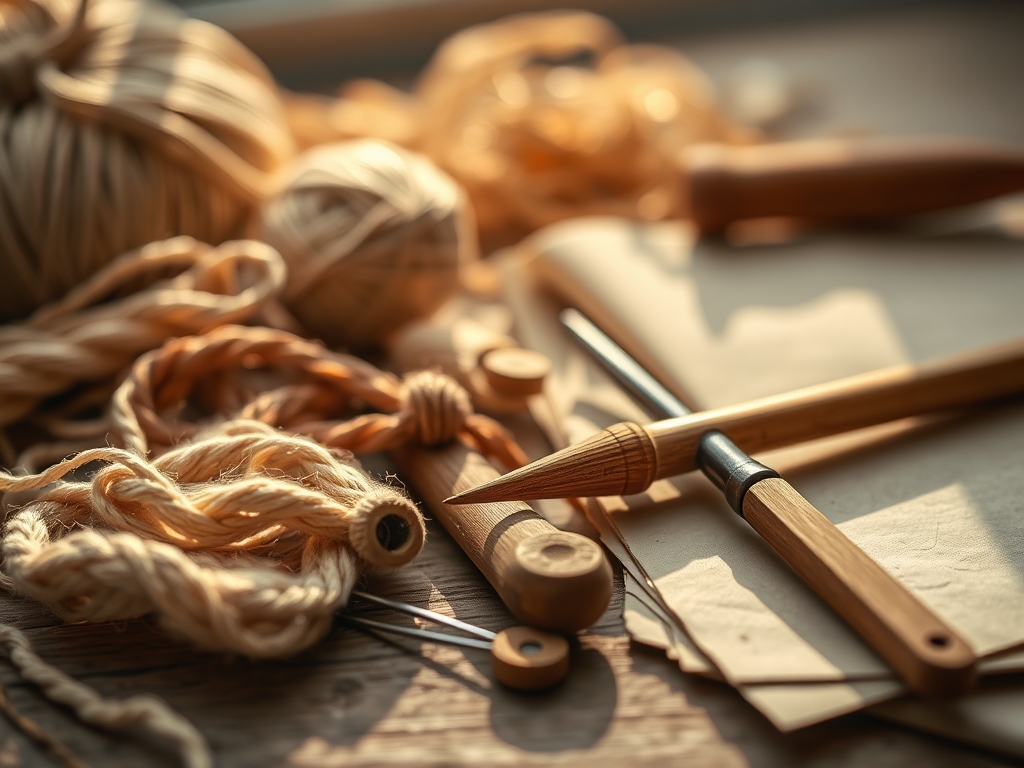
To master Meditative Wood Whittling, your kit must prioritize ergonomics and edge retention. Cedar is a softwood with low tensile strength perpendicular to the grain, meaning it splits easily if your tools are dull. You will need a dedicated whittling knife with a high-carbon steel blade; carbon steel holds a finer apex than stainless steel, which is crucial for clean shearing. Keep a leather strop and green chromium oxide honing compound nearby to maintain that razor edge every twenty minutes. For measuring symmetry, a pair of outside calipers will help you verify the proportions of your animal limbs.
Material selection is paramount. You want clear, vertical-grain cedar blocks, typically 1x1x4 inches. If you cannot find cedar, your Material Substitutions include Basswood for its uniform density or Butternut for a richer color, though neither offers the same olfactory benefits. You should also keep a detail awl for marking eye sockets and a set of fine-grit sandpaper (220 to 400 grit) to burnish the surface once the carving is complete. Always wear a level 5 cut-resistant glove on your non-dominant hand; safety is the foundation of a relaxed studio environment.
THE TEMPO
The Maker's Rhythm is a three-phase process that prevents mental fatigue and physical strain. Phase one is the Rough-Out, which takes about thirty minutes. This is high-energy work where you remove large volumes of waste wood to find the basic geometric silhouette. Phase two is the Refinement, lasting sixty to ninety minutes. This is the heart of the meditative process. Your cuts become smaller and more intentional as you define the anatomy. Phase three is the Finishing, a thirty-minute period of sanding or applying a light oil. Total project time usually lands around two to three hours. By breaking the work into these segments, you avoid the "rushing trap" that leads to snapped wood fibers or jagged edges.
THE CORE METHOD
1. The Geometric Block-In
Start by sketching your animal profile directly onto the wood with a graphite pencil. Use your knife to perform stop cuts along the perimeter of the sketch. A stop cut involves pressing the blade vertically into the wood to create a physical barrier, then carving toward that line from an angle. This prevents the wood from splitting further than you intended.
Mastery Tip: Understand the anisotropy of wood. Cedar is much stronger along the grain than across it. Always carve with the grain to prevent "tear-out," which happens when the blade digs too deep and rips the fibers instead of slicing them.
2. The Cylinder Shift
For animals like the "Curvy Cat" or "Round Owl," you must transition the square block into a cylinder. Use long, sweeping paring cuts to take off the four corners of the block. Continue removing the new corners until you have a rough dowel shape. This creates a uniform surface for more detailed anatomical work.
Mastery Tip: Use your calipers to check for radial symmetry. If one side of your owl is thicker, the center of gravity will be off, making the piece feel "heavy" in the hand.
3. Anatomical Notching
To create legs or ears, use a V-tool or the tip of your knife to create notches. This is where you define the negative space. For a "Sleeping Fox," you will notch the area between the tail and the body. Work slowly, as these deep cuts can compromise the structural integrity of the cedar if you apply too much lateral pressure.
Mastery Tip: Cedar has a high porosity, meaning it absorbs moisture and oils quickly. If the wood feels brittle, a tiny drop of mineral oil on the area you are carving can act as a lubricant for the blade.
4. Surface Texturing
Once the form is established, use short, shallow flick cuts to simulate fur or feathers. This adds a layer of tactile complexity. For a "Smooth Penguin," skip the flick cuts and focus on a consistent burnish using a smooth stone or a bone folder to compress the surface fibers for a glossy look.
Mastery Tip: Surface tension plays a role here. By compressing the fibers through burnishing rather than just sanding, you create a harder exterior shell that is more resistant to environmental humidity.
5. The Final Seal
Clean the piece with a soft brush to remove dust from the pores. Apply a food-grade linseed oil or beeswax. The cedar will darken slightly, highlighting the beautiful contrast between the reddish heartwood and the lighter sapwood.
Mastery Tip: The oil penetrates via capillary action, traveling deep into the cellular structure to displace air. This prevents the wood from drying out and cracking over time.
THE TECHNICAL LEDGER
Maintenance & Longevity: Cedar is naturally rot-resistant, but it can become brittle in low-humidity environments. To ensure longevity, keep your finished carvings out of direct sunlight, which can break down the lignin in the wood and cause fading.
Material Variations:
- Sustainable: Use reclaimed cedar fence posts for a rustic, weathered look.
- Premium: Port Orford Cedar offers a finer grain and a ginger-like scent.
- Recycled: Offcuts from decking projects are perfect for small whittled animals.
The Correction:
- The Slip: If you carve off a piece you needed, use a tiny amount of cyanoacrylate (CA) glue to reattach it. The high porosity of cedar ensures a strong bond.
- The Tear-Out: If the wood rips, stop immediately. Sharpen your blade and approach the area from the opposite direction.
- The Dull Blade: If you find yourself pushing hard, you are losing the meditative flow. Stop and strop. A sharp blade should glide, not shove.
Studio Organization: Store your cedar blocks in a breathable cotton bag. Avoid airtight plastic, which can trap moisture and lead to fungal growth or "spalting," unless you are intentionally trying to create that decorative decay.
THE FINAL REVEAL
Look at that! You have successfully navigated the physics of cedar to create a tactile piece of art. The finished animal should feel warm and balanced in your palm; its smooth curves and sharp details are a testament to your focus. There is a specific joy in seeing the light catch the facets of your knife marks. You did not just make a toy; you mastered the grain and found your rhythm. This is the essence of Meditative Wood Whittling. It is a physical manifestation of a quiet mind. Now, set your little cedar friend on your desk and let that scent remind you of the calm you found in the shavings.
STUDIO QUESTIONS
What is the best wood for beginner whittling?
Basswood is the industry standard due to its soft, uniform grain and lack of resin. It allows for easy cutting in any direction with minimal resistance, making it perfect for those still mastering blade control and hand positioning.
How do I keep my whittling knife sharp?
Use a leather strop loaded with polishing compound every twenty minutes of active carving. Hold the blade at a consistent angle and stroke away from the edge to realign the microscopic teeth of the steel without removing excess metal.
Is cedar too hard for whittling?
No, Western Red Cedar is quite soft and excellent for whittling. However, its prominent grain requires a very sharp knife and a careful approach to prevent splitting along the growth rings during deep anatomical cuts or detail work.
What safety gear do I need for whittling?
Always wear a level 5 cut-resistant glove on your non-dominant hand to protect against slips. Additionally, a thumb guard for your dominant hand provides leverage and protection during "push cuts," ensuring a safe and controlled carving experience.
How do I fix a mistake in my carving?
Small chips can be sanded smooth to alter the design slightly. For larger accidental removals, use a drop of wood glue or CA glue to reattach the piece. Once dry, the joint can be carved and sanded to be nearly invisible.

