

Listen to that low, rhythmic hum. It is the sound of tension meeting torque; it is the physical manifestation of raw fiber transforming into structural integrity. When you sit down with Rhythmic Spinning Wheels, you are not just playing with fluff. You are engaging in a high-stakes engineering project involving friction coefficients and the twist per inch (TPI) required to keep a thread from snapping under its own weight. Feel that wool in your hands. It is greasy with lanolin, a natural wax that acts as a lubricant during the drafting process. If you pull too fast, the fiber breaks because the scales on the hair follicles have not had time to interlock. If you pull too slow, you get a lumpy mess that lacks the tensile strength to survive a loom. We are here to master the physics of the twist. We are going to take that chaotic cloud of protein fibers and organize it into a continuous, elegant strand of high-performance yarn using the most efficient tools in the studio.
THE STUDIO KIT
THE STUDIO KIT
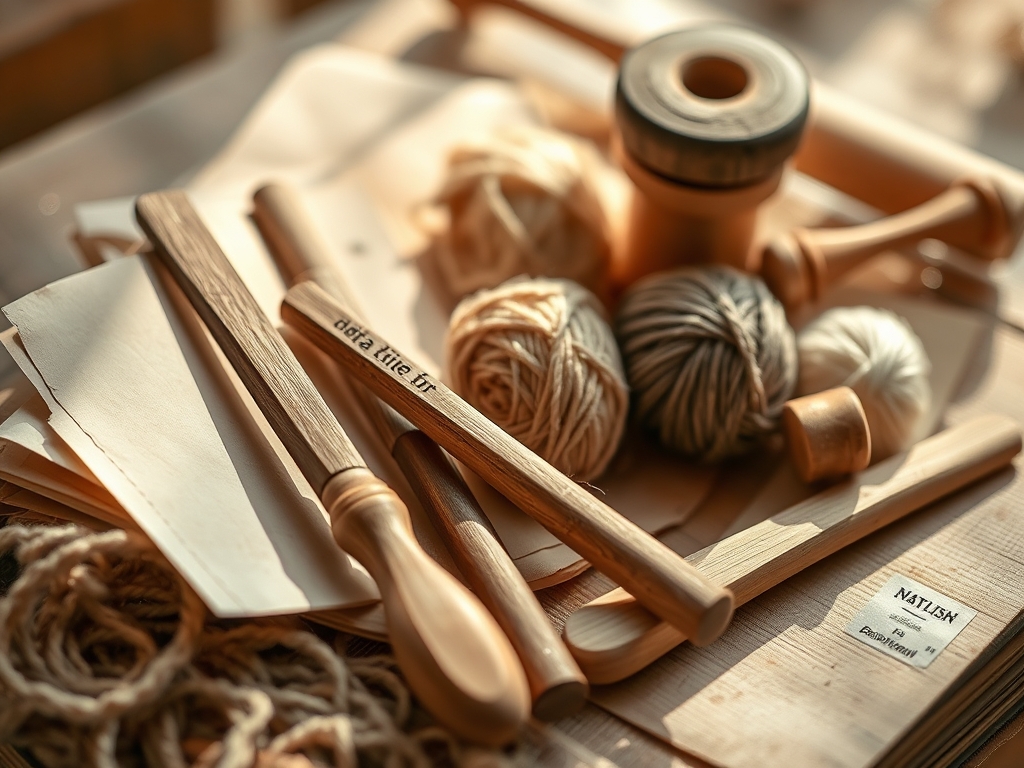
To master Rhythmic Spinning Wheels, you need a kit that respects the physics of the fiber. First, grab your hand carders. These are essentially paddles with wire teeth designed to align the wool fibers into a parallel orientation. For the wheel itself, ensure the drive band is made of a non-stretch material like cotton or high-friction synthetic cord to prevent energy loss during the transfer of power from the foot pedals to the flyer. You will also need a niddy-noddy for measuring yardage and a set of digital calipers if you are obsessed with maintaining a consistent gauge for professional-grade lace weight.
For materials, start with scoured wool roving. This is sheep's wool that has been cleaned of dirt but retains enough structural "crimp" to provide elasticity. If you cannot find high-quality merino, you can use Material Substitutions like tencel or bamboo fiber. However, be warned; these plant-based fibers have a much lower friction coefficient and a higher "slickness" rating, meaning they require significantly more twist to stay together. You might also want a bone folder to help tuck stray fibers during the bobbin-winding phase or a small jeweler's saw if you need to notch a custom whorl for different speed ratios.
THE TEMPO
The "Maker's Rhythm" is not just a catchy phrase; it is a mathematical necessity. For a standard four-ounce braid of fiber, expect to spend about two hours on preparation and four to six hours on the actual spinning. The tempo is dictated by the ratio of the whorl. If your wheel is set to a 10:1 ratio, every single press of the treadle spins the bobbin ten times. You must synchronize your hand movements (the drafting) with your feet (the power source). If your hands move out of sync with the velocity of the wheel, the yarn will either over-twist and kink or under-twist and drift apart. True mastery happens when the tactile feedback from the fiber tells your brain exactly when to release the tension.
THE CORE METHOD
1. Scouring and Skirting the Fleece
Before the wheel even turns, you must prepare the raw material. Skirting involves removing the "tags" or heavily soiled edges of the fleece. You then scour the wool in hot water with a pH-neutral detergent to strip the excess lanolin without felting the fibers. The Mastery Tip: Watch the water temperature closely. If the water drops below 120 degrees Fahrenheit, the lanolin will re-solidify onto the fibers, creating a "sticky" draw that ruins your drafting consistency.
2. Carding for Parallel Alignment
Load your hand carders with small tufts of wool. Brush them against each other to straighten the fibers into a "rolag." This process ensures that the individual hairs are not tangled, which reduces the force required to pull them apart during spinning. The Mastery Tip: Use a flick carder for the ends to ensure the staple length is uniform. This maximizes the capillary action when the yarn is later dyed, as parallel fibers absorb liquid more evenly than jumbled ones.
3. Establishing the Leader Cord
Tie a piece of strong, plied yarn to the bobbin. This is your leader. Thread it through the flyer hooks and out the orifice. This cord acts as the anchor for your new fiber. The Mastery Tip: Use a high-contrast color for your leader. This allows you to visually monitor the centripetal force as the wheel starts; if the leader wobbles, your bobbin is likely unbalanced or the drive band tension is too loose.
4. The Long Draw Drafting Technique
Hold the fiber source in your non-dominant hand and use your dominant hand to "pinch and pull" a small amount of wool toward the orifice. As the wheel spins, it imparts twist into this drafted section. The Mastery Tip: This relies on surface tension and the microscopic scales of the wool. Do not let the twist travel past your pinching fingers into the main fiber supply, or the entire bundle will lock up into a "bird's nest."
5. Managing the Take-up Tension
The "brake" on your wheel determines how hard the bobbin pulls the yarn out of your hands. Adjust the tension knob so the yarn moves onto the bobbin only when you allow it. The Mastery Tip: If the yarn is breaking, your tension is too high, exceeding the tensile strength of the thin fiber bridge. Decrease the brake pressure to allow more twist to enter the yarn before it is wound.
6. Plying for Structural Balance
Once you have two bobbins of "singles," spin them together in the opposite direction. This neutralizes the torque. A balanced ply will hang in a perfect "U" shape without twisting on itself. The Mastery Tip: Use a lazy kate to hold your bobbins. This prevents the bobbins from over-spinning due to inertia, which would otherwise create uneven tension and "thick-and-thin" spots in your final product.
THE TECHNICAL LEDGER
Maintenance & Longevity:
Your Rhythmic Spinning Wheels require lubrication. Use a high-viscosity synthetic oil on the flyer bearings and the foot treadle hinges every four hours of use. This reduces mechanical friction and prevents the wood from "chattering," which can cause micro-vibrations that translate into the yarn.
Material Variations:
- Sustainable: Organic wool or recycled silk sari waste.
- Premium: Qiviut (muskox) or Grade-A Mulberry Silk for high-luster projects.
- Recycled: Unraveled sweaters that have been "picked" back into raw cloud form.
The Correction:
- The Over-Twist Kink: If the yarn looks like a telephone cord, you are treadling too fast. Increase your drafting speed or move to a larger whorl.
- The Slub: A sudden thick spot. This happens when the fiber is not carded well. Use an awl to gently pick apart the clump while the wheel is stopped.
- The Bobbin Wobble: Usually caused by uneven winding. Use the hooks on your flyer to move the yarn back and forth across the bobbin length to distribute the weight.
Studio Organization:
Store your finished yarn in a cool, dry place. Wool is a protein fiber and is susceptible to moths and UV degradation. Use airtight bins and include a desiccant pack to manage moisture levels, ensuring the porous fibers do not absorb ambient humidity and lose their "bounce."
THE FINAL REVEAL
Look at that! You have successfully converted raw biological matter into a sophisticated, high-tensile textile. The yarn should feel "alive" in your hands; it should have a consistent diameter and a rhythmic twist that catches the light. When you run your fingers along the strand, you are feeling the result of thousands of microscopic fibers interlocking under the perfect amount of torque. This is not just craft; it is a masterpiece of kinetic energy and material science. Your Rhythmic Spinning Wheels have turned a chaotic pile of fluff into a structured, functional medium ready for the most demanding knitting or weaving projects.
STUDIO QUESTIONS
How do I stop my yarn from breaking?
Decrease the tension on your brake band. If the bobbin pulls too hard before enough twist has entered the fiber, the tensile strength will fail. Allow more twist to accumulate in the "drafting triangle" before letting it wind on.
What is the best fiber for beginners?
Start with a medium-staple wool like Corriedale. It has enough "tooth" to grab onto itself easily, providing a higher friction coefficient than slick fibers like silk, which makes it much easier to control the drafting velocity.
Why is my wheel squeaking?
This is usually a sign of metal-on-metal friction or wood-on-wood rubbing. Apply a drop of clear sewing machine oil to the flyer orifice and the treadle joints. Proper lubrication ensures a smooth, ergonomic experience without energy loss.
How do I fix a lumpy yarn?
Lumps, or "slubs," occur when the drafting is inconsistent. Ensure your fiber is thoroughly carded and the fibers are parallel. If a lump occurs, stop the wheel and use your fingers to burnish and smooth the area.
Can I spin short fibers like cotton?
Yes, but you need a very high-speed whorl. Short fibers have less surface area for interlocking, so they require a much higher TPI (Twists Per Inch) to maintain structural integrity compared to long-staple wool.

