

The scent of fresh cotton yarn is a distinct, earthy perfume that signals the start of a deep dive into geometry. When you pick up a hook, you are not just making a coaster; you are mastering the physics of Rhythmic Crochet Circles through consistent tension and torque. Your fingers act as a living caliper, measuring the precise distance between each loop to ensure the final piece lies perfectly flat against the table. There is a specific, tactile satisfaction in feeling the yarn slide through your grip with zero friction. As the circle grows, the mathematical beauty of the Fibonacci sequence begins to manifest in your hands. You can feel the structural integrity of the stitches as they lock together, creating a fabric that is both flexible and incredibly strong. It is all about finding that sweet spot where the hook and the fiber move in a synchronized dance. We are going to explore how to manipulate these fibers to create something that looks effortless but is actually a masterpiece of engineering.
THE STUDIO KIT
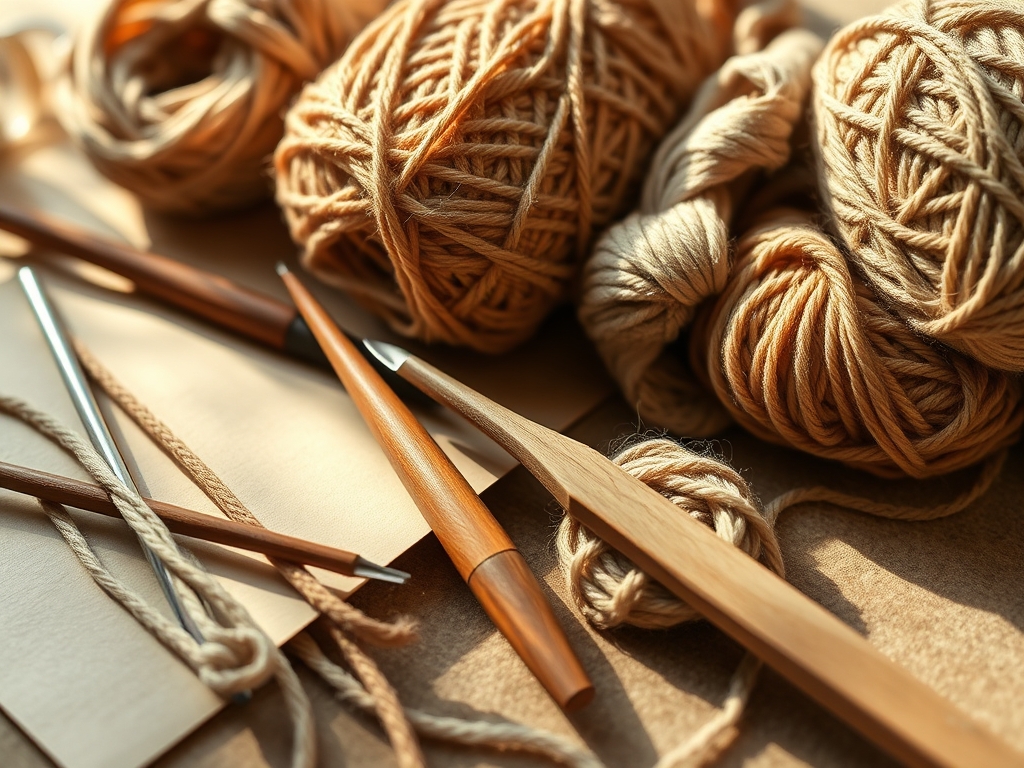
To achieve professional results, your studio needs more than just a ball of yarn. You need an ergonomic hook, preferably one with a silicone grip to reduce hand fatigue during high-repetition movements. The hook size must match the ply and gauge of your material to prevent gaps. Use a high-quality mercerized cotton; the process of mercerization increases the tensile strength of the fiber and gives it a lustrous, silk-like finish that resists fraying. You will also need a pair of precision embroidery scissors for clean cuts and a set of steel tapestry needles for weaving in ends with surgical accuracy.
For those looking for Material Substitutions, consider using bamboo fiber for a softer drape or a recycled polyester blend if you need high moisture resistance for outdoor mandalas. If you are working on a larger scale, a chunky wool roving can be used, but be aware that the porous nature of unspun wool requires a larger hook to maintain airflow between the stitches. Always keep a set of locking stitch markers nearby to track your increases; these are the blueprints that keep your circle from turning into a bowl.
THE TEMPO
The "Maker's Rhythm" is a psychological state where the repetitive motion of the hook creates a flow state, but it is also a literal measurement of time. For a standard six-inch mandala, the Phase One: Foundation takes approximately ten minutes. This is where you establish the center ring. Phase Two: Expansion is the longest part, taking roughly forty-five minutes as the circumference grows and the number of stitches increases exponentially. Finally, Phase Three: Finishing takes fifteen minutes to weave in ends and block the piece.
Blocking is the most overlooked part of the tempo. It involves wetting the fibers and pinning them into a perfect circle to set the structural memory of the yarn. Without this step, your work may retain "tension ghosts" where the yarn wants to curl back into its original shape. By allowing the piece to dry under tension, you are essentially heat-setting the molecular bonds of the fiber into their new, circular configuration.
THE CORE METHOD
1. The Magic Ring Foundation
Start by looping the yarn around your fingers to create a double-strand circle. This technique is superior to a chain loop because it allows you to pull the center tight, eliminating the hole in the middle. Insert your hook, pull up a loop, and secure it with a single stitch.
Mastery Tip: The science here is all about surface tension. By using a double-loop magic ring, you distribute the pressure across two strands of yarn, which prevents the center from snapping when you pull it taut. This creates a high-density core that supports the weight of the outer rounds.
2. Establishing the Radial Increase
In the second round, you must double every stitch. This is the mathematical constant for flat circles. If you have twelve stitches in the first round, you must have twenty-four in the second. This creates a 1:2 ratio that compensates for the increasing diameter of the circle.
Mastery Tip: This step relies on geometric expansion. If you fail to add enough stitches, the edges will pull inward due to excessive tension, creating a "cup" shape. Conversely, too many stitches will cause the fabric to ruffle as the surface area exceeds the available space.
3. Maintaining the Offset Pattern
To keep the circle perfectly round rather than hexagonal, you must offset your increases. Instead of placing every increase directly on top of the one from the previous row, shift them by one or two stitches. This prevents the formation of "seams" or ridges.
Mastery Tip: This is a lesson in load distribution. By staggering the increases, you ensure that the extra bulk of the double stitches is spread evenly across the radius. This maintains a uniform thickness and prevents structural weak points in the mandala.
4. The Tension Transition
As you move into the middle rounds, focus on your "hook-to-yarn" friction. Keep your lead hand relaxed to ensure every loop is the exact same height. This consistency is what defines the professional look of Rhythmic Crochet Circles.
Mastery Tip: This involves kinetic consistency. Every time you wrap the yarn (the yarn-over), you are applying a specific amount of force. If that force varies, the gauge of your stitches will fluctuate, leading to an uneven surface that will not block out flat.
5. Incorporating Decorative Voids
For mandalas, you will often use chain stitches to create "windows" or lace-like patterns. These voids are not just for show; they reduce the overall weight of the piece and allow the fabric to breathe.
Mastery Tip: This utilizes negative space engineering. The chains act as bridges between solid stitch clusters. Because chains have less structural mass than solid stitches, they allow the mandala to expand more easily without requiring as much yarn, maintaining a lightweight profile.
6. The Invisible Join
When you reach the end of the final round, do not use a standard slip stitch. Instead, cut the yarn and use a tapestry needle to mimic the shape of a stitch over the beginning of the round. This creates a seamless edge that is impossible to detect.
Mastery Tip: This technique addresses peripheral integrity. A standard slip stitch creates a small bump that disrupts the perfect circumference. By "weaving" the final stitch, you maintain the continuous loop of the circle, ensuring the tension is balanced all the way around the edge.
THE TECHNICAL LEDGER
Maintenance & Longevity: To keep your crochet circles in top condition, hand wash them in cool water with a pH-neutral detergent. Avoid wringing the fabric, as this can snap the delicate fibers. Instead, roll the piece in a dry towel to remove excess moisture and re-block it on a foam board.
Material Variations:
- Sustainable: Organic hemp or linen offers incredible durability and a rustic texture.
- Recycled: T-shirt yarn (made from textile waste) is perfect for heavy-duty floor mandalas.
- Premium: Mulberry silk or alpaca blends provide a high-end sheen and soft hand-feel for decorative wall hangings.
The Correction:
- The Bowl Effect: If the circle cups, your tension is too tight or you missed increases. Fix: Froth back and use a hook one size larger.
- The Ruffle: If the edges wave, you have too many stitches. Fix: Decrease the frequency of increases in the next round.
- The Gaps: If you see holes between stitches, your hook is too large for the yarn. Fix: Downsize your hook to increase stitch density.
Studio Organization: Store your completed projects flat in acid-free tissue paper. Never hang a crochet mandala for long periods without a rigid backing, as gravity will eventually stretch the stitches and distort the circular geometry.
THE FINAL REVEAL
The finished piece is a symphony of mathematics and artistry. When you hold your completed Rhythmic Crochet Circles up to the light, the symmetry should be flawless, with every stitch acting as a pillar for the next. The texture is rhythmic and soothing, a physical manifestation of the time and focus you poured into the craft. Whether you use them as functional coasters or join them together for a massive wall installation, these circles represent a mastery over fiber and form. You have successfully turned a single strand of yarn into a structurally sound, geometrically perfect work of art.
STUDIO QUESTIONS
How do I prevent my crochet circles from curling?
Curling usually indicates tight tension or insufficient increases. Ensure you follow the mathematical formula for rounds and block your finished piece using pins and steam to set the fiber's structural memory into a flat position.
What is the best yarn for beginners?
Mercerized cotton is the gold standard for beginners. It has high tensile strength, minimal stretch, and excellent stitch definition, making it easy to see your work and maintain a consistent Maker's Rhythm throughout the project.
Can I change colors in the middle of a round?
Yes; for a seamless transition, pull the new color through the final two loops of the last stitch of the old color. This secures the ply of the new thread without creating bulky knots that disrupt the circle's surface.
Why does my circle look like a hexagon?
Hexagonal shaping happens when increases are stacked directly on top of each other. To fix this, stagger your increases by shifting their placement in each round. This distributes the bulk evenly and maintains a smooth, curved circumference.

