
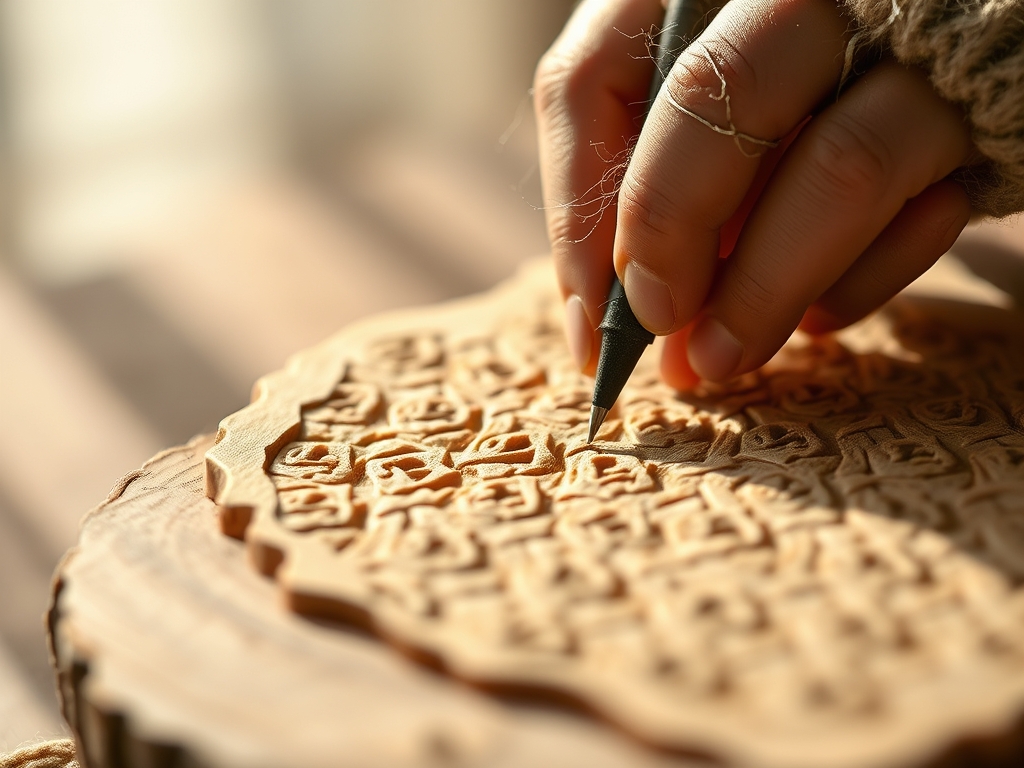
Grab your apron and clear the workbench because we are about to dive into the visceral, rhythmic world of repetitive lino carving. There is a specific, addictive hum that happens when a razor-sharp steel blade meets a fresh sheet of battleship gray linoleum. You feel that initial resistance; it is the tensile strength of the linseed oil and cork dust matrix fighting back just enough to give you control. Then, the blade glides. It is a tactile conversation between your steady hand and the material density. When you are deep into a project that requires hundreds of identical hatches or delicate cross-hatching, your tools become an extension of your nervous system. We are talking about precision work where a single millimeter of deviation ruins the structural integrity of your print block. This is not just hobby craft; it is a high-stakes game of physics and geometry. We are going to master the tools that make those tiny, repetitive movements feel like a fluid dance rather than a grueling chore.
THE STUDIO KIT
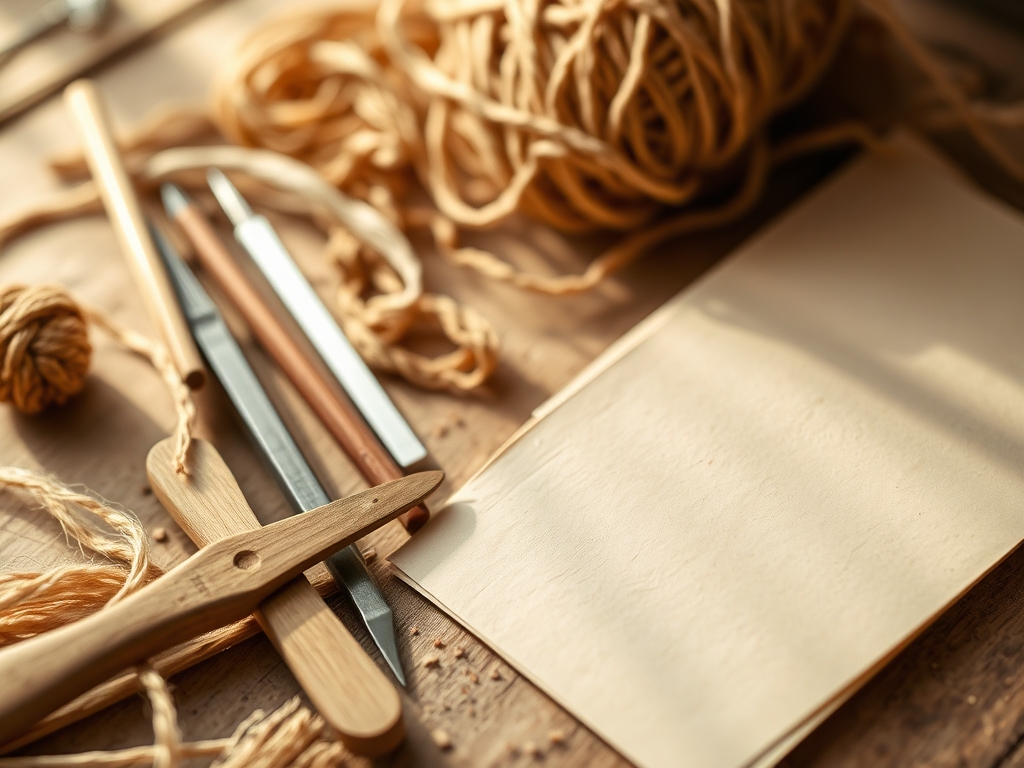
To survive a marathon session of repetitive lino carving, your kit needs to be curated for ergonomic efficiency and edge retention. You cannot use dull, stamped-metal cutters here. We need high-carbon steel that holds a "scary sharp" edge through thousands of strokes. Your primary arsenal should include a range of micro-v-tools and u-gouges with varying sweeps. I recommend having at least three different gauges of V-tools (0.5mm to 2mm) to handle the varying line weights of your design.
You will also need a high-quality bench hook to stabilize your block; this prevents the lino from sliding and ensures your non-carving hand stays safely behind the blade. For the material itself, traditional jute-backed linoleum is the gold standard because its porous surface holds ink better than synthetic alternatives. However, if you are looking for Material Substitutions, high-density PVC blocks offer a smoother, almost buttery carving experience, though they lack the organic scent of linseed. Keep a honing strobe and green chromium oxide paste nearby. You should be stropping your blades every twenty minutes to maintain the bevel geometry. Finally, grab a pair of digital calipers to check your carving depth; consistency is the secret to a clean print.
THE TEMPO
The "Maker's Rhythm" is a real psychological state where your brain waves synchronize with the physical resistance of the medium. For a standard 5×7 inch block featuring dense, repetitive patterns, expect to spend about thirty minutes on the transfer and layout phase. This is where you use a bone folder to burnish your design onto the block. The actual carving phase is the marathon; it usually takes four to six hours of focused labor.
I break this down into "sprints." Spend forty-five minutes carving, followed by a ten-minute break to stretch your hands and reset your focal length. This prevents carpal tunnel strain and ensures your eyes do not lose track of the fine kerf lines. The final phase, the proofing and refinement, takes about an hour. This is where you pull a test print, identify "chatter" (unwanted marks), and use your detail knives to clean up the edges. Respecting this tempo ensures your hand remains steady and your lines remain crisp from the first stroke to the last.
THE CORE METHOD
1. Stabilize the Matrix
Before the first cut, ensure your linoleum is at the optimal temperature. Cold lino is brittle and prone to chipping, which ruins fine-line definition. Warm the block slightly with a heat gun or by sitting on it. This softens the linseed oil binders, reducing the shear force required to move the blade through the material. Secure the block firmly against the bench hook so that all energy is directed into the cut rather than holding the piece in place.
Mastery Tip: The science of thermal plasticity means that a warmer block allows for a "cleaner exit" at the end of a stroke, preventing the jagged "tails" that occur when the material snaps under tension.
2. The Anchor Grip
Hold your detail knife like a pencil but anchor your pinky finger against the block surface. This creates a tripod of stability. Your power comes from the shoulder and elbow, while your wrist remains locked. For repetitive lino carving, this mechanical advantage reduces muscle fatigue and ensures every stroke has the exact same depth of engagement.
Mastery Tip: By using your finger as a pivot point, you are utilizing cantilever physics to maintain a consistent angle of attack, which is crucial for uniform line width across a repetitive pattern.
3. Executing the Micro-V Cut
Position the V-tool at a 30-degree angle. Push forward with steady, even pressure. In repetitive work, the goal is to create a "ribbon" of lino that curls away elegantly. If the material is bunching or tearing, your angle of incidence is too steep. The depth should be just enough to clear the surface; going too deep compromises the tensile strength of the surrounding ridges, causing them to collapse under the pressure of the printing press.
Mastery Tip: This process relies on displacement physics. The V-shape of the tool pushes material aside as it cuts; if you cut too close to an existing line, the lateral pressure can cause the "wall" between the lines to fracture.
4. Clearing the Channels
Once your detail lines are set, use a small U-gouge to clear the "white space" around your repetitive patterns. Work in concentric circles or parallel rows. The goal here is to create a smooth, recessed floor. If your floor is uneven, the capillary action of the ink will cause it to pool in low spots, leading to "salty" or uneven prints.
Mastery Tip: Maintaining a consistent floor depth ensures structural integrity across the block, preventing the lino from warping when you apply the high pressure of a vertical relief press.
THE TECHNICAL LEDGER
Maintenance & Longevity: Never wash your linoleum with harsh solvents; this leaches the oils and makes the block brittle. Store your carved blocks flat in a climate-controlled environment. To protect the delicate ridges of your repetitive carving, place a sheet of acid-free glassine between blocks.
Material Variations:
- Sustainable: Cork-based lino is biodegradable and utilizes recycled wood flour.
- Premium: Japanese "Shina" plywood offers a different grain resistance but allows for even finer detail than lino.
- Recycled: Some artists use discarded vinyl flooring, though the chemical composition can be tough on blade edges.
The Correction:
- The Slip: If the knife slips and gouges a "keep" area, use a tiny amount of wood filler or super glue mixed with lino dust to plug the hole. Sand it flush once dry.
- The Dull Blade: If the lino is "tearing" rather than cutting, your blade has lost its honed edge. Strop immediately.
- Ink Clogging: If your fine lines are disappearing during printing, your ink is too viscous. Add a drop of plate oil to reduce the surface tension.
Studio Organization: Use a magnetic tool strip to keep your detail knives upright. This prevents the tungsten steel tips from touching other metal surfaces, which can cause micro-chipping at the molecular level.
THE FINAL REVEAL
There is nothing quite like the moment you peel back the paper to reveal your first proof. After hours of repetitive lino carving, seeing those hundreds of tiny, precise lines manifest as a high-contrast image is pure magic. The texture is tactile; you can feel the ridges of the ink sitting on top of the paper fibers. The rhythm of your labor is frozen in the geometry of the print. It is crisp, professional, and undeniably soulful. You have turned a flat, dull gray slab into a vehicle for infinite reproduction.
STUDIO QUESTIONS
What is the best blade for tiny details?
A 0.5mm 60-degree V-tool is the industry standard. It provides the necessary lateral stability to cut hair-thin lines without the tip snapping. The steep angle ensures the "walls" of your cut are strong enough to withstand the printing press pressure.
How often should I sharpen my lino tools?
You should strop your blades every 15 to 20 minutes during active carving. This maintains the micro-bevel of the steel. True sharpening on a stone is only necessary if the edge is nicked or significantly rounded from long-term use.
Why is my linoleum crumbling while I carve?
Crumbling usually indicates the linoleum is too old or too cold. The linseed oil has oxidized, destroying the elasticity of the matrix. Try warming the block gently; if it remains brittle, the material has reached the end of its shelf life.
Can I use a craft knife for repetitive carving?
While possible, a swivel-style detail knife or a dedicated V-gouge is superior. Standard craft knives require two passes to create a single groove, doubling your labor and increasing the risk of mechanical error in complex, repetitive patterns.

