
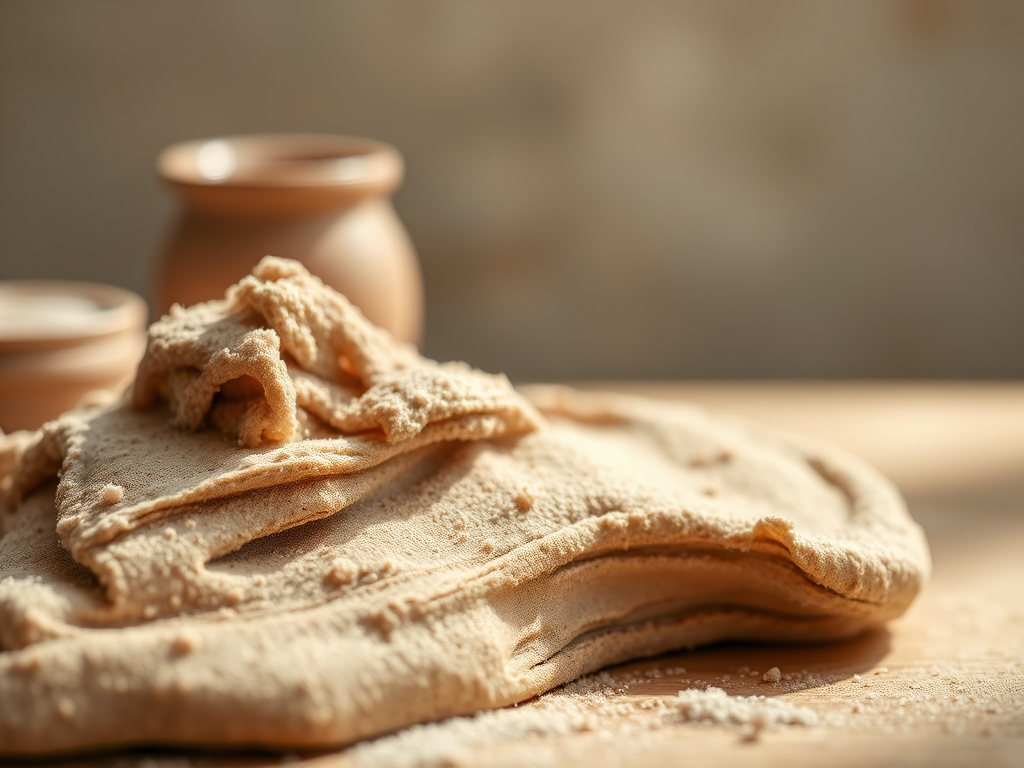
Imagine the sensation of cold, heavy stoneware clay yielding under your palms as the wheel begins its rhythmic hum. There is a specific, electric moment where the raw material transitions from a stubborn lump into a responsive canvas. Mastering the art of Fluid Pottery Sponging is your ticket to achieving that ethereal, professional finish that distinguishes a hobbyist from a seasoned ceramicist. It is all about the delicate interplay between water saturation and surface tension. When you press a moisture laden sponge against a rotating vessel, you are not just cleaning it; you are managing the structural integrity of the clay body at a molecular level. We are diving deep into the physics of hydration today. Grab your apron because we are about to get messy in the most sophisticated way possible.
THE STUDIO KIT
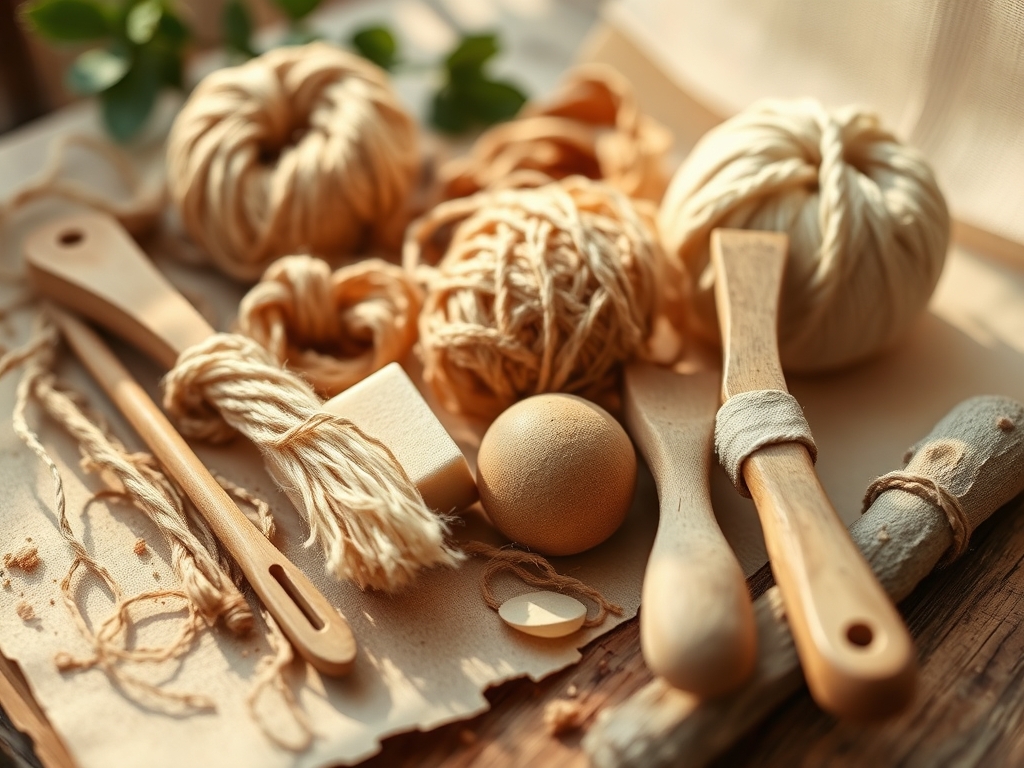
To execute Fluid Pottery Sponging with precision, your toolkit must prioritize porosity and ergonomic control. You will need a variety of sponges, starting with a high density synthetic sponge for bulk water removal and a natural silk sponge for fine finish work. Natural sponges are superior because their irregular pore structure prevents the repetitive tracking patterns often left by factory made foam. You also need a set of stainless steel calipers to measure wall thickness, ensuring your sponging does not thin the piece beyond its tensile limit.
A flexible rib made of silicone or stainless steel is essential for compressing the clay particles after sponging. This prevents the surface from becoming overly "short" or brittle as it dries. For material substitutions, if you lack a professional silk sponge, a piece of high quality chamois leather or a scrap of fine pored cosmetic sponge works beautifully. Always keep an awl or a needle tool nearby to pop any air bubbles that migrate to the surface during the hydration process.
THE TEMPO
The Maker's Rhythm is a dance with evaporation. Fluid Pottery Sponging is not a singular event but a series of timed interventions. The initial saturation phase takes roughly three to five minutes per piece, depending on the gauge of the walls. You must allow for a "dwell time" of sixty seconds after the first pass to let the water penetrate the outer 0.5mm of the clay body.
The refinement phase happens in ten minute intervals. If you work too fast, you risk collapsing the piece due to oversaturation; work too slow, and the clay becomes leather hard, resisting the fluid motion of the sponge. The total active time for a medium sized vessel is approximately thirty minutes, but the psychological tempo is one of focused, deliberate patience. You are waiting for the clay to reach the perfect state of plasticity.
THE CORE METHOD
1. The Initial Hydration Pass
Start with a saturated sponge held at a forty five degree angle against the rotating clay. The goal is to create a consistent film of water that allows the sponge to glide without friction. This reduces "drag," which can cause structural twisting in the neck of a vase. Mastery Tip: This phase utilizes capillary action to draw moisture into the microscopic gaps between clay platelets, increasing the material's overall flexibility.
2. Directional Compression
Move the sponge from the base upward in a slow, spiraling motion. Use your non dominant hand to support the interior wall, creating a "sandwich" of pressure. This ensures that the tensile strength of the clay remains uniform throughout the height of the piece. Mastery Tip: Applying pressure while sponging aligns the flat clay particles, a process known as mechanical orientation, which prevents warping during the firing process.
3. Surface Slurry Management
As you sponge, a thin layer of "slip" or slurry will form. Do not wash this away immediately. Use a damp sponge to redistribute this fine particulate into any small fissures or pinholes. This is the "fluid" part of the technique where the clay acts more like a liquid than a solid. Mastery Tip: The slurry contains the smallest particles of the clay body, which act as a natural filler to create a glass like surface finish once burnished.
4. Edge Refinement and Beveling
Use the edge of a compressed synthetic sponge to define the rim. A sharp, well defined rim is less prone to chipping. Apply steady pressure to "tuck" the clay particles back into the center of the rim's cross section. Mastery Tip: Compressing the rim increases its density, making it the strongest part of the vessel and protecting it against the thermal shock of the kiln.
5. The Chamois Finish
For the ultimate fluid look, wrap a strip of wet chamois over the sponge. This provides a surface area with zero visible pores, allowing you to buff the clay while it is still wet. It creates a slight suction that pulls excess water out while leaving the minerals behind. Mastery Tip: This technique exploits surface tension to pull the clay into a perfectly spherical or cylindrical form, correcting minor wobbles without removing material.
6. Interior Moisture Balancing
Never forget the inside. Use a long handled sponge tool to remove "S cracks" forming at the base. These cracks are caused by uneven drying when water pools in the bottom. Mastery Tip: Hydrostatic pressure from a pool of water can weaken the base of a pot; consistent sponging ensures the base dries at the same rate as the walls.
7. Texture Integration
If you plan to carve later, use a damp sponge to soften the areas where the tool will enter the clay. This prevents the clay from "shattering" or flaking when the jeweler's saw or carving tool makes its first contact. Mastery Tip: Pre hydrating the surface lowers the Mohs hardness of the damp clay, allowing for cleaner, more fluid decorative strokes.
8. The Gradient Wash
To create a variegated surface, use two sponges with different water temperatures. A warm water sponge opens the pores, while a cold water sponge closes them. This can create subtle visual textures in the raw clay that persist through the glaze. Mastery Tip: Thermal expansion on a micro scale can slightly alter the porosity of specific zones, affecting how much glaze is later absorbed.
9. Final Structural Audit
Use your calipers one last time while the surface is still fluid. If one side is thicker, use a thirsty (wrung out) sponge to "wick" away moisture and clay from that specific area. Mastery Tip: This is a subtractive process that relies on the sponge's ability to act as a gentle abrasive when the water content is precisely controlled.
THE TECHNICAL LEDGER
Maintenance & Longevity: Sponges harbor bacteria that can degrade the organic matter in your clay, leading to "sour" smells and mold. Sanitize your sponges weekly in a mild bleach solution or by microwaving them while damp for sixty seconds. Replace any sponge that loses its elasticity or begins to crumble.
Material Variations:
- Sustainable: Use loofah gourds or cellulose based sponges derived from wood pulp for an eco friendly studio.
- Premium: Sea silk sponges offer the highest pore density for ultra fine porcelain work.
- Recycled: Old cotton t shirts can be cut into strips and used for the chamois finish technique.
The Correction:
- The Slump: If the piece begins to sag from over hydration, stop immediately and use a heat gun or hair dryer for sixty seconds to restore structural integrity.
- The Scuff: If a dry sponge leaves a scratch, apply a drop of thick slip and use a wet silk sponge to "weld" the scratch shut.
- The Wobble: If the rim becomes uneven, use a rotary cutter or a needle tool to trim the top 2mm, then re sponge the edge to seal the grain.
Studio Organization: Store your damp sponges in a perforated plastic bin. This allows for airflow to prevent rot while keeping them within arm's reach of the wheel. Never store wet sponges directly on wooden bats, as this will cause the wood to warp and lose its flatness.
THE FINAL REVEAL
Look at that glow! When you master Fluid Pottery Sponging, your work takes on a lifelike, organic quality that looks like it was grown rather than built. The surface is so smooth it practically reflects the studio lights, and the transitions between the foot and the rim are seamless. You have successfully navigated the physics of water and earth to create something that feels balanced, dense, and incredibly sophisticated. This is the foundation of high end ceramics; once you have the surface prep down, every glaze and carving you add later will look ten times better.
STUDIO QUESTIONS
What is the best sponge for porcelain?
Natural silk sponges are the gold standard for porcelain. Their tight pore structure prevents the "plucking" of fine kaolin particles, ensuring the surface remains buttery smooth and maintains its high tensile strength during the throwing process.
Can I over sponge my pottery?
Yes, excessive sponging can "wash out" the fine particles, leaving the surface feeling gritty or "short." This happens when you use too much water, which strips the plastic clay minerals and leaves behind the non plastic silica sand.
How do I stop my sponge from smelling?
Rinse your sponges thoroughly after every session and allow them to air dry completely. Storing sponges in airtight containers promotes anaerobic bacteria growth. A quick dip in a diluted vinegar solution can also neutralize odors and kill lingering spores.
Why is my clay cracking after sponging?
Cracking usually indicates uneven moisture distribution. If you sponge the top heavily but leave the base dry, the different rates of shrinkage will create internal stress. Always aim for a uniform level of hydration across the entire piece.

