

Grab your favorite stool and clear the workbench because we are about to dive into the most satisfying sensory experience your hands have ever known. Picture this: a quiet afternoon, the scent of cedar shavings filling the air, and the rhythmic sound of a razor-sharp blade slicing through soft grain. This is the heart of meditative whittling tasks. It is not just about making a tiny object; it is about the physics of the wood meeting the precision of your steel. When you engage in these meditative whittling tasks, you are actually performing a high-level coordination of fine motor skills and material science. You feel the tactile resistance of the cellulose fibers as they yield to your edge. It is a dance between your grip strength and the wood's internal structure. We are going to transform simple basswood blocks into geometric masterpieces that feel incredible to hold. This process calms the nervous system by focusing your visual attention on the micro-movements of the blade. It is time to stop scrolling and start carving your way to a clearer mind.
THE STUDIO KIT
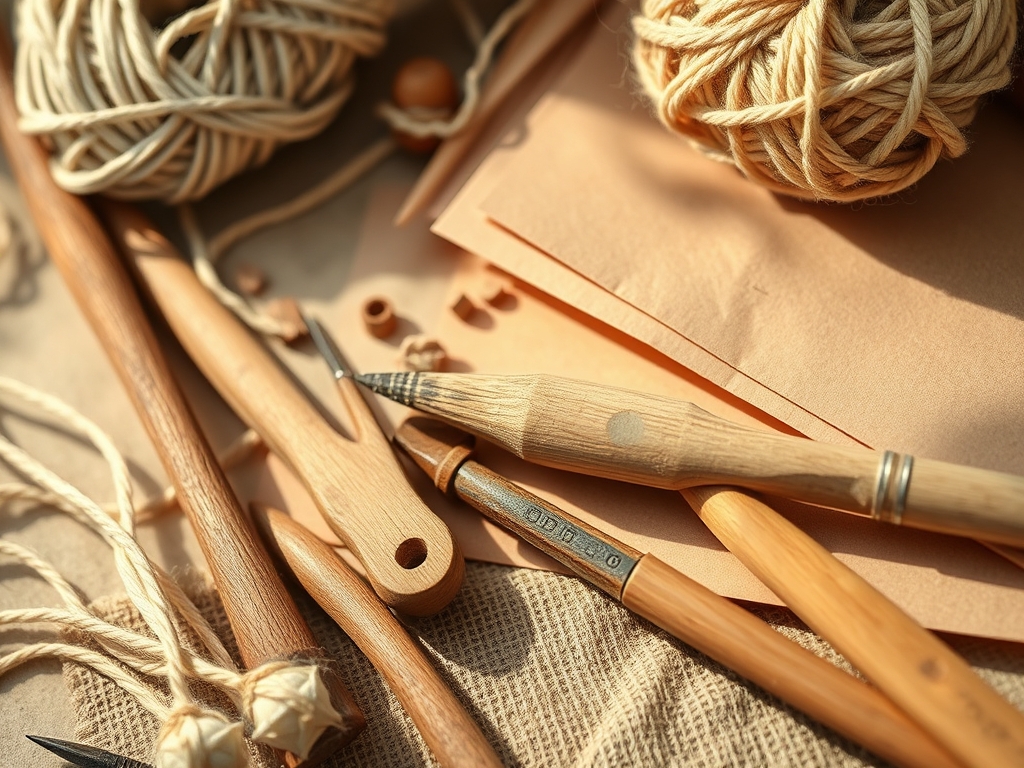
To master these meditative whittling tasks, you need a kit that respects the tensile strength of your medium. Start with a high-carbon steel detail knife. Unlike stainless steel, high-carbon alloys hold an edge that can slice through grain without crushing the delicate vascular bundles of the wood. You will also need a strop coated with chromium oxide paste to maintain that mirror-polish edge. For your material, basswood is the gold standard for beginners because it is isostropic, meaning it has a relatively uniform density that resists splitting.
If you cannot find basswood, your material substitutions include butternut or white pine. Avoid oak or hickory for these specific tasks; their high Janka hardness rating will fatigue your hands before you reach a flow state. You should also keep a pair of calipers nearby to check the symmetry of your shapes and a thumb guard to protect your skin from the inevitable slips. A small brush is essential for clearing the porous dust from your workspace to keep your lungs and your project clean.
THE TEMPO
The maker's rhythm is all about the "Slow Burn." You cannot rush the grain. Expect to spend approximately fifteen minutes on the initial rough-out phase where you remove the bulk of the material. The shaping phase takes another thirty minutes of focused, incremental slices. Finally, the refining and burnishing phase can take as long as you desire; this is where the true meditative quality peaks. Total time per shape is roughly one hour. The secret is to match your breathing to the stroke of the knife. Short, controlled paring cuts should happen on the exhale to stabilize your core and ensure maximum ergonomic control.
THE CORE METHOD
1. The Perfect Sphere
Start with a one-inch cube. Your goal is to remove the eight corners first, turning the cube into a fourteen-sided polyhedral. Continue shaving the new edges until the form rounds out. Mastery Tip: This task relies on understanding radial symmetry. By rotating the wood constantly, you ensure that you are not over-carving one side, which maintains the structural integrity of the sphere.
2. The Elegant Egg
This shape introduces an asymmetrical axis. You will carve one end of a cylinder into a blunt curve and the other into a more tapered point. This requires a "pull stroke" where the thumb of your knife hand acts as a lever. Mastery Tip: The physics of the egg shape involves compressive strength. A perfectly carved egg distributes pressure evenly across its surface, making it surprisingly durable despite being made of soft wood.
3. The Continuous Spiral
Using a pencil, draw a helix around a wooden dowel. Follow this line with shallow "V-cuts" using the tip of your knife. This is the ultimate test of following the grain direction. Mastery Tip: When you carve a spiral, you are constantly transitioning from carving with the grain to carving across it. This requires you to adjust the angle of your blade to prevent "tear-out," which happens when the blade digs too deep into the fibers.
4. The Geometric Pyramid
This task focuses on creating flat, crisp planes. Use a straight-edge to mark your center point on the top of a cube and draw lines to the base corners. Slice downward with a firm, steady hand. Mastery Tip: Achieving a flat surface requires a high degree of shear force. If your blade is dull, it will "wave" through the wood; a sharp blade creates a perfectly flat plane by shearing the fibers at a uniform depth.
5. The Comfort Stone
This is a free-form shape designed to fit the specific contours of your palm. It involves deep, scooping cuts and heavy burnishing. Mastery Tip: Use a smooth piece of hardwood or a metal spoon to burnish the surface after carving. This process compresses the surface fibers, increasing the wood's density and creating a natural, glossy sheen without the need for chemical finishes.
THE TECHNICAL LEDGER
Maintenance & Longevity: To keep your finished pieces from cracking, you must manage their moisture content. Wood is hygroscopic, meaning it absorbs and releases water from the air. Apply a coat of food-grade mineral oil to seal the pores. This prevents the wood from becoming brittle over time.
Material Variations:
- Sustainable: Use reclaimed orchard prunings like apple or cherry wood.
- Recycled: Old tool handles made of ash can be carved into beautiful, dense shapes.
- Premium: Black walnut offers a stunning dark color and a rich, nutty scent but requires more force to carve.
The Correction:
- The Ragged Edge: If your cuts look fuzzy, your blade is dull. Use your strop immediately to realign the micro-bevel of the steel.
- The Deep Split: If the wood splits ahead of your knife, you are carving against the grain. Reverse your direction to work "downhill" with the fibers.
- The Flat Spot: If your sphere has a flat area, use your calipers to find the high points around it and shave those down rather than trying to fix the hole.
Studio Organization: Store your unfinished projects in a sealed plastic bag with a few of their own shavings. This creates a micro-environment that slows down the drying process, preventing the wood from checking or splitting between carving sessions.
THE FINAL REVEAL
There is nothing quite like the weight of a finished, hand-carved geometric shape sitting in your palm. Look at those clean lines and the way the light catches the facets of your pyramid or the smooth curve of your sphere. You have successfully navigated the complex cellular structure of a living material and imposed your will upon it with nothing but a sliver of steel. These objects are more than just wood; they are physical manifestations of your focus and patience. The tactile feedback of the burnished surface is a reward for your hard work. You have mastered the basics of meditative whittling tasks, and your studio is now a place of both high-energy creation and deep, soulful quiet.
STUDIO QUESTIONS
What is the best wood for meditative whittling tasks?
Basswood is the premier choice due to its fine grain and low Janka hardness. It allows for intricate detail without requiring excessive force, making it ideal for maintaining a relaxed, meditative state during long carving sessions.
How often should I sharpen my whittling knife?
You should strop your blade every twenty minutes of active carving. This maintains the honed edge and prevents the steel from rounding over. True sharpening on a stone is only necessary when the edge becomes nicked or significantly dull.
Why does my wood keep splitting while I carve?
Splitting occurs when you carve against the grain direction. The blade acts as a wedge, forcing the fibers apart before it can cut them. Always observe the "runout" of the grain and carve in the direction the fibers lay.
Do I need to sand my whittled shapes?
Sanding is optional but often discouraged in traditional whittling. A sharp knife leaves a "faceted" finish that reflects light beautifully. If you prefer a smooth texture, use high-grit sandpaper and always burnish the wood afterward for a professional feel.
Is whittling safe for beginners with no experience?
Yes, provided you use a thumb guard or carving glove. Most injuries happen when the carver applies too much force because the knife is dull. A sharp knife and proper "leveraged" cuts significantly reduce the risk of accidental slips.

