
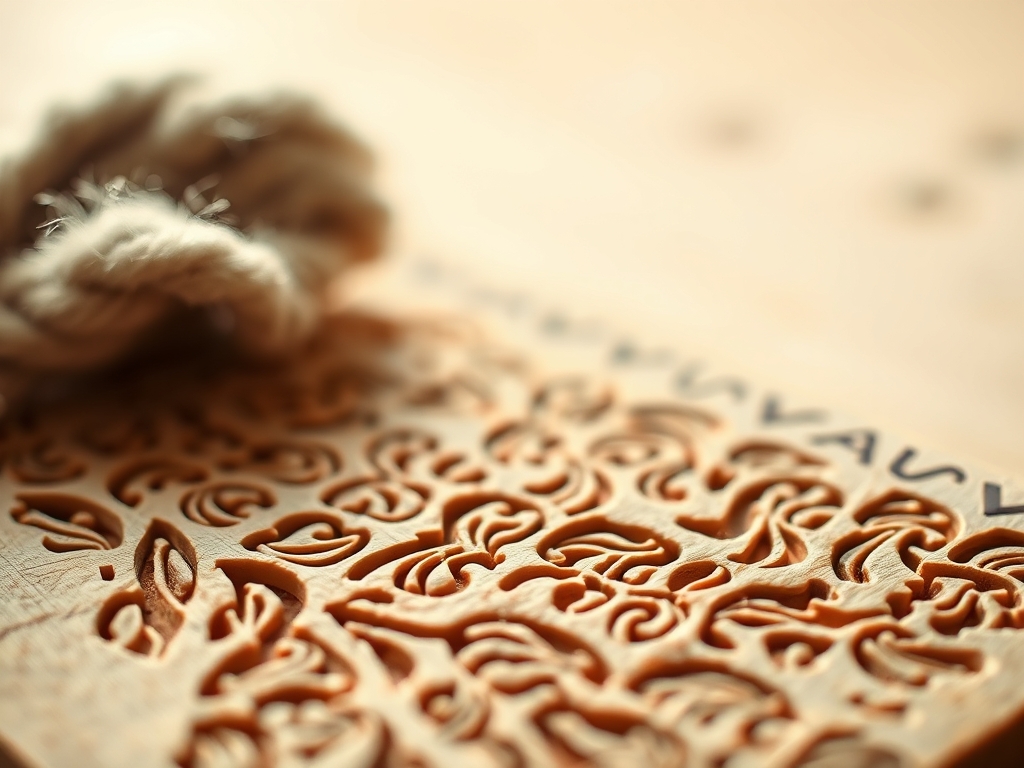
The scent of linseed oil and pine resin hits your nose before you even touch the block. It is a sharp, earthy perfume that signals the start of a marathon session. You are standing over a slate-gray slab of battleship linoleum, feeling that specific, dense resistance that only high-quality cork and oxidized oil can provide. When you begin the process of repetitive linocut carving, your body enters a strange, mechanical trance where the physics of friction meets the grace of a surgeon. The material is surprisingly temperamental; it is a thermoset polymer that softens with the heat of your palms but remains brittle enough to chip if your blade angle is off by even a few degrees. We are not just making art here. We are negotiating with the molecular bonds of a compressed substrate. You can feel the potential energy stored in the surface, waiting for the first bite of the steel to release a perfect, curling ribbon of waste material. It is tactile, it is rhythmic, and if you do not respect the physics, it is exhausting.
THE STUDIO KIT
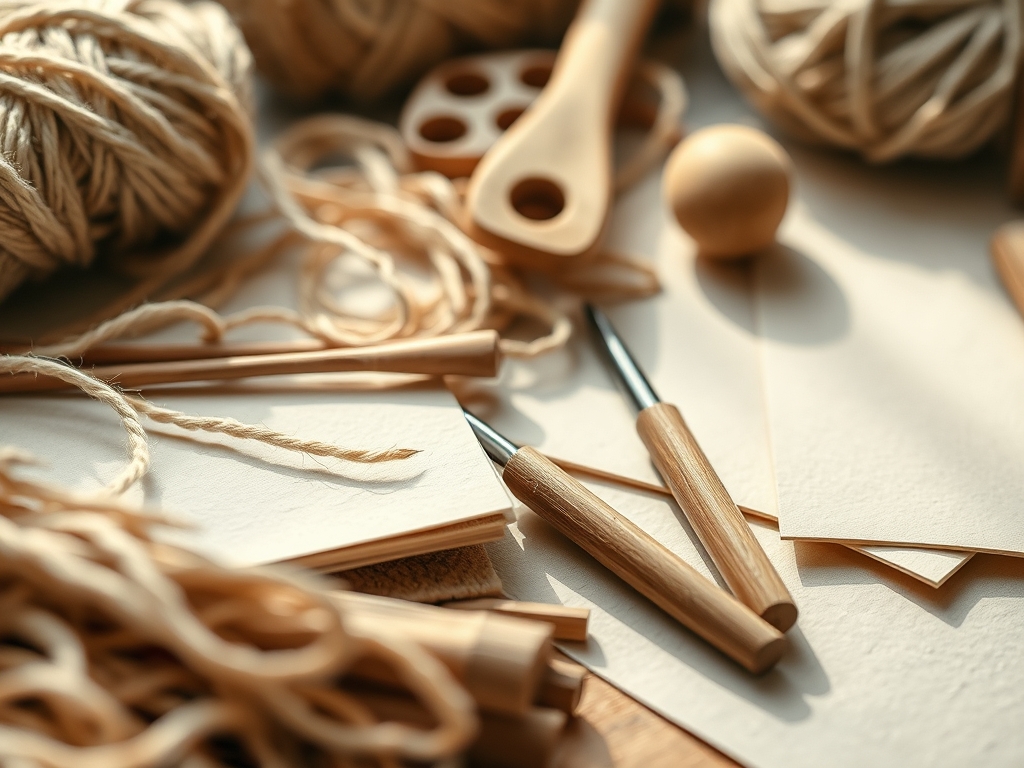
To survive a long-haul carving session, your kit must be an extension of your nervous system. You need a set of tempered carbon steel gouges, specifically a fine V-tool for detail and a shallow U-gouge for clearing bulk. Check the bevel angle of your blades; a 30-degree grind is the sweet spot for slicing through the tensile strength of the linoleum without dragging. You will also need a bench hook to provide a mechanical stop, ensuring the block does not slide under the pressure of your stroke.
For the printing phase, a high-density rubber brayer is non-negotiable. It must have a consistent shore hardness to distribute ink without dipping into the carved valleys. Your paper choice matters too. A porous, long-fiber mulberry paper is ideal because it possesses the capillary action required to pull ink out of the recesses during the burnishing process.
Material Substitutions: If you cannot find traditional battleship lino, you can use high-density PVC "soft-cut" blocks. However, be warned that these have a lower melting point and can gum up your blades if you carve too fast. For a sustainable twist, try recycled cork flooring tiles, though their grain direction is far more chaotic and prone to crumbling under fine detail.
THE TEMPO
The "Maker's Rhythm" is a biological pacing strategy. You cannot sprint through a project that requires five thousand identical strokes. The first phase, the transfer and mapping, takes about twenty percent of your time. This is where you lay down your guide marks using a graphite transfer or a permanent marker.
The carving phase is the bulk of the labor, often taking ten to fifteen hours for a medium-sized block. You must carve in ninety-minute bursts. This timing is based on muscle fatigue thresholds; after ninety minutes, your fine motor control degrades, increasing the risk of a slip. The final phase, the ink calibration and proofing, is a fast-paced technical dance that takes about an hour. You are looking for the "orange peel" texture on your roller, which indicates the perfect viscosity for a crisp transfer.
THE CORE METHOD
1. Anchor the Substrate
Always use a bench hook or a non-slip silicone mat. The physics here is simple: you want 100 percent of your kinetic energy directed into the shear force of the blade, not wasted on holding the block in place. If the block moves, the blade loses its vector trajectory, which is how accidents happen.
Mastery Tip: Understand static friction. If your block is sliding, wipe the underside with a damp cloth to increase the coefficient of friction against your work surface.
2. Heat the Molecular Bonds
Cold linoleum is brittle and resists the blade. Use a heating pad or a hair dryer to gently warm the block to about 85 degrees Fahrenheit. This lowers the yield strength of the material, allowing the gouge to glide through the linseed oil matrix like butter.
Mastery Tip: Do not over-heat. If the lino becomes too soft, it loses its structural integrity, and your fine lines will "mushroom" or collapse under the pressure of the printing press.
3. Establish the Leading Hand
Your non-carving hand must always stay behind the "danger zone" of the blade. Think of your carving tool as a projectile. If the blade catches a hard knot in the cork and then suddenly releases, it will travel forward with significant momentum.
Mastery Tip: Use a leather finger guard on your non-dominant thumb. This provides a tactile pivot point without risking a deep laceration if the tool jumps.
4. Control the Depth of Cut
Repetitive linocut carving requires a shallow, consistent depth. You are only removing the top 0.5mm to 1.0mm of the surface. If you go too deep, you risk hitting the hessian backing, which will fray and ruin the clean edges of your print.
Mastery Tip: This is about displacement. A shallow cut requires less force, which means less strain on your carpal tunnel and a lower chance of the tool snapping.
5. Maintain the Edge
A dull tool is a dangerous tool. You should strop your blade on a leather board infused with chromium oxide every thirty minutes. A sharp blade slices the fibers; a dull blade tears them.
Mastery Tip: Look for the specular reflection on the edge of your blade. If you see a glint of light on the very tip, the edge has rolled and needs to be honed back to a microscopic point.
6. Manage the Debris
As you carve, "swarf" or waste curls will accumulate. Clear these constantly with a soft-bristled brush. If debris gets trapped under your hand, it acts like ball bearings, causing your grip to lose stability.
Mastery Tip: Use a vacuum with a HEPA filter if you are working with older linoleum, as the dust can contain particulate irritants that are best kept out of your lungs.
7. The Ink Charge
When it is time to print, roll your ink out on a glass slab. You are looking for a specific tackiness. If the ink is too thin, it will flood your delicate lines via hydrostatic pressure.
Mastery Tip: Add a drop of burnt plate oil to your ink to adjust the "length." A longer ink will pull away from the block more cleanly, preserving the sharp geometry of your repetitive patterns.
8. The Uniform Burnish
Whether using a professional press or a hand baren, the pressure must be even. You are trying to achieve a molecular bond between the ink film and the paper fibers.
Mastery Tip: Use a bone folder to go over the edges of high-contrast areas. The concentrated pressure ensures that the ink transfer efficiency is maximized at the borders of your design.
THE TECHNICAL LEDGER
Maintenance & Longevity: Your steel tools must be kept dry. Carbon steel is highly susceptible to oxidation. Store them in a tool roll with a small packet of silica gel to absorb ambient humidity.
Material Variations:
- Premium: Silk-backed linoleum offers the highest dimensional stability.
- Recycled: Old flooring can be used, but it often has a high calcium carbonate content which dulls blades instantly.
- Sustainable: Look for blocks made with sustainably harvested cork and soy-based binders.
The Correction:
- The Slip: If you carve where you shouldn't, fill the gap with a mixture of super glue and lino dust. Once dry, sand it flush with a high-grit sandpaper.
- The Saltiness: If your print looks speckled, your ink is too thick or your pressure is too low. Increase the psi of your press.
- The Ghosting: If the image is blurry, the paper moved during the transfer. Use registration pins to lock the paper's coordinates.
Studio Organization: Store your carved blocks flat. If they are leaned against a wall, the viscoelastic nature of the material will cause them to bow over time, making an even print impossible.
THE FINAL REVEAL
There is nothing quite like the moment you peel the paper back from a finished block. The repetitive linocut carving creates a visual frequency that hums. You see the hundreds of tiny, deliberate marks vibrating together to form a cohesive image. The ink sits on the surface with a slight impasto lift, catching the light and showing off the depth of your labor. It is a testament to your patience, your precision, and your mastery over the physical properties of the lino. You did not just draw a picture; you engineered a surface.
STUDIO QUESTIONS
How do I stop my hand from cramping during long sessions?
Focus on ergonomic grip. Do not white-knuckle the tool. Hold the gouge like a pencil and use your shoulder muscles, not just your wrist, to drive the blade forward. This distributes the mechanical load across larger muscle groups.
Can I sharpen my own linocut tools?
Yes, using a multiform slipstone. You must match the internal radius of the U-gouge perfectly. If you change the geometry of the edge, the tool will "dive" into the material or skip across the surface uncontrollably.
Why is my ink "beading up" on the linoleum?
This is usually due to surface tension issues caused by factory oils. Wipe the block with a weak solution of ammonia or lightly scuff the surface with fine-grit sandpaper to create "tooth" for the ink to grab onto.
How many prints can I get from one block?
If stored correctly, a high-quality linoleum block can yield hundreds of prints. The limiting factor is compression set. Over time, the pressure of the press will slightly flatten the raised details, leading to a loss of image fidelity.
What is the best way to clean oil-based ink?
Use a vegetable-oil-based cleaner followed by a mild detergent. Avoid harsh solvents like mineral spirits if possible, as they can degrade the binder in the linoleum, making the block brittle and prone to cracking over time.

