
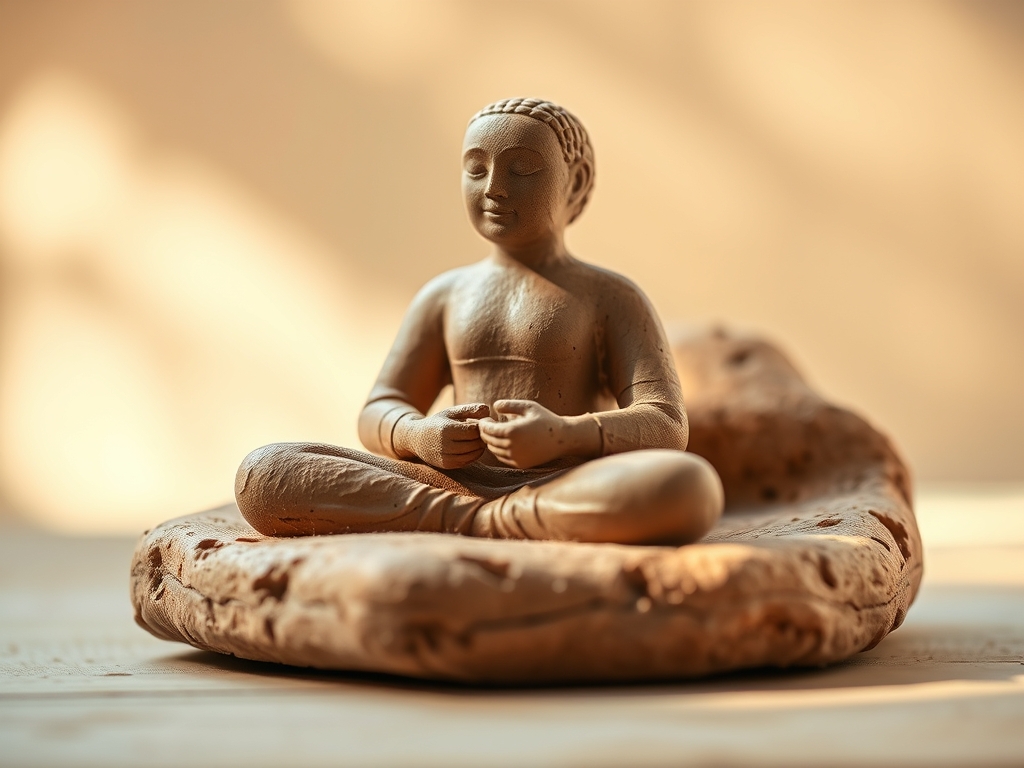
Imagine the cold, damp weight of a fresh block of stoneware resting against your palms; it is a silent, heavy promise of what is to come. As your thumbs press into the center, you feel the resistance of the mineral particles and the way the water acts as a lubricant between the microscopic plates of alumina and silica. This is the beginning of meditative clay sculpting, a process where the chaotic noise of the world is replaced by the rhythmic, tactile feedback of earth meeting skin. You are not just pushing mud around; you are navigating the delicate balance of moisture content and structural integrity. The goal is to find that sweet spot where the clay is plastic enough to move but firm enough to hold its own weight against gravity. It is a dance of physics and intuition. When you master the internal pressure of a hollow form, the clay starts to feel less like a material and more like an extension of your own breath.
THE STUDIO KIT
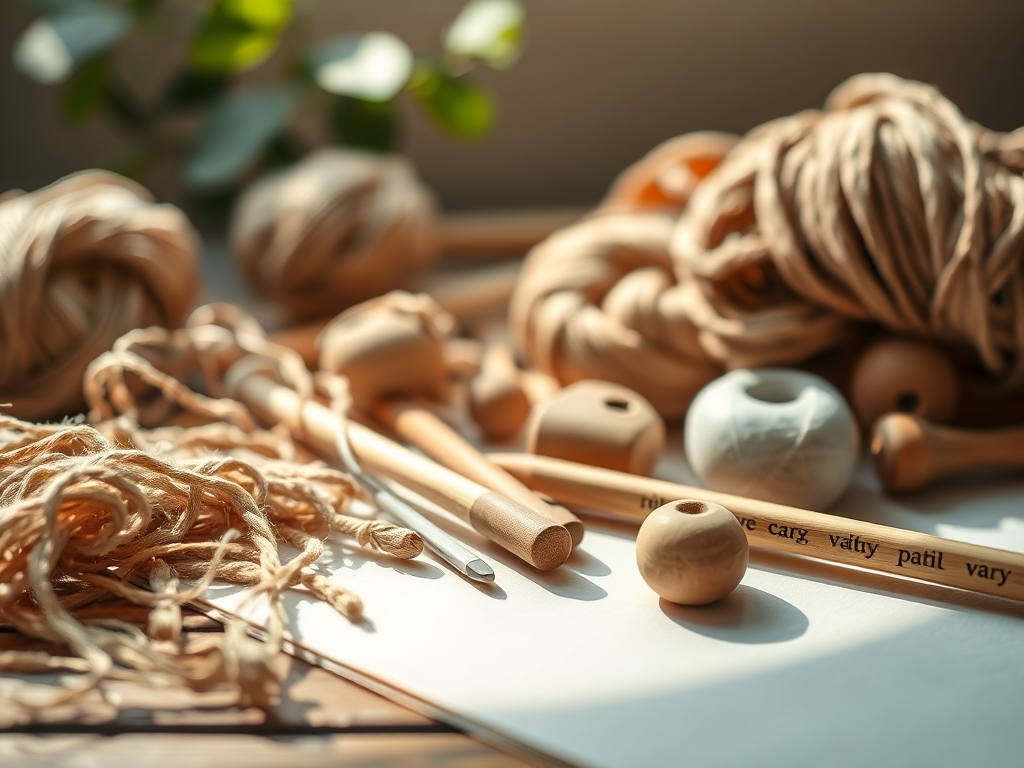
To execute these hollow forms with precision, your workstation needs to be an extension of your intent. Start with a high-fire stoneware or a porcelain blend with a fine grog content; the grog provides the necessary tensile strength to prevent sagging during the build. You will need a set of stainless steel calipers to ensure wall thickness remains uniform, which is vital for preventing cracks during the shrinkage phase. A serrated kidney rib is essential for scoring surfaces, while a flexible polymer rib allows you to burnish the exterior to a glass-like finish. For the internal architecture, keep a needle tool and a wire loop tool handy to shave away excess mass.
If you are looking for material substitutions, you can swap traditional clay for a high-quality air-dry epoxy clay if you lack a kiln, though the porous nature of the material will change your finishing techniques. Instead of a professional throwing wheel, a simple manual banding wheel provides the ergonomic rotation needed for symmetrical hollow forms. Always keep a natural sea sponge nearby; synthetic sponges often hold too much water, which can oversaturate the clay and collapse the delicate capillary action that keeps your walls standing tall.
THE TEMPO
The maker's rhythm is governed by the evaporation rate of water. You cannot rush the chemistry of drying. Phase one is the Plastic State, lasting roughly two hours, where you establish the primary volumes. This is the high-energy portion of the session. Phase two is the Leather-Hard Transition, which usually requires a twelve to twenty-four hour wait depending on your studio's humidity. During this window, the clay particles settle into a rigid lattice, allowing for detailed carving without deformation.
Finally, the Bone-Dry Phase takes three to seven days. This is the most precarious time because the clay has lost its flexibility and becomes brittle. The tempo of meditative clay sculpting requires you to respect these biological pauses. If you force a connection when the clay is too dry, the shrinkage rate will cause the joint to fail. If you carve when it is too wet, you lose the crispness of the anatomical detail.
THE CORE METHOD
1. The Ovoid Torso Base
Start by pinching two identical bowls. This creates the primary thoracic cavity. Once the rims are slightly firm, use a serrated rib to score the edges deeply. Apply a thick layer of slip, which acts as a liquid bridge for the clay particles to intermingle. Press the two halves together to trap a pocket of air inside.
Mastery Tip: The trapped air provides internal pneumatic support. This air pressure acts as a temporary armature, allowing you to beat the exterior with a wooden paddle to refine the shape without the form collapsing inward.
2. The Cylindrical Cervical Column
Roll a slab to a precise 6mm gauge using a rolling pin and guide sticks. Wrap this slab around a wooden dowel to create the neck. Ensure the seam is beveled at a forty-five degree angle to increase the surface area of the bond, which significantly improves the structural integrity of the joint.
Mastery Tip: Use a bone folder to burnish the interior seam. By compressing the clay particles at the molecular level, you reduce the risk of "S-cracks" that occur when tension pulls at a weak join during the firing process.
3. The Spherical Cranium
Form a small, hollow sphere using the pinch-pot method. This will be the skull. It is vital to keep the walls thin; a heavy head will cause the neck to compress and distort the ergonomic alignment of the figure. Use your calipers to check that the diameter matches the proportions of your torso base.
Mastery Tip: To prevent the head from exploding in the kiln, use a fine awl to poke a tiny vent hole at the base of the skull. This allows expanding water vapor to escape as the temperature rises.
4. The Tapered Limb Housings
Create four elongated cones using the coiling method. These represent the upper and lower segments of the arms and legs. By keeping these forms hollow, you ensure that the entire sculpture dries at a uniform rate, which is the golden rule of meditative clay sculpting.
Mastery Tip: Pay attention to the grain direction of the clay. When you roll coils, you align the particles. If you stretch the clay too far, you create "memory" in the material, which might cause the limbs to warp back to their original shape during the heat of the kiln.
5. The Pelvic Anchor
The final form is a wide, shallow bowl that serves as the pelvic cradle. This must be the thickest part of the sculpture to support the cumulative weight of the upper hollow forms. Use a loop tool to refine the transition points where the legs will eventually dock into the hip sockets.
Mastery Tip: Utilize surface tension by slightly dampening the exterior with a fine mist. This keeps the outer "skin" of the clay elastic while the core begins to set, preventing surface crazing as you manipulate the heavy base.
THE TECHNICAL LEDGER
To ensure the longevity of your hollow figures, you must manage the hygroscopic nature of the clay. If one part of the sculpture dries faster than another, the resulting stress will lead to catastrophic failure.
Material Variations:
- Premium: Paper clay contains cellulose fibers that create an internal mesh, allowing for incredibly thin walls and superior tensile strength.
- Sustainable: Reclaim your scraps by slaking them down in water and re-wedging them on a plaster bat to remove air bubbles.
The Correction:
- The Crack: If a crack appears at leather-hard, do not just add water. Fill it with "paper clay vinegar slip" to chemically bond the edges.
- The Slump: If the torso begins to sag, use a heat gun for sixty seconds to flash-dry the surface and lock the structural lattice.
- The Blowout: If a piece explodes, it was likely due to an air pocket. Always ensure your hollow forms are vented with a needle tool.
Studio Organization: Store your in-progress work under a "wet tent" made of heavy-gauge plastic. Place a damp sponge inside the tent to maintain a micro-climate of high humidity, preventing the clay from reaching the bone-dry state before you are finished.
THE FINAL REVEAL
There is nothing quite like the moment you pull a finished, hollow-formed figure out of the kiln. It feels impossibly light in your hands; a ghost of the heavy mud you started with. Because you focused on the physics of the build, the surfaces are smooth, the proportions are balanced, and the piece resonates with a clear, bell-like ring when tapped. The meditative clay sculpting process transforms a raw mineral into a vessel of intention. Your figure stands as a testament to your patience and your technical mastery over the elements.
STUDIO QUESTIONS
What is the best clay for hollow figures?
A stoneware body with 10% to 20% grog is ideal. The grog provides a structural skeleton that prevents the hollow walls from warping or collapsing during the high-heat vitrification process in the kiln.
How do I stop my sculpture from cracking?
Ensure uniform wall thickness throughout the piece. Use calipers to check for heavy spots. Slow down the drying process by covering the work with plastic to allow moisture to equilibrate across all joined surfaces.
Can I make hollow forms without a kiln?
Yes, you can use air-dry clay or epoxy clay. However, these materials do not undergo chemical vitrification, so they will remain sensitive to moisture unless sealed with an archival varnish or resin coating after curing.
Why do I need to vent hollow shapes?
As temperatures rise in a kiln, trapped air and residual moisture expand rapidly. Without a small exit hole, the internal pressure will exceed the tensile strength of the clay, causing the piece to shatter or explode.

