
Imagine the sensation of pure protein fibers sliding through your fingers; it is a tactile experience that feels both fragile and incredibly resilient. When you dive into Fluid Silk Painting, you are not just playing with color; you are manipulating the surface tension of a high-tensile organic textile. The way the dye hits the weave is pure physics.
The silk is a porous canvas waiting for a chemical bond. As the liquid pigment touches the fabric, it travels through the microscopic gaps in the weave via capillary action. It is a rush. You see the color bloom outward in a perfect circle until it hits a barrier. That is where the magic of resist methods comes into play. We are building dams to hold back a flood of vibrant light. This is wearable art that marries the precision of a laboratory with the soul of a high-end fashion house. Grab your brushes and let us master the fluid dynamics of silk together.
THE STUDIO KIT
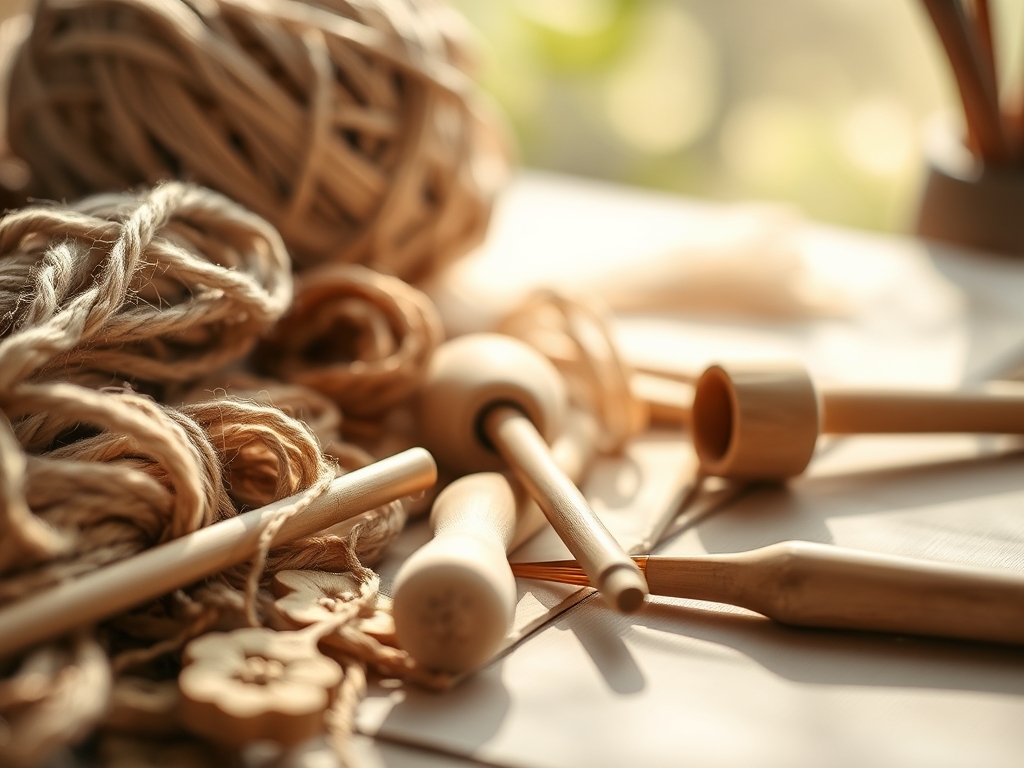
To begin, you need a high-quality Habotai or Crepe de Chine silk. These fabrics have a specific ply and gauge that determine how the dye will migrate. You will also need a set of stainless steel tension hooks or a sturdy wooden frame to stretch the silk until it is taut. If the fabric sags, your dyes will pool and ruin the structural integrity of your design.
For the resists, gather your water-based gutta, solvent-based gutta, and soy wax. You will apply these using a pipette or a fine-tipped applicator bottle. To manage the dye application, keep a variety of natural hair brushes and a rotary cutter nearby for trimming the edges of your finished piece. If you are feeling adventurous, a jeweler's saw can even be used to cut custom stencils from thin copper sheets for unique resist patterns.
Material Substitutions: If you cannot find professional gutta, a high-density clear school glue can serve as a temporary resist, though it lacks the fine viscosity of the real deal. Instead of specialized silk dyes, highly diluted acrylic inks can work, but they will alter the tactile hand of the silk, making it feel stiffer once dry.
THE TEMPO
The "Maker's Rhythm" in Fluid Silk Painting is a dance between patience and rapid-fire execution. The initial stretching and prep work take about thirty minutes. Once you start applying the resist, you must maintain a steady ergonomic flow to ensure the lines are continuous; gaps are the enemy. This phase usually lasts one to two hours depending on the complexity of your geometry.
After the resist is applied, you must wait. The curing time for water-based resists is typically three to four hours, while solvent-based versions dry faster. The actual painting is the high-energy phase. You have a window of about sixty minutes before the dyes begin to set and lose their ability to blend smoothly. Finally, the steam-setting process or chemical fixative phase requires a dedicated forty-five minutes to lock the molecular bond between the pigment and the fiber.
THE CORE METHOD
1. The Gutta Border Technique
Apply your resist in a continuous, unbroken line to create "fences" for your dye. Use a steady hand and consistent pressure on the applicator bottle to ensure the line penetrates through to the back of the silk.
Mastery Tip: This relies on capillary action. If the gutta does not fully saturate the fiber, the dye will "leak" under the line. Always flip your frame to check the underside for a complete seal.
2. The Soy Wax Batik Method
Melt soy wax in a controlled pot and apply it with a brush or a tjanting tool. The wax creates a physical, waterproof barrier that is much more organic and fluid than gutta.
Mastery Tip: Pay attention to the thermal conductivity of the wax. If it is too cool, it sits on top of the fibers; if it is too hot, it spreads too far. It must be translucent upon application to prove it has fully encased the silk threads.
3. Salt Crystallization Displacement
While the dye is still wet, sprinkle coarse sea salt or specialized silk salt onto the surface. The salt grains will draw the liquid toward them, creating beautiful, starburst-like textures.
Mastery Tip: This is a lesson in hygroscopy. The salt is more attractive to the water molecules than the silk is, causing the pigment to migrate toward the salt crystals and leaving lighter areas behind.
4. Alcohol Disruption
Dropping high-percentage isopropyl alcohol onto wet dye creates "halos." The alcohol pushes the pigment molecules away rapidly, creating a sense of depth and movement.
Mastery Tip: This involves surface tension manipulation. The alcohol has a lower surface tension than the water-based dye, causing the dye to retreat in a predictable, circular radius.
5. Anti-Diffusant Priming
Coat the entire silk surface with a thickener or "stop-flow" primer. This allows you to paint on the silk as if it were paper, preventing the dye from spreading at all.
Mastery Tip: This alters the porosity of the fabric. By filling the gaps in the weave with a temporary starch or seaweed-based thickener, you neutralize the natural wicking action of the silk.
6. Mechanical Resists (Shibori)
Fold, twist, or clamp the silk using calipers and blocks before applying dye. The pressure prevents the dye from reaching the interior folds of the fabric.
Mastery Tip: This utilizes compressive force. By tightly binding the silk, you create a physical barrier where the density of the fabric becomes too high for the dye molecules to penetrate.
7. Sugar and Flour Resists
A traditional "low-tech" method involves mixing flour and water into a paste. Once dried on the silk, it cracks, allowing dye to seep into the fissures for a "crackle" effect.
Mastery Tip: This is about brittle fracture mechanics. As the paste dries, it loses volume and creates microscopic cracks. The dye travels through these cracks via gravity and minimal wicking.
THE TECHNICAL LEDGER
Maintenance & Longevity: To ensure your wearable art lasts, always pH-neutralize the silk after the steaming process. Residual chemicals can degrade the tensile strength of the protein fibers over time. Hand wash only in cool water with a dedicated silk detergent.
Material Variations:
- Sustainable: Use soy-based resists and botanical dyes like indigo or madder root.
- Premium: Opt for 16mm Charmeuse silk, which offers a high-luster finish and a heavier drape.
- Recycled: You can strip the color from old silk blouses using a color remover and start fresh with these resist techniques.
The Correction:
- The Leak: If dye breaches a resist line, wait for it to dry, then use a "bleach pen" or clean water to lift the color before reapplying the resist.
- The Water Spot: If a drop of water hits a dry area, it creates a ring. Fix this by blending the spot into a new design element like a flower or a bubble.
- The Sag: If the silk loses tension, use an awl to tighten your hooks mid-project to prevent pooling.
Studio Organization: Store your silk rolls horizontally in a cool, dry place. Humidity is the enemy of silk; it can cause the fibers to swell and lose their tactile crispness. Keep your gutta bottles upside down to prevent air bubbles from forming in the nozzle.
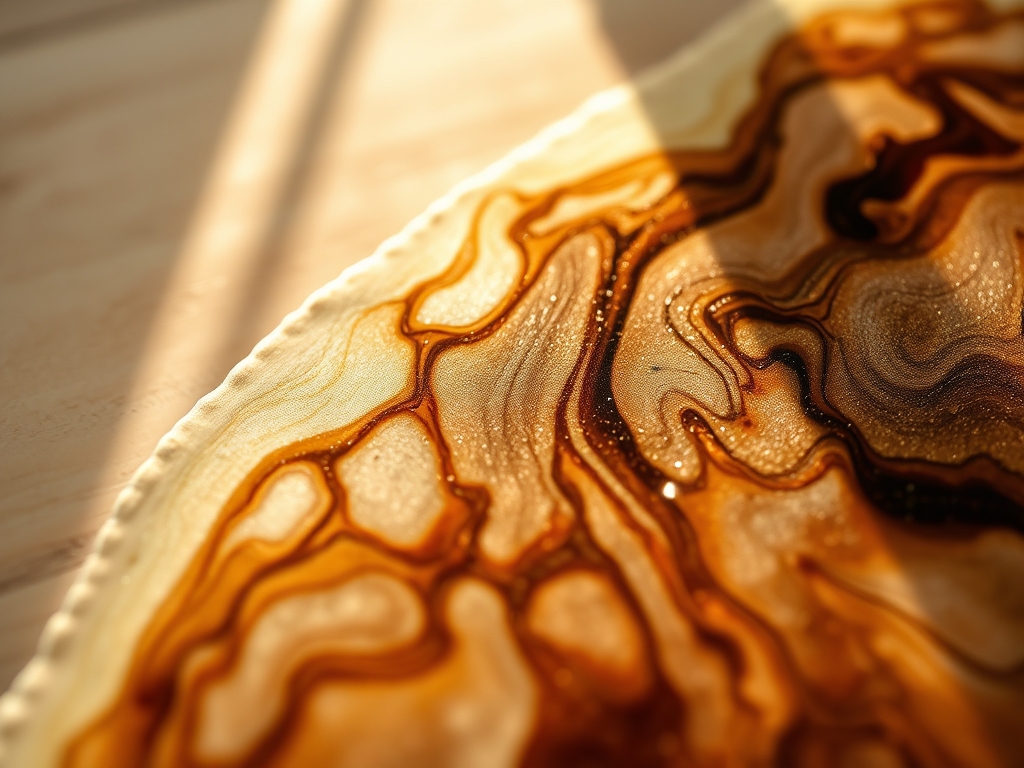
THE FINAL REVEAL
Look at that! You have successfully navigated the complex world of Fluid Silk Painting. The finished piece should have a vibrant, luminous quality that seems to glow from within. When you hold it up, the light should pass through the dyes, showing off the intricate boundaries created by your resists. The drape should be soft, the edges crisp, and the colors permanently bonded to the very DNA of the fabric. You have turned a simple white cloth into a masterpiece of physics and flair.
STUDIO QUESTIONS
What is the best silk for beginners?
Habotai silk is the gold standard for beginners. It has a smooth, even weave that allows for predictable dye flow and excellent tensile response when stretched on a frame. It is affordable and very forgiving for first-time experiments.
Can I use a hair dryer to speed up drying?
Yes, but use the cool setting. High heat can "set" some resists prematurely or cause the dye to migrate unevenly. A gentle, cool airflow helps maintain the structural integrity of your fine lines without risking heat damage.
How do I remove the resist after painting?
Water-based resists wash out in warm, soapy water after the dye is set. Solvent-based guttas require professional dry cleaning. Always check the viscosity and base of your resist before application so you know the proper removal protocol.
Why are my colors fading after washing?
Fading usually means the dye did not form a permanent molecular bond. This happens if the steaming process was too short or the temperature was too low. Proper steam-setting is essential for professional-grade, lightfast wearable art.

