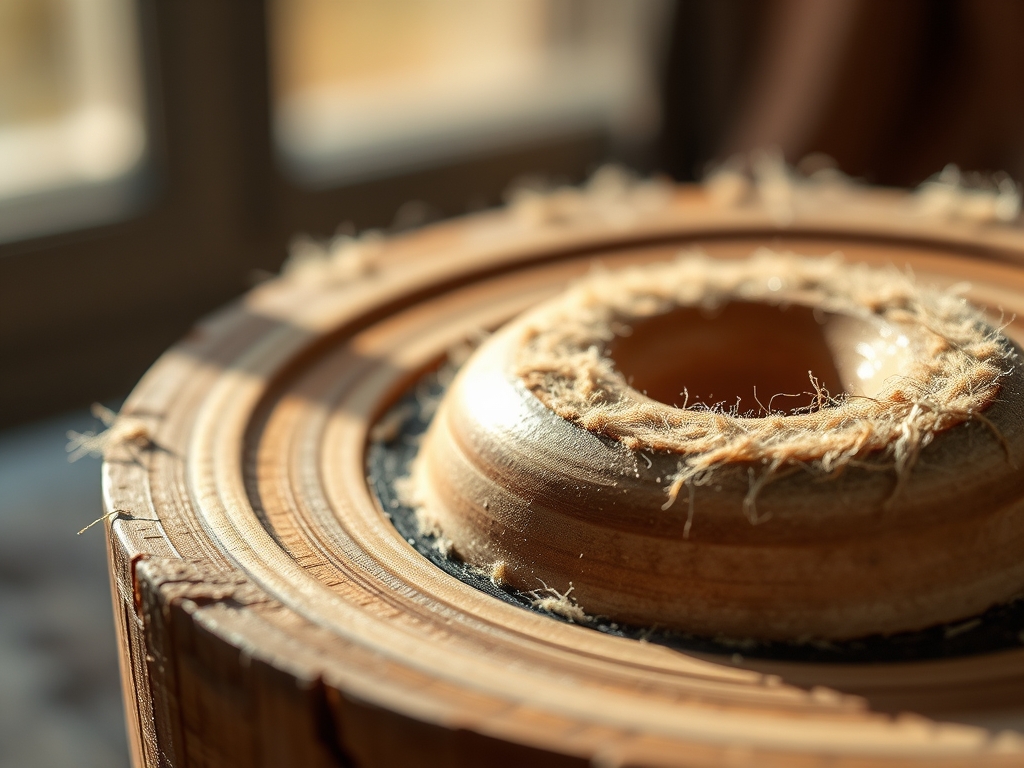
Imagine the sharp, clean scent of fresh cellulose as you unroll a sheet of high quality cotton rag paper. There is a specific, tactile thrill in feeling the weight of the fibers against your fingertips; it is a promise of potential. We are diving deep into the world of Meditative Paper Cutting, a practice where the physical resistance of the paper meets the rhythmic precision of a steel blade. This is not just a hobby. It is a calculated dance of structural integrity and artistic patience. As we carve out these nine delicate designs, you will feel the tension leave your shoulders and migrate into the focused tip of your knife. We are manipulating the tensile strength of every fiber to create something that looks impossibly fragile yet remains structurally sound. Grab your favorite beverage and clear your workbench. We are about to transform a flat, two dimensional plane into a masterpiece of shadow and light through the sheer force of focus and physics.
THE STUDIO KIT
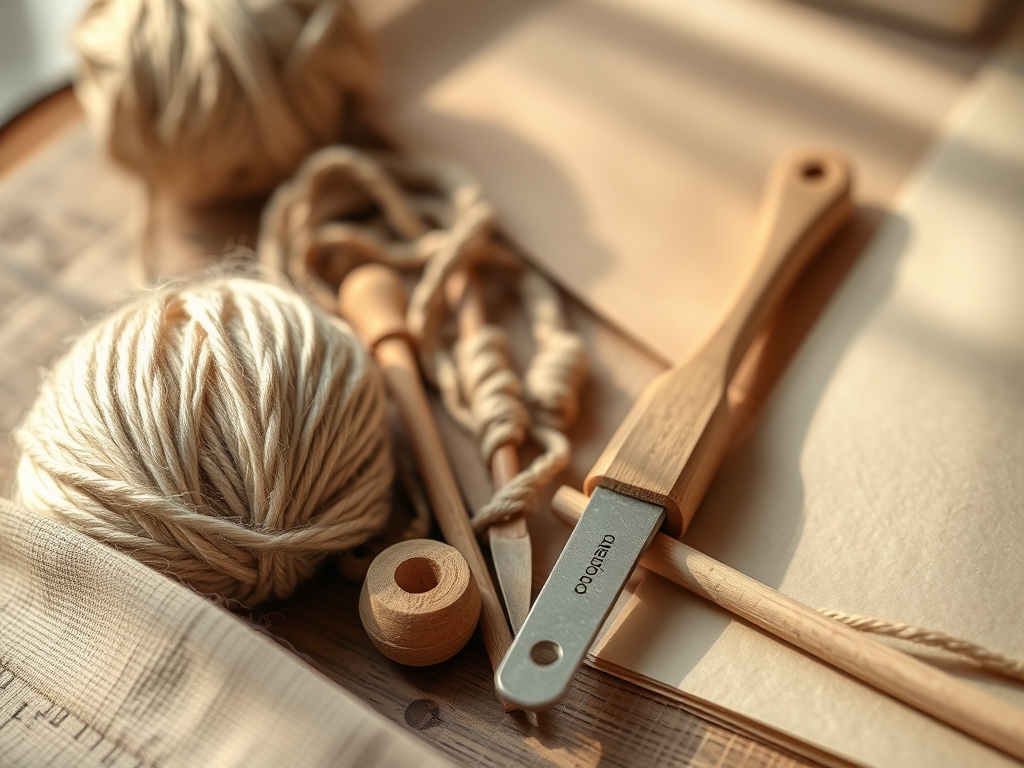
To master Meditative Paper Cutting, your tool kit must be an extension of your own hand. You need a swivel knife or a high grade precision scalpel with a carbon steel blade. Unlike stainless steel, carbon steel maintains a microscopic "tooth" that grips the paper fibers, preventing slips during tight radii. You will also need a self healing cutting mat with a high density core to provide the necessary counter pressure. For measurements, a stainless steel ruler with a cork backing is essential to prevent lateral sliding.
The paper choice is the most critical variable. Aim for a weight between 140gsm and 200gsm. If the paper is too light, the interlocking fiber network will collapse under its own weight; if it is too heavy, the hand fatigue will break your meditative flow. Material Substitutions are possible for those looking to experiment. If you cannot find cotton rag, a high quality acid free cardstock works well, though it lacks the same velvety texture. For a more industrial look, you can even use thin polypropylene sheets, which offer incredible durability but require a much higher downward force to penetrate the polymer chains.
THE TEMPO
The "Maker's Rhythm" is a psychological state where time becomes a secondary measurement to the length of your strokes. For a standard eight by ten inch design, expect to spend approximately forty five minutes in the mapping phase, where you visualize the bridges and negative spaces. The actual cutting phase for these delicate designs typically spans four to six hours.
Do not rush the process. Meditative Paper Cutting relies on the steady state heart rate of the artist. If you find your breath becoming shallow, your cuts will likely become jagged. Break your work into twenty minute sprints followed by a five minute stretch to recalibrate your fine motor control. This pacing ensures that the structural integrity of the paper remains uncompromised by erratic movements or uneven pressure.
THE CORE METHOD
1. Mapping the Structural Bridges
Before the blade ever touches the surface, you must identify the "bridges" that will hold your design together. Use a graphite pencil with a 2H hardness to lightly mark the connection points. These bridges act as the skeleton of your piece, distributing the gravitational load across the remaining paper fibers so the design does not sag once it is lifted from the mat.
Mastery Tip: Understand the grain direction of your paper. Paper fibers generally align in one direction during manufacturing. Cutting parallel to the grain requires less force, while cutting perpendicular provides more structural resistance. Always plan your most delicate bridges to run parallel to the grain for maximum strength.
2. The Interior Outward Sequence
Always begin your cuts in the center of the design and work your way toward the perimeter. This keeps the maximum amount of unbroken surface area around your hand, providing a stable platform and preventing the paper from shifting or buckling as the structural tension changes.
Mastery Tip: This technique leverages surface tension. By keeping the outer edges intact until the very end, you prevent the delicate interior lattice from vibrating or tearing due to the friction of the blade. It is a simple matter of physics; more mass equals more stability.
3. Executing the Beveled Cut
Hold your knife at a consistent sixty degree angle. As you pull the blade toward you, apply a constant, even pressure. You are not just slicing; you are creating a microscopic beveled edge that allows light to catch the rim of the cut, adding depth and a professional finish to the piece.
Mastery Tip: This involves shear stress management. If you vary the angle of your blade, you create weak points in the paper's edge. A consistent angle ensures that the load is distributed evenly across the thickness of the ply, preventing the edges from fraying over time.
4. Burnishing the Edges
Once a section is cut, use a bone folder or a smooth polished stone to gently burnish the edges. This flattens any raised fibers and "seals" the cut, giving the design a crisp, laser cut appearance.
Mastery Tip: Burnishing utilizes capillary action in a reverse sense. By compressing the fibers at the cut site, you reduce the surface area available for moisture absorption. This prevents the paper from "wilting" in humid environments and maintains the crispness of your delicate designs.
5. The Final Release
The most harrowing moment is the final perimeter cut. Use a rotary cutter for long, straight edges to ensure a perfectly clean break. Lift the paper slowly, using a thin micro-spatula to ensure no fibers are still snagged on the mat.
Mastery Tip: This is a test of elastic deformation. As the paper is freed from the mat, it will naturally want to curl. By using a spatula to lift it evenly, you prevent the paper from exceeding its "yield point," ensuring it returns to a perfectly flat state for framing.
THE TECHNICAL LEDGER
Maintenance & Longevity: To ensure your art lasts for decades, only use buffered, acid free materials. Over time, atmospheric pollutants can trigger "acid migration," which turns paper yellow and brittle. Store your finished pieces in a microclimate created by UV resistant glass and acid free mounting board.
Material Variations: For a premium feel, try hand pressed Khadi paper. It has a high rag content and long fibers, making it incredibly resilient. For a sustainable option, look for hemp or bamboo paper, which offers high tensile strength with a lower environmental footprint than traditional wood pulp.
The Correction:
- The Overcut: If you slice through a bridge, use a tiny amount of neutral pH adhesive on a toothpick to rejoin the fibers.
- The Jagged Edge: This usually means your blade is dull. Change it immediately. A dull blade tears the fibers rather than slicing them.
- Paper Buckling: This happens due to hand moisture. Wear a lightweight cotton glove on your non cutting hand to protect the paper from oils and humidity.
Studio Organization: Store your paper flat in a map drawer or a large portfolio. Never store paper vertically, as the constant force of gravity will cause a permanent "set" or curve in the fibers, making it impossible to get a clean, flat cut later.
THE FINAL REVEAL
There is nothing quite like the moment you lift your finished work and see the shadows dance through the intricate lattice you have created. It is a triumph of physics and patience. Your Meditative Paper Cutting project is now a testament to your ability to find stillness in precision. The way the light hits those beveled edges and the structural integrity of your bridges creates a visual symphony that is both modern and timeless. Frame it with a deep mat to allow the shadows to fall on the backing, adding a three dimensional soul to your two dimensional effort. You did it; you turned a simple sheet of paper into a complex, breathing piece of art.
STUDIO QUESTIONS
What is the best way to prevent hand cramps?
Maintain an ergonomic grip and use a "pen hold" style. Every fifteen minutes, perform a reverse stretch of your fingers to counteract the repetitive gripping motion. This keeps your tendon tension low and your precision high.
Can I use a regular craft knife?
You can, but a specialized swivel knife allows for much smoother curves. Regular blades require you to rotate the entire paper, which can disrupt your "flow" and potentially damage the delicate, already cut sections of your design.
Why does my paper keep tearing?
Tearing is usually a result of excessive moisture or a dull blade. Ensure your studio is climate controlled and change your blade every thirty minutes of active cutting. Fresh steel is the only way to ensure clean fiber separation.
How do I clean my cutting mat?
Use a soft eraser to remove any residual paper fibers trapped in the self healing grooves. This ensures a perfectly flat surface for your next project, preventing any microscopic bumps from diverting your blade during a critical cut.