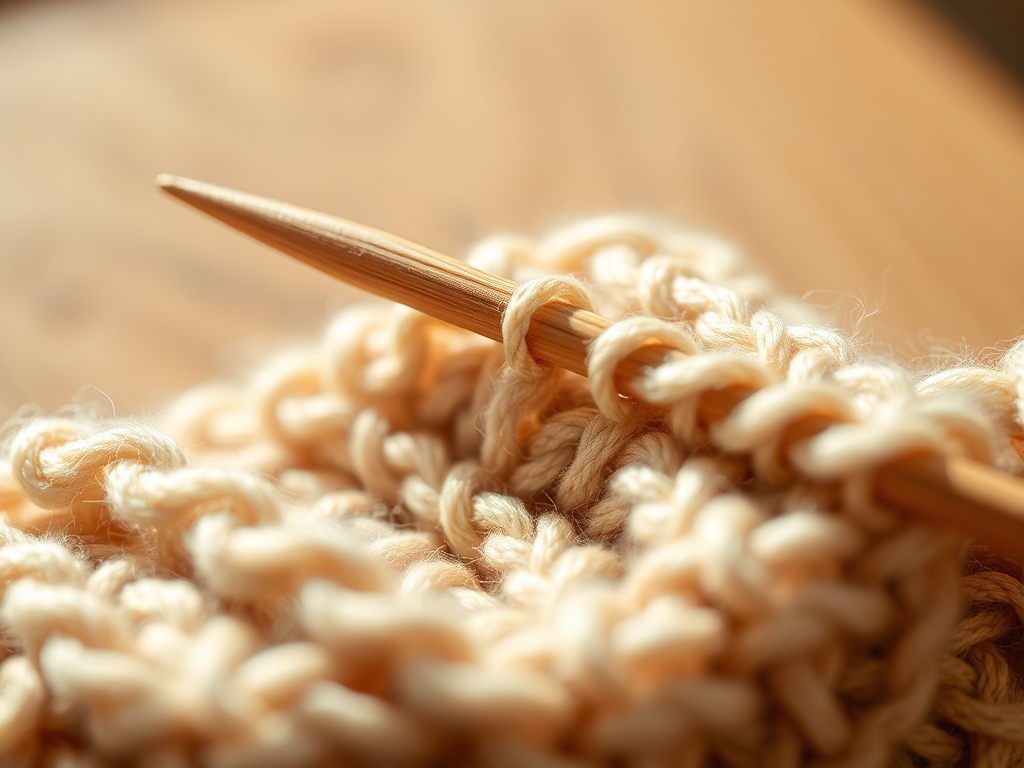
The friction of animal protein fibers sliding against a cold zinc alloy hook creates a frequency that is practically medicinal. When you settle into your workspace, you are not just making a blanket; you are engaging in a mechanical ritual of tension and release. Finding your flow with Rhythmic Crochet Rows is about more than just muscle memory. It is about the physics of the slipknot and the way your dominant hand manages the tensile strength of the yarn. Within the first sixty words of starting, you will feel the kinetic energy transfer from your shoulders down to the very tip of your hook.
The air in the studio tonight is heavy with the scent of lanolin and cedar. Every time the hook passes through a loop, there is a distinct, percussive click. This is the sound of structural integrity being built one millimeter at a time. We are looking for that sweet spot where the yarn does not drag against the tool but glides with a predictable coefficient of friction. As your hands move, the ply of the yarn untwists and reforms, creating a fabric that is both porous and remarkably durable. Let us get your station set up so we can dive into the science of the stitch.
THE STUDIO KIT
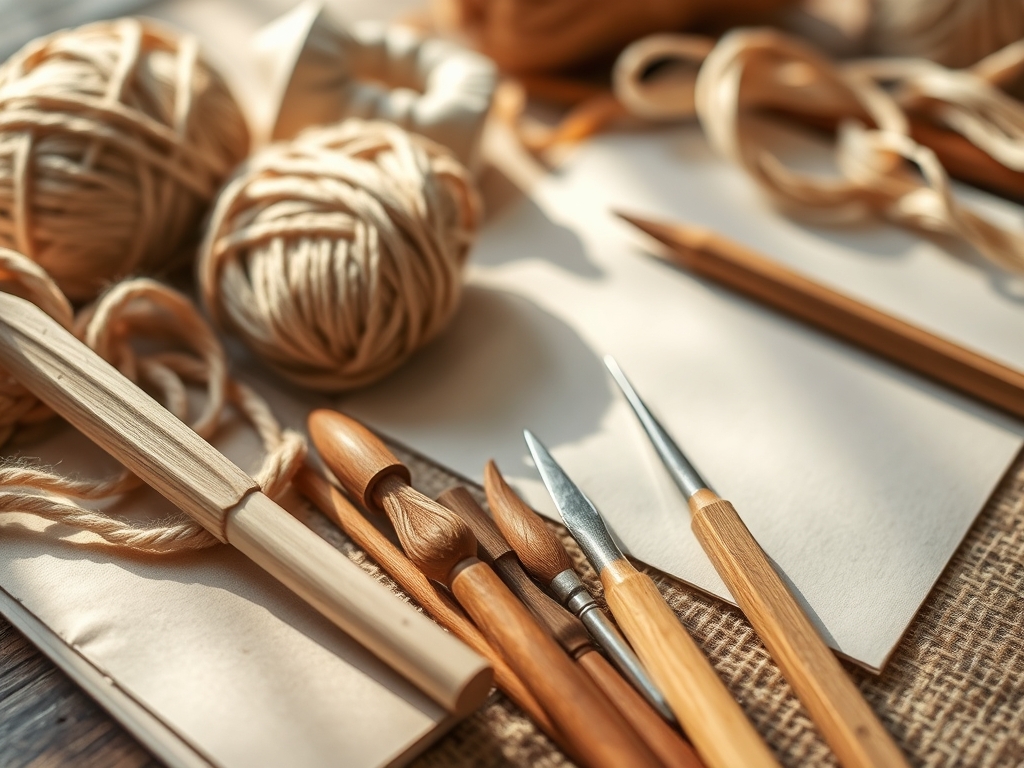
To master this project, your tool selection must prioritize ergonomic efficiency. I always reach for a tapered aluminum hook because the surface is polished to a mirror finish, reducing drag on the fibers. You will also need a pair of precision rotary cutters for trimming yarn tails and a set of digital calipers to measure your stitch height. Measuring the height of your double crochet ensures that your gauge remains consistent across the entire width of the piece.
For the material, we are using a high-twist, three-ply wool. The high twist count increases the tensile strength of the yarn, which prevents it from splitting when you work at high speeds. If you are looking for Material Substitutions, you can swap the wool for a mercerized cotton. Cotton has a lower elasticity, which provides a more defined stitch architecture, though it requires more hand strength to maintain tension. For a more sustainable approach, recycled PET yarn offers a unique tactile experience with high durability, though it lacks the natural breathability of animal fibers.
THE TEMPO
The "Maker's Rhythm" is a state of cognitive ease where your brain stops calculating and starts feeling. The first phase, the foundation chain, takes approximately fifteen minutes of focused calibration. You are setting the baseline for the entire project here. Once you move into the core rows, you should aim for a steady cadence of twenty stitches per minute. This pace allows the yarn to stay at a consistent temperature from your hands, which slightly alters the viscosity of any natural oils in the fiber.
Phase two, the body of the work, is where the Rhythmic Crochet Rows truly take over. This phase can last anywhere from ten to forty hours depending on the scale of your textile. Finally, the finishing phase involves weaving in ends and blocking the fabric. Blocking is a thermal process where you use steam to reset the hydrogen bonds in the fibers, ensuring the edges remain straight and do not curl. Expect to spend at least two hours on the final finishing to achieve a professional, studio-grade result.
THE CORE METHOD
1. Establishing the Foundation Chain
Begin by creating a slipknot with a long tail. Use your hook to pull the working yarn through the loop, ensuring the loop is snug but not constricting the throat of the hook. Your goal is to create a series of interconnected loops that serve as the structural anchor for the piece.
Mastery Tip: The science here is all about surface tension. If your foundation chain is too tight, the rest of the fabric will flare out like a fan. Use a hook one size larger than your main hook for the chain to allow for the natural expansion of the first row of stitches.
2. Loading the Hook for the First Row
Insert your hook into the second chain from the tool. Wrap the yarn over the hook (yarn over) and pull up a loop. You now have two loops on your hook. Wrap the yarn again and pull through both. This creates a single crochet stitch, the densest unit of crochet architecture.
Mastery Tip: Observe the grain direction of the yarn. Always wrap the yarn in the same direction to maintain a consistent twist. This prevents the yarn from unravelling or "pilling" during the construction process, ensuring long-term structural integrity.
3. Executing the Turning Chain
When you reach the end of a row, you must create a "turning chain" to bring your hook up to the height of the next row. For a double crochet, this usually involves three chain stitches. This vertical pillar acts as the first stitch of the new row.
Mastery Tip: Use your calipers to check the height of your turning chain against your standard stitches. If the chain is taller, your edges will be wavy. This is a matter of linear density; the chain must match the density of the surrounding stitches to keep the edge straight.
4. Managing the Mid-Row Transition
As you work across the row, maintain a consistent grip on the yarn with your non-dominant hand. This hand acts as a tension regulator, much like a tension disc on a sewing machine. The yarn should flow smoothly over your index finger without snagging.
Mastery Tip: This involves capillary action when working with natural fibers. The moisture from your skin can actually be absorbed by the yarn, slightly increasing its weight and friction. Keep your hands dry and cool to ensure the yarn behaves predictably throughout the session.
5. Securing the Final Stitch
The final stitch of each row is the most common place for errors. You must ensure you are inserting the hook into the top of the turning chain from the previous row. This locks the grid together and prevents the piece from narrowing.
Mastery Tip: Use a bone folder to crisp up the edges of your rows as you finish them. Pressing the stitches slightly helps to set the "memory" of the fiber, which is especially important for high-protein yarns like alpaca or wool that tend to shift.
6. The Weave-In and Burnish
Once the textile is complete, use a blunt-tipped needle to weave the yarn tails back into the body of the work. Follow the path of the existing stitches to hide the tail completely.
Mastery Tip: For synthetic yarns, you can use a controlled heat source to slightly burnish the very end of the tail, melting it into the surrounding fibers. For natural fibers, the friction of the "weave-in" is usually enough to keep the tail secured via mechanical interlocking.
THE TECHNICAL LEDGER
Maintenance & Longevity: To keep your crochet piece in peak condition, avoid machine washing. The mechanical agitation can cause the fibers to felt, which destroys the stitch definition. Instead, hand wash in cool water with a pH-neutral detergent. Lay the piece flat on a non-porous surface to dry, away from direct UV light which can degrade the chemical bonds in the dye.
Material Variations:
- Sustainable: Hemp yarn offers incredible tensile strength and natural antimicrobial properties.
- Recycled: T-shirt yarn (recycled jersey) provides a chunky, industrial aesthetic with high elasticity.
- Premium: Cashmere blends offer a high-loft, low-weight ratio, creating a garment that is exceptionally warm but breathable.
The Correction:
- The Gap: If you see large holes at the start of rows, your turning chain is too loose. Fix: Reduce the turning chain by one stitch.
- The Slant: If your work is leaning, you are likely missing the last stitch of the row. Fix: Use stitch markers to identify the first and last stitch of every row.
- The Ripple: If the fabric is waving, your tension is too loose. Fix: Switch to a smaller hook or increase the tension on your feeder hand.
Studio Organization: Store your yarn in airtight bins with silica packets to manage humidity. Moisture is the enemy of fiber; it can cause the yarn to stretch or develop mold. Use a pegboard to organize your hooks by millimeter size so you can grab the correct tool without breaking your creative flow.
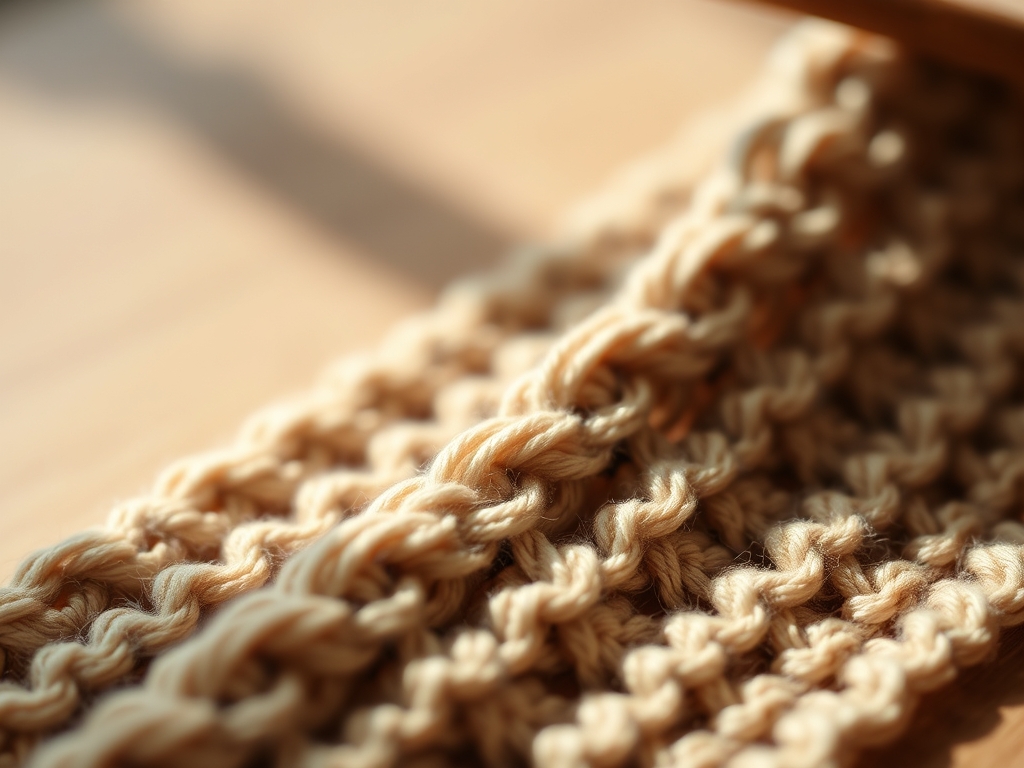
THE FINAL REVEAL
There is nothing quite like the weight of a finished project resting in your lap. When you have mastered Rhythmic Crochet Rows, the resulting fabric is a testament to your precision and patience. The rows are perfectly parallel, the edges are crisp, and the drape is heavy and luxurious. You have successfully transformed a linear strand of fiber into a complex, three-dimensional structure. It is a feat of engineering as much as it is a work of art. Shake out the tension in your wrists and take a moment to admire the geometric perfection of your handiwork.
STUDIO QUESTIONS
How do I stop my crochet rows from curling?
Curling is usually caused by tight tension in the foundation chain. Use a larger hook for the starting chain or practice "foundation stitches" to provide more elasticity. This allows the first row to expand naturally with the rest of the fabric.
What is the best yarn for beginners?
A light-colored, medium-weight (worsted) acrylic or wool blend is ideal. The light color makes it easier to see the stitch architecture, while the blend provides enough "give" to accommodate uneven tension as you develop your muscle memory.
How do I join a new ball of yarn invisibly?
Use the "Russian Join" for natural fibers by threading the yarn back into itself with a needle. For synthetics, the "Magic Knot" is effective. Both methods maintain the linear density of the yarn so the join remains hidden within the stitches.
Why does my stitch count change every row?
This happens when you accidentally skip the first stitch or the last stitch (the turning chain). Use stitch markers at both ends of your work to ensure you are anchoring every row into the correct structural points.
Can I use a metal hook with all yarns?
Metal hooks are best for "grabby" fibers like wool or cotton because they offer low friction. However, for very slippery yarns like silk or bamboo, a bamboo or plastic hook provides the necessary "grip" to maintain control over the loops.