Imagine the sensation of raw cotton fibers sliding against your palm; it is a tactile symphony of friction and tension. When you dive into the world of macrame knotting patterns, you are not just tying string. You are manipulating the structural integrity of twisted ply to create a rhythmic, mindful masterpiece. The smell of natural jute or the soft, porous nature of unbleached cotton sets the stage for a meditative session where your hands become the primary tools of engineering. We are about to transform a simple spool of cord into a geometric landscape that defies gravity. This process is about finding the sweet spot between the tensile strength of your material and the ergonomic flow of your movements. Grab your favorite beverage, because we are turning your studio into a high-energy laboratory of fiber arts. We will explore how repetitive motions can actually lower your cortisol levels while you build something structurally sound and visually stunning. It is time to master the grip, the pull, and the perfect loop.
THE STUDIO KIT
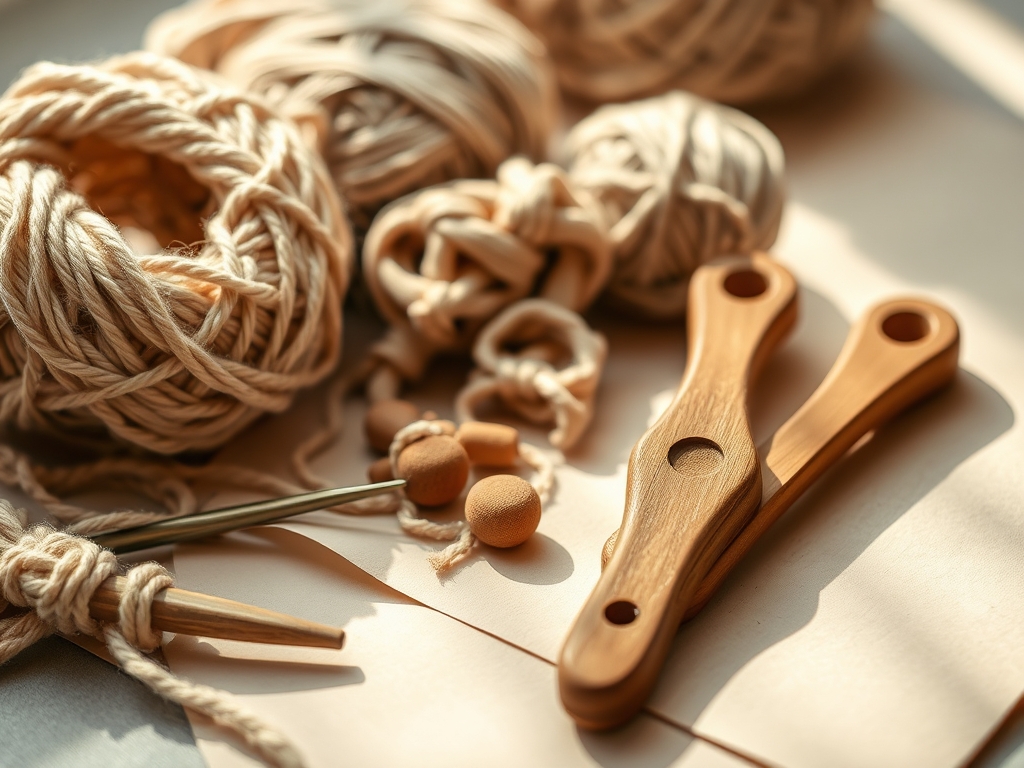
To execute high-level macrame knotting patterns, you need more than just string. You need a curated selection of tools that respect the physics of the fiber. Start with a high-quality three-strand twisted cotton cord. The "twist" is vital; it determines the torsional rigidity of your knots. If the twist is too loose, your patterns will sag. If it is too tight, the cord will kink. You will also need a rotary cutter for clean, perpendicular ends and a tailors tape to measure the gauge of your cord accurately.
For the support structure, a solid oak dowel or a copper pipe provides the necessary load-bearing capacity. To manage the fringe, a fine-tooth metal comb is essential for separating the individual plies without causing excessive frizzing. If you are working with thicker ropes, a fid or a bone folder can help you tuck ends into tight spaces.
Material Substitutions: If you cannot find high-grade cotton, look for recycled polyester cord, which offers higher UV resistance for outdoor pieces. Hemp is a fantastic sustainable alternative; it has incredible tensile strength but is much more abrasive on the skin, so keep some beeswax nearby to burnish the cord as you work.
THE TEMPO
The "Maker's Rhythm" is a real psychological state where your brain waves synchronize with the repetitive nature of the task. For a standard wall hanging, expect the following timeline. Phase one is the Prep and Measure (30 minutes), where you calculate the cord lengths based on a 4:1 ratio of cord to finished height. Phase two is the Foundation Row (20 minutes), setting the tension for everything that follows. Phase three is the Pattern Body (3-5 hours), where the repetitive macrame knotting patterns take shape. Finally, the Finishing and Grooming (45 minutes) involves trimming and steaming the fringe to ensure it hangs with perfect verticality.
THE CORE METHOD
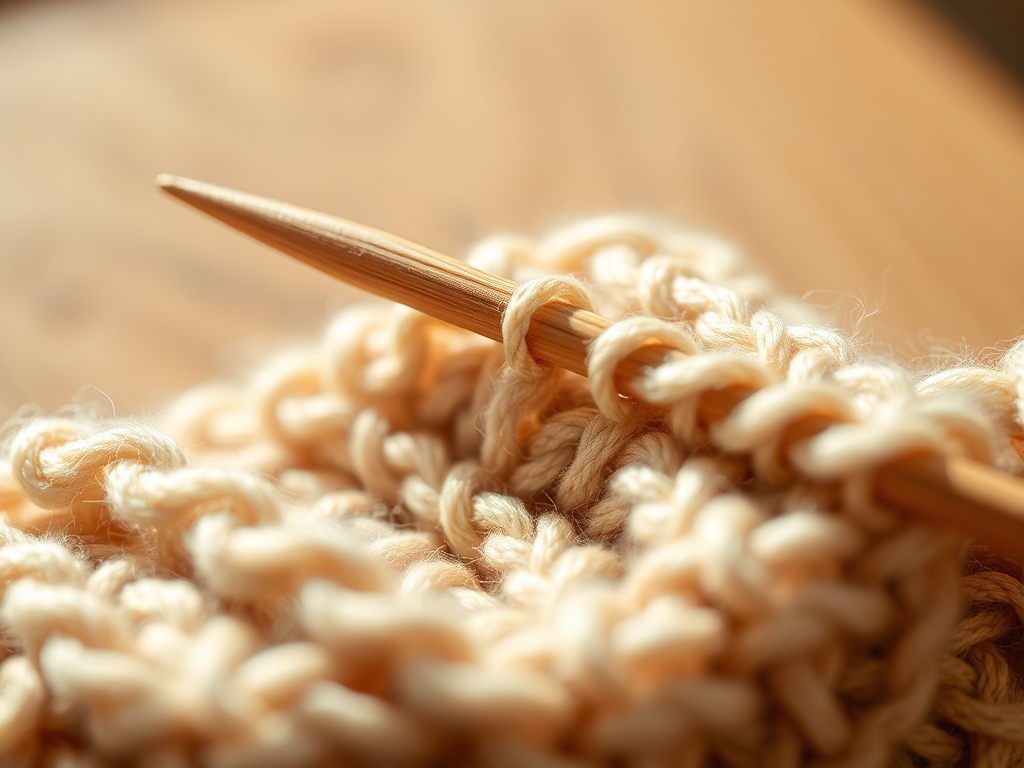
1. The Vertical Lark's Head Mounting
The journey begins by securing your cords to the dowel. Fold your cord in half and loop it over the support. This creates a choke hitch that relies on the friction between the cord and the dowel surface.
Mastery Tip: Ensure the "ears" of the knot are all facing the same direction to maintain visual symmetry. The physics here is simple; the more surface area the cord touches on the dowel, the less likely it is to slip under the weight of the finished piece.
2. The Square Knot Sequence
This is the backbone of most macrame knotting patterns. Cross the left cord over the center filler cords, then pass the right cord over the left, under the fillers, and through the loop. Repeat on the opposite side.
Mastery Tip: Focus on consistent tension. If you pull the left side tighter than the right, the knot will begin to spiral. This is due to the asymmetric distribution of torque along the filler cords.
3. The Alternating Square Knot Mesh
By taking two cords from adjacent square knots and joining them, you create a diamond-shaped mesh. This distributes the weight of the piece across a wider horizontal plane.
Mastery Tip: Use a spacer or a small piece of cardboard to ensure the gaps between rows are identical. This maintains the geometric integrity of the negative space.
4. The Half-Hitch Diagonal
This pattern creates a raised, corded line that moves diagonally across the work. You hold one "lead" cord and wrap every other cord around it twice.
Mastery Tip: The lead cord must remain taut at a consistent angle. Any deviation in the lead cord's angle will cause the linear tension to buckle, ruining the crisp line.
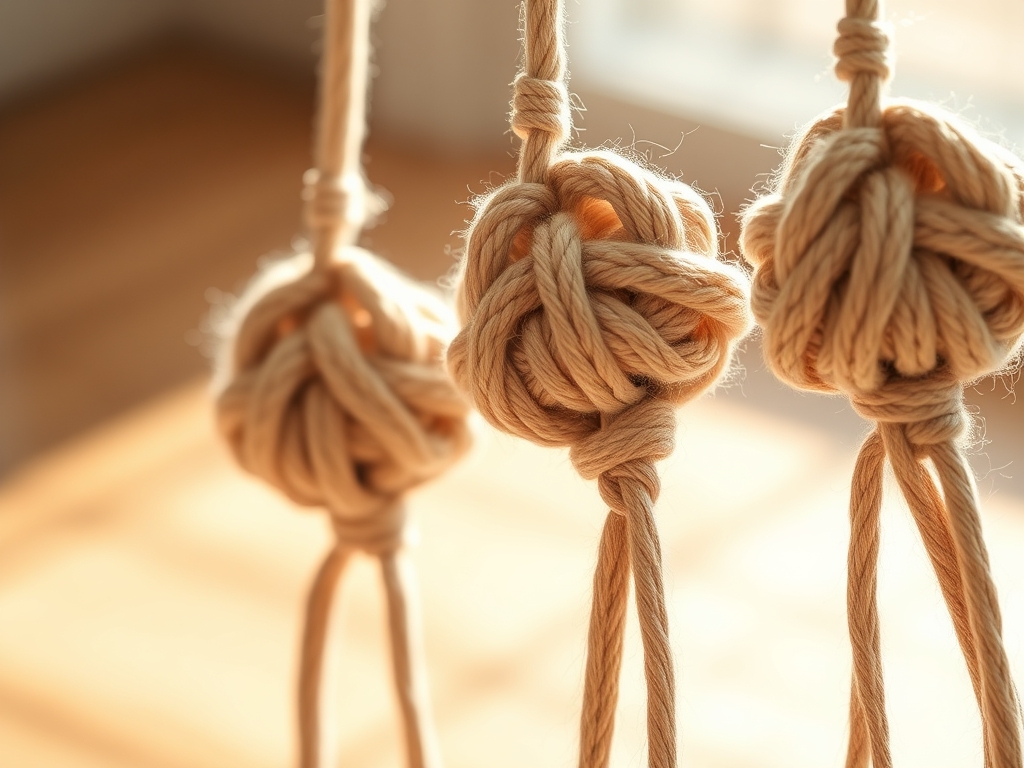
5. The Josephine Knot (Pretzel Knot)
This is a decorative, interlocking knot that looks like a complex weave. It requires two bundles of cords to loop through one another in a specific "over-under" sequence.
Mastery Tip: This knot relies on surface tension. Do not pull it too tight; the beauty lies in the flat, open structure that showcases the cord's diameter and ply definition.
6. The Spiral Stitch (Half Square Knot)
By repeating only the first half of a square knot, the cord naturally begins to rotate. This creates a DNA-like helix.
Mastery Tip: The spiral is caused by mechanical bias. Every time you tie the knot, you add a small amount of twist to the filler cords. Let the rope find its natural equilibrium rather than fighting the turn.
7. The Berry Knot (Popcorn Knot)
Tie three to five square knots in a row, then take the filler cords and pull them through the top of the first knot. This creates a 3D bobble.
Mastery Tip: This adds structural depth. Ensure the "anchor" knot at the top is tight, or the berry will sag over time due to the effects of gravity on the concentrated mass.
8. The Vertical Clove Hitch
Similar to the diagonal version, but worked straight down. This creates a ribbed texture that is incredibly stiff and durable.
Mastery Tip: This knot consumes a lot of cord. Check your material reserves frequently, as the tight wraps significantly reduce the effective length of your working strands.
9. The Fringed Finish and Brush
The final step involves cutting the remaining cords and brushing them out to create a soft, cloud-like texture at the base.
Mastery Tip: Use a stiffening spray or diluted fabric glue on the back of the fringe to prevent the fibers from re-twisting. This preserves the capillary alignment of the brushed cotton.
THE TECHNICAL LEDGER
Maintenance & Longevity: To keep your wall art pristine, avoid hanging it in direct sunlight, which can cause photo-degradation of the natural fibers. Dust it lightly with a feather duster; never use a vacuum, as the suction can disturb the tension of the knots.
Material Variations:
- Sustainable: Use organic cotton or recycled sari silk for a bohemian, eco-friendly vibe.
- Premium: Opt for 100% metallic-infused linen for a high-end, reflective finish.
The Correction:
- The Sagging Middle: If the center of your piece dips, your dowel is bowing. Swap for a higher modulus of elasticity material like steel.
- The Frayed End: If cords unravel during knotting, wrap the ends in painter's tape to maintain the twist.
- The Uneven Row: If a horizontal line is crooked, use a bubble level perched on your lead cord to recalibrate your angle.
Studio Organization: Store your extra cord in airtight bins to prevent moisture absorption. Cotton is highly hygroscopic; if it absorbs humidity, it will expand, and your knots will loosen once the air dries out.
THE FINAL REVEAL
Look at that! You have successfully navigated the complex physics of macrame knotting patterns to create a piece that is as sturdy as it is beautiful. The way the light catches the raised ridges of the clove hitches and the soft shadows cast by the square knot mesh creates a dynamic visual experience. Your hands might be a little tired, but that is just the mark of a maker who has mastered the tensile dance of fiber and form. This wall art is not just a decoration; it is a testament to your focus and your ability to turn a linear material into a multidimensional work of art.
STUDIO QUESTIONS
How do I calculate cord length for complex patterns?
Multiply the desired final length by four for standard knots. If you are doing dense patterns like clove hitches, multiply by six. Always add an extra 12 inches for the mounting and fringe to ensure you have a safety margin.
What is the best cord thickness for beginners?
A 4mm or 5mm single-twist or three-strand cotton cord is ideal. It is thick enough to see the knot structure clearly but not so heavy that it causes hand fatigue during long studio sessions.
Can I wash my macrame wall hanging?
Spot clean only with a damp cloth and mild detergent. Submerging the piece can cause the fibers to shrink unevenly, which will warp the tension of your knots and ruin the geometric alignment of the patterns.
Why are my square knots twisting?
You are likely repeating the same side instead of alternating. A square knot requires a "left-over-right" followed by a "right-over-left" sequence. If you only do one side, you create a spiral stitch instead of a flat knot.