
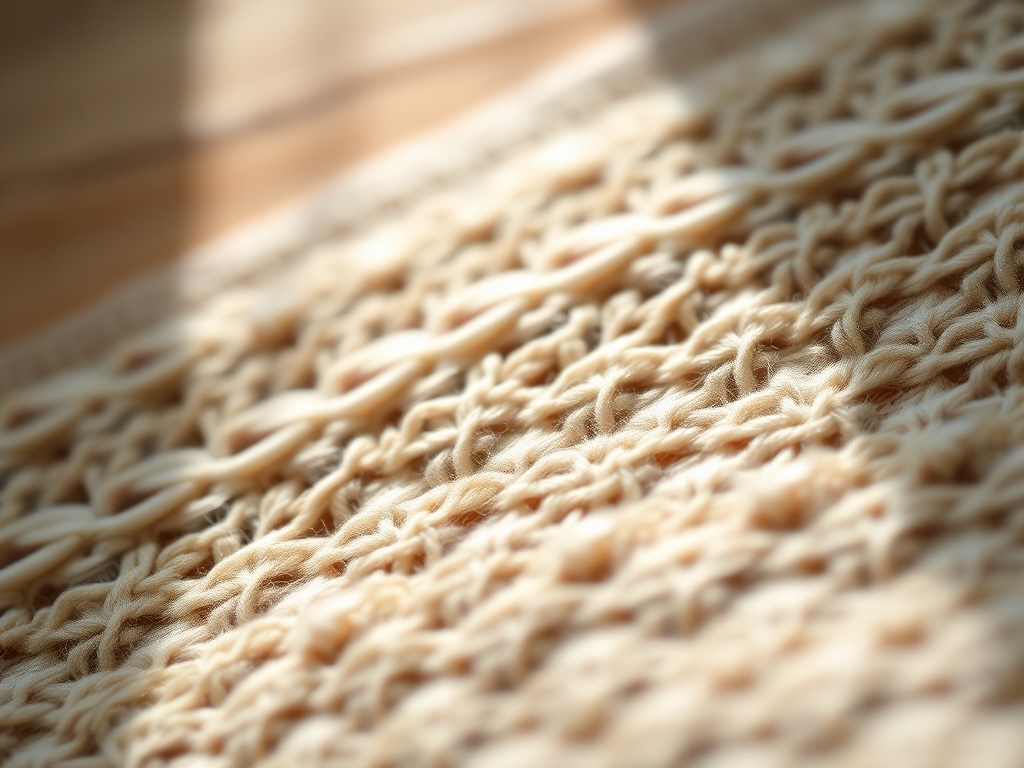
Grab your favorite denim scrap and feel that heavy, indigo-dyed grain under your thumb. We are diving into the world of rhythmic sashiko patterns today; it is the ultimate intersection of structural engineering and meditative art. When you pull a long, sharp needle through a dense weave, you are not just mending a hole. You are reinforcing the tensile strength of the textile using a series of running stitches that act like a secondary skeleton. The magic happens when you find your flow. It is a tactile dance where the needle finds the path of least resistance through the warp and weft. We are going to master nine geometric grids that transform a simple repair into a rhythmic masterpiece. By the time we are done, your fabric will be stronger than it was when it left the loom. Let us get into the physics of the stitch and turn that frayed edge into a geometric marvel.
THE STUDIO KIT
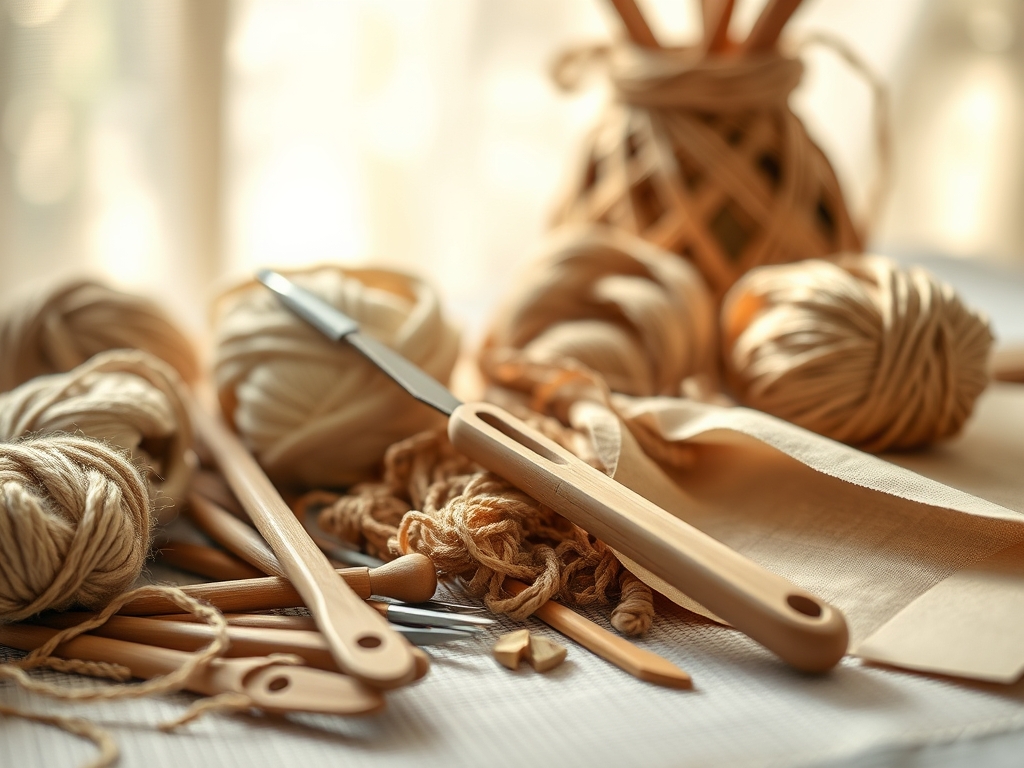
To achieve professional results, you need tools that respect the material physics of your fabric. Start with a dedicated sashiko needle; these are longer and stiffer than standard embroidery needles to prevent bowing when loading multiple stitches. You will need a ceramic chalk pencil or a fine-point heat-erasable pen for marking your grids. For precision, use a clear acrylic ruler with a 0.5cm grid to ensure your geometry remains perfectly square.
The thread is the most important component. Authentic sashiko thread is a non-mercerized, multi-ply cotton that has a matte finish and high friction coefficient. This allows the thread to "grip" the fabric fibers rather than sliding around. If you are looking for material substitutions, you can use perle cotton (size 8 or 12), but be aware that its high sheen and tighter twist will create a different surface tension than traditional matte thread. For heavy repairs, a leather thimble or a metal palm thimble is essential to provide the leverage needed to push through multiple layers of high-gauge denim.
THE TEMPO
The "Maker's Rhythm" is a real neurological state where your hand-eye coordination syncs with the structural repeat of the pattern. For a standard six-inch square grid, expect the following timeline:
- The Blueprint (15 Minutes): This is the most critical phase. Marking your grid with a caliper or ruler ensures your stitches align with the grain.
- The Loading (30 Minutes): Sashiko is unique because you load multiple stitches onto the needle before pulling the thread through. This maintains a consistent ply tension.
- The Finishing (10 Minutes): This involves "massaging" the fabric to redistribute the thread and prevent puckering.
Total time: approximately 55 to 60 minutes per panel. Remember, speed is a byproduct of accuracy. As you master the ergonomic motion of the palm thimble, your tempo will naturally increase.
THE CORE METHOD
1. Preparing the Substrate
Before you stitch, you must stabilize the area. If you are mending, place a patch on the underside. Align the grain direction of the patch with the grain of the original garment to ensure they expand and contract at the same rate during washing. Use a bone folder to crisp your edges and pin the layers together to prevent shifting.
Mastery Tip: Aligning the grain prevents diagonal shear. If the grains are mismatched, the fabric will twist and ripple over time because the elastic modulus of the two pieces will fight each other.
2. Drafting the Geometric Grid
Using your acrylic ruler, mark a 5mm or 7mm grid across the entire work area. For rhythmic sashiko patterns, the grid is your map. Start from the center and work outward to maintain axial symmetry. Use light pressure to avoid stretching the fabric fibers while marking.
Mastery Tip: Use a T-square to ensure your vertical lines are exactly 90 degrees to your horizontal lines. Even a one-degree deviation will be magnified across a large pattern, ruining the geometric integrity.
3. The Loading Technique
Instead of pulling the thread through after every stitch, pleat the fabric onto the needle. Aim for 5 to 10 stitches per load. Keep your stitches even; the "gap" between stitches should be about half the length of the stitch itself. This creates the classic "rice grain" look.
Mastery Tip: This technique utilizes capillary action in reverse. By loading the needle, you ensure the thread enters the fabric at a consistent angle, which minimizes the abrasion on the thread fibers and keeps the structural strength intact.
4. Managing Corner Intersections
When your pattern hits a corner or an intersection, never cross your threads directly over the center. Leave a small loop of thread on the underside (the "mimi" or ear) at every turn. This allows the fabric to move and stretch without snapping the thread.
Mastery Tip: These loops account for thermal expansion and mechanical stress. Without them, the first time you wash the garment, the thread will shrink more than the fabric, causing the entire pattern to pucker.
5. The Final Burnish
Once the stitching is complete, lay the fabric flat on a hard surface. Use a bone folder or the side of a smooth wooden spoon to burnish the stitches. This "sets" the thread into the weave of the fabric, making it a permanent part of the textile structure.
Mastery Tip: Burnishing increases the interfacial bonding between the sashiko thread and the base fabric. It flattens the thread profile, reducing the risk of the stitches snagging on external objects during wear.
THE TECHNICAL LEDGER
Maintenance & Longevity:
To preserve the rhythmic sashiko patterns, always wash your pieces in cold water on a gentle cycle. Air drying is mandatory. The high heat of a dryer can cause the cotton thread to lose its tensile recovery, leading to a saggy appearance.
Material Variations:
- Sustainable: Use reclaimed indigo-dyed hemp for a high-durability, eco-friendly option.
- Premium: Silk sashiko thread offers a stunning refractive index but has lower abrasion resistance than cotton.
- Recycled: Unraveled high-quality bed linens can be twisted into custom-ply threads for a soft, vintage feel.
The Correction:
- Puckering: If the fabric ripples, your tension is too high. Fix: Gently pull the fabric diagonally to "milk" the excess thread through the stitches.
- Uneven Stitches: This happens when the needle is not kept parallel to the fabric. Fix: Use a marking gauge to re-verify your grid points and adjust your "loading" angle.
- Thread Shredding: Your needle eye might have a burr or your thread is too long. Fix: Keep thread lengths under 20 inches to minimize frictional wear.
Studio Organization:
Store your sashiko supplies in a UV-protected container. Indigo is light-sensitive and will undergo photodegradation if left in direct sunlight. Keep your needles in a "needle book" with a small amount of wool felt to prevent oxidation and rust.
THE FINAL REVEAL
Look at that! You have successfully turned a structural necessity into a rhythmic work of art. The way those geometric lines intersect creates a visual vibration that is both calming and incredibly tough. Your garment is now a record of your focus and your technical precision. Feel the weight of the reinforced area; it has a beautiful, substantial drape that only hand-stitching can provide. Whether you are wearing this mended piece or displaying it as textile art, you have mastered the physics of the stitch. You are not just a crafter; you are a textile engineer with a serious sense of style.
STUDIO QUESTIONS
What is the best fabric for rhythmic sashiko patterns?
Medium-weight natural fibers like cotton, linen, or hemp are ideal. Their porous structure allows the thick sashiko thread to pass through without distorting the weave, ensuring the geometric grid remains perfectly aligned and structurally sound during the stitching process.
Why does my sashiko thread keep knotting?
This is usually caused by torsional strain. As you stitch, the thread naturally twists. Periodically let your needle hang freely to allow the thread to unspool and return to its neutral state, preventing tangles and maintaining consistent ply density.
Can I use a sewing machine for sashiko?
While machines can mimic the look, they cannot replicate the structural integrity of hand-stitching. Machines use a lockstitch which creates more tension; hand-stitching allows the thread to "float" and move with the fabric, preventing breakage during physical activity.
How do I choose the right needle length?
Select a needle based on the material thickness. A longer needle (50mm+) is better for loading multiple stitches on flat planes, while a shorter needle provides better leverage and ergonomic control when working around tight curves or heavy seams.
Does the color of the thread matter for strength?
No, the pigment does not affect tensile strength. However, traditional indigo-dyed threads may bleed during the first few washes. This "crocking" is a natural chemical process and actually helps the thread fibers bond more closely with the base fabric over time.

