
Imagine the smell of raw, lanolin-rich wool meeting the crisp, structured scent of unwashed linen. Your hands crave that specific resistance as you pull the first loop through a tight backing. This is not just a hobby; it is a mechanical dance of tension and release. We are diving deep into the world of rhythmic rug hooking, a technique where the cadence of your movements determines the structural integrity of the final piece. If your loops are uneven, the entire fabric tension collapses. If your rhythm is off, the visual flow of the texture stutters. We are going to master eight vintage textures that rely on the interplay of fiber density and pull-force. Think of your hook as a precision instrument, much like a jeweler's saw, navigating the grid of a foundation cloth. We are building something tactile, something that feels like a piece of history but functions with modern durability. Grab your frames; we are about to turn raw fiber into a masterpiece of rhythmic engineering.
THE STUDIO KIT
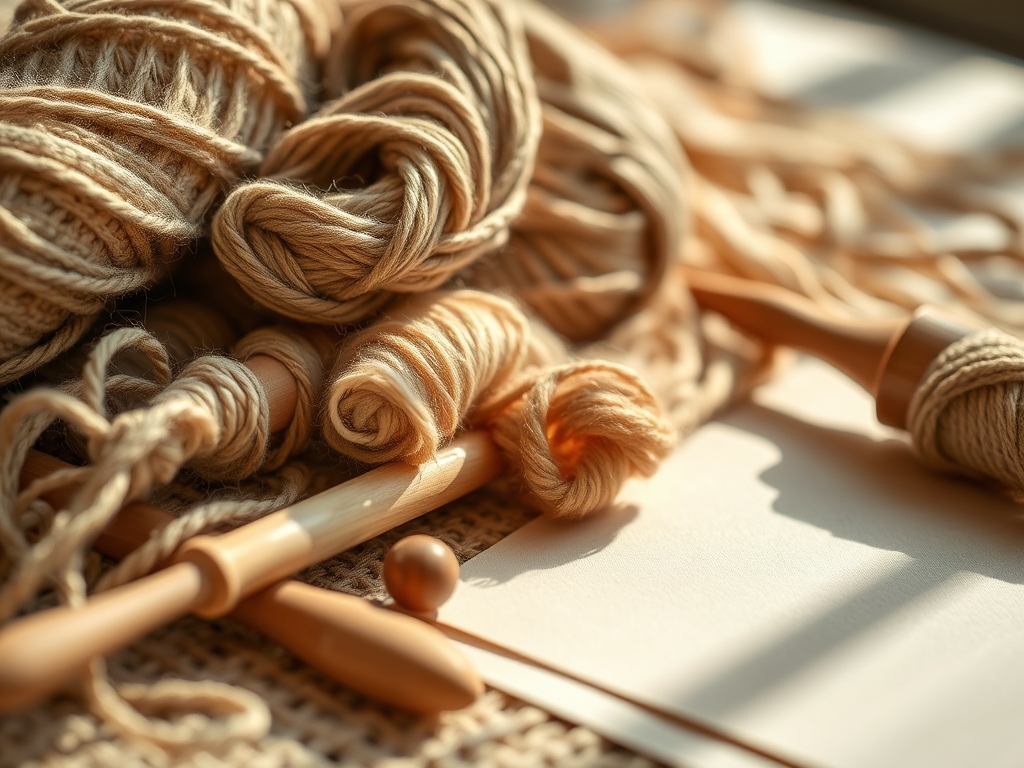
To achieve professional results, you need tools that respect the physics of the fiber. Your primary tool is the ergonomic rug hook, which should feel like an extension of your hand to prevent repetitive strain. The shank diameter must match your strip gauge to ensure the hole created in the backing is perfectly filled by the wool, maintaining a friction-fit that requires no glue. You will also need a rotary cutter with a fresh tungsten blade to ensure clean edges on your wool strips; frayed edges reduce the tensile strength of the loop. A high-quality stretching frame with gripper strips is non-negotiable; the backing must be drum-tight to allow the hook to pass through without distorting the weave.
For materials, we focus on 100 percent primitive linen as the foundation. Linen has a higher modulus of elasticity than burlap, meaning it won't sag over time as you add weight. For the textures, use hand-dyed wool flannel in weights ranging from 8-weight (thick) to 3-weight (fine).
Material Substitutions: If you cannot find primitive linen, a monks cloth with a double-thread weave is a suitable substitute, though it has more "give" and requires frequent re-tensioning. Instead of new wool, you can upcycle vintage wool coats, provided you strip them along the grain direction to prevent shedding. Always test the porosity of your backing; if you can easily push an awl through without snapping fibers, the weave is healthy.
THE TEMPO
The "Maker's Rhythm" is the physiological state where your breathing matches the movement of your hook. For a standard 12×12 inch piece, expect to spend approximately 15 to 20 hours at the frame. The preparation phase (washing, drying, and stripping wool) takes about 3 hours. The hooking phase is the bulk of the work, where you should aim for a speed of roughly 30 to 40 loops per minute. Finally, the finishing phase (steaming and binding) requires 2 hours to allow the fibers to "bloom" and lock into place. This tempo ensures that the fiber density remains consistent across the entire surface, preventing "cupping" or warping of the rug.
THE CORE METHOD
1. Preparing the Foundation Grid
Before the first loop, you must secure the edges of your linen with a zigzag stitch or serger. Mount the fabric on the frame, pulling it until the warp and weft are perfectly perpendicular. Use a bone folder to crisp the edges of your pattern lines.
Mastery Tip: This step relies on structural integrity. If the backing is even one percent off-kilter, the rhythmic rug hooking will pull the fabric into a parallelogram shape once it is removed from the frame tension.
2. The Initial Anchor Pull
Bring your first strip up through the backing, leaving a tail on the top side. This tail will eventually be trimmed flush. The friction of the surrounding loops will hold this anchor in place without knots.
Mastery Tip: This is a lesson in friction coefficients. The wool's scales (cuticles) interlock with the linen fibers. If your strip is too thin for the hole, the lack of lateral pressure will cause the loop to pull through.
3. Establishing the Height Gauge
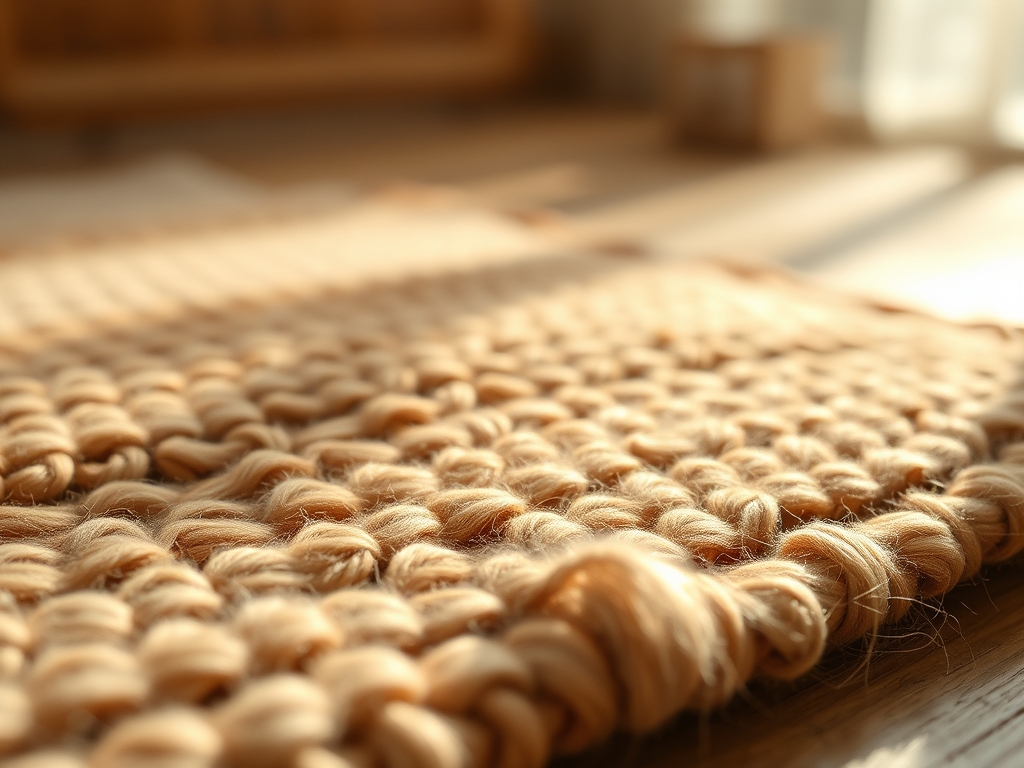
Consistency is the soul of rhythm. Every loop must be pulled to the exact same height, typically 1/4 inch for vintage textures. Use your finger as a physical stop against the backing to ensure uniform height.
Mastery Tip: Uniform height prevents capillary action from drawing moisture unevenly during the steaming process. Even loops ensure that the weight of the rug is distributed across the entire surface area.
4. Navigating Curves with Pivot Points
When turning a corner or following a swirl, you must skip a hole on the outside of the curve or double up in a hole on the inside. This prevents the backing from bunching or showing through.
Mastery Tip: This manages surface tension. By adjusting the density of the loops in a curve, you prevent the fabric from "bowling," which happens when the center of a rug has more mass than the edges.
5. The Bloom and Finish
Once the piece is hooked, lay a wet pressing cloth over the surface and apply a heavy iron. Do not slide the iron; press it down firmly. This heat and moisture cause the wool fibers to expand and "lock" into the linen grid.
Mastery Tip: This utilizes thermal expansion. The steam relaxes the internal stresses of the wool, allowing the fibers to settle into their new shape, effectively "setting" the rhythmic rug hooking pattern permanently.
THE TECHNICAL LEDGER
Maintenance & Longevity: To preserve the tensile strength of the wool, never vacuum with a beater bar; use suction only. If a loop pulls loose, use a crochet hook to pull it back into the foundation.
Material Variations:
- Sustainable: Use reclaimed wool blankets; they offer a soft, felted texture that is highly durable.
- Premium: Silk velvet strips can be interspersed for a high-luster contrast against matte wool.
- Recycled: T-shirt yarn (cotton jersey) provides a heavy, rustic feel but lacks the "memory" of wool.
The Correction:
- The "Bald Spot": If the backing shows through, your gauge is too wide. Fix: Add a "filler" row between existing rows.
- The "Mountain": If the rug won't lay flat, you have too many loops. Fix: Use a seam ripper to remove every fifth loop in the affected area.
- The "Fray": If wool is shedding, your blade was dull. Fix: Trim the stray fibers with fine embroidery scissors and steam the area to seal the ends.
Studio Organization: Store your wool by weight and color in airtight, clear bins. Use cedar blocks to prevent moth damage. Keep your linen rolls upright to avoid permanent "set" creases that can weaken the ply of the threads.
THE FINAL REVEAL
The finished piece is a triumph of geometry and texture. When you run your hand over the surface, it should feel like a dense, resilient moss. The eight vintage textures create a topographical map of light and shadow, with the rhythmic rug hooking providing a structural backbone that will last for generations. The colors are muted but deep; the feel is heavy and substantial. You have successfully translated a mechanical process into a piece of tactile art. It is time to step back and admire the perfect tension of your labor.
STUDIO QUESTIONS
What is the best backing for rhythmic rug hooking?
Primitive linen is the gold standard due to its high tensile strength and durability. It resists rot better than burlap and maintains consistent tension on the frame, ensuring your loops stay uniform throughout the entire crafting process.
How do I prevent my rug from hooking unevenly?
Maintain a consistent "Maker's Rhythm" by matching your hand movements to your breath. Ensure your foundation cloth is drum-tight on the frame. Use a physical gauge, like your finger or a spacer, to verify loop height every few inches.
Can I use synthetic fabrics for this technique?
While possible, synthetics lack the natural scales of wool that provide the necessary friction-fit. Synthetic strips often slip, leading to uneven loops. If using synthetics, you may need to use a smaller gauge hook to keep the loops secure.
Why is my rug curling at the edges?
Curling usually indicates that your loop density is too high near the borders, creating excessive lateral pressure. To fix this, remove some loops near the edge and ensure your binding is not applied too tightly, allowing the fibers to breathe.

