The scent of soot and pine hits you before the brush even touches the surface. There is something deeply primal about the way raw carbon interacts with a thirsty, organic substrate. When you dive into fluid ink painting, you are not just making art; you are managing a complex hydraulic system on a microscopic scale. Rice paper, or more accurately Xuan paper, is a marvel of ancient engineering. It is composed of long, interlocking plant fibers that create a high-density capillary network. As you hover your brush over the white expanse, you can feel the potential energy waiting to snap into action. The ink is not a passive liquid. It is a suspension of fine particles that want to race through the porous channels of the paper. You have to be the conductor of that chaos. We are going to master the tension between the wetness of the ink and the structural integrity of the fibers. It is fast, it is messy, and it is absolutely brilliant.
THE STUDIO KIT
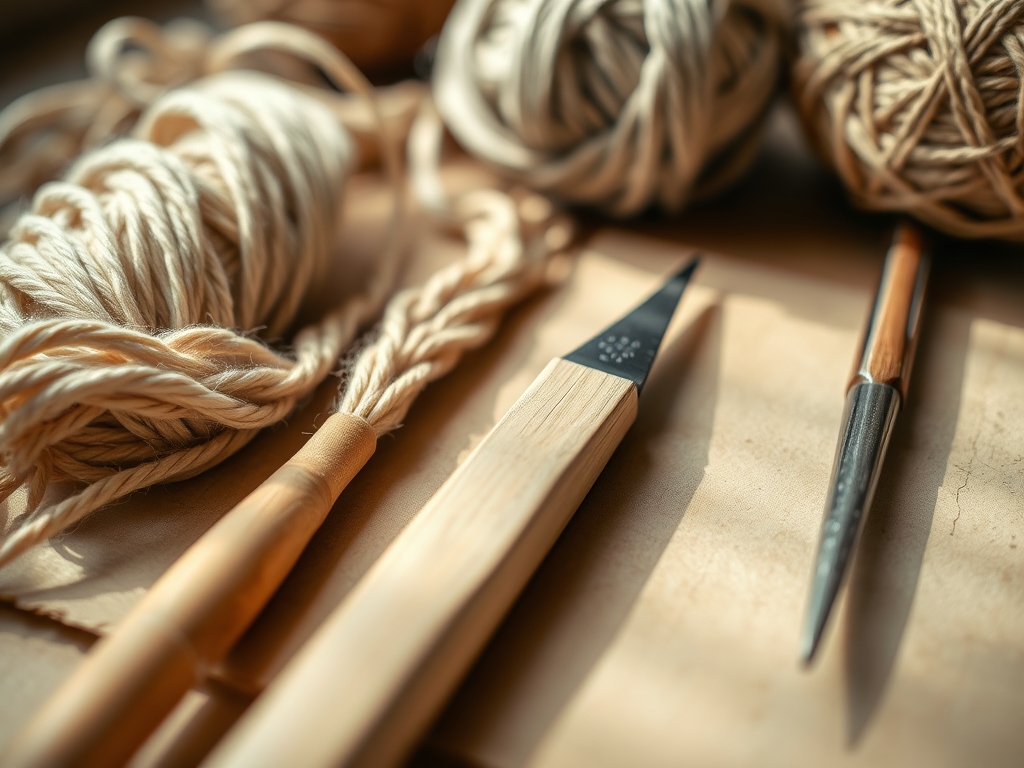
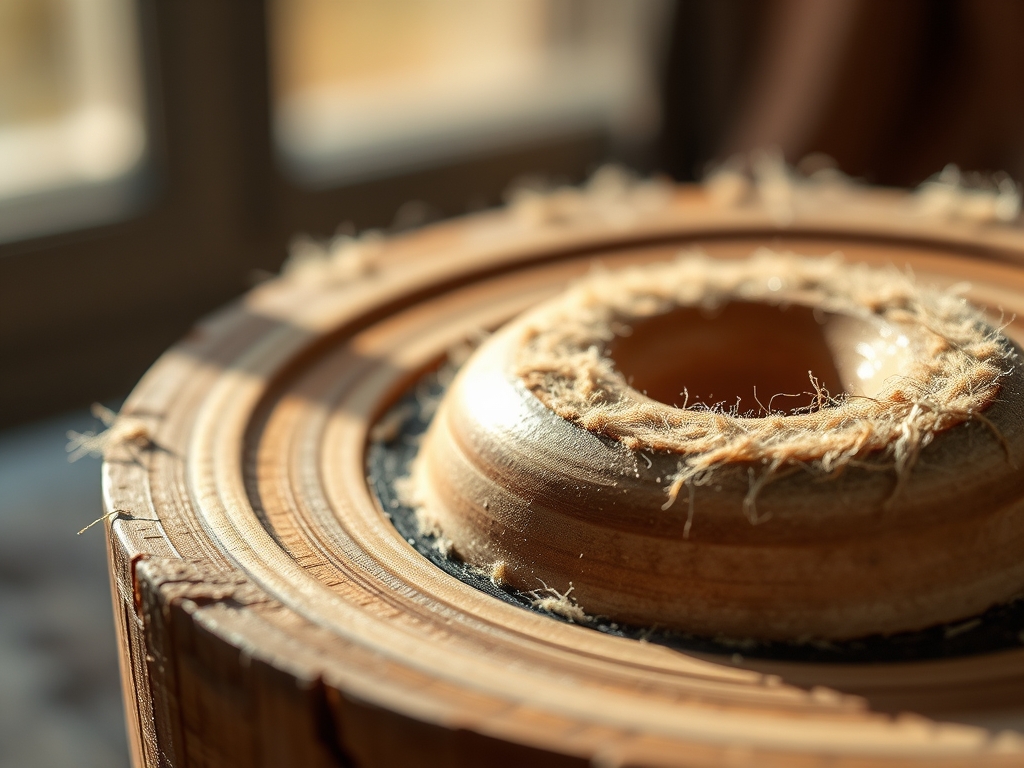
To execute fluid ink painting at a professional level, your kit needs to be as precise as a laboratory setup. Your primary tool is the bamboo brush, which is an ergonomic masterpiece. The core is often stiff wolf hair for tensile strength, surrounded by soft goat hair for maximum liquid retention. You will also need a stone ink well (Suzuri) to grind your ink sticks. The friction between the stone and the carbon stick creates a colloidal suspension that commercial bottled inks simply cannot replicate.
For the substrate, we are looking for double-shuen paper. It has a higher ply count, which allows it to withstand heavy saturation without the fibers shredding under the weight of the water. You should also keep a bone folder nearby to crisp the edges of your paper before mounting, and a felt underlay to absorb excess moisture through capillary action.
Material Substitutions: If you cannot source authentic Xuan paper, a high-grade mulberry paper works beautifully. If you lack a traditional ink stone, a ceramic palette will suffice, but you must use a surfactant like a drop of dish soap to break the surface tension of bottled india ink.
THE TEMPO
The rhythm of this craft is divided into three distinct phases. First is the Preparation Phase (20 minutes). This is where you grind your ink and soak your brushes. You cannot rush the grinding; the speed at which you rotate the ink stick affects the viscosity of the fluid. Second is the Execution Phase (5 to 15 minutes). Fluid ink painting is a high-velocity sport. Once the brush hits the paper, the ink begins to travel immediately. You are working against the clock of evaporation. Finally, there is the Curing Phase (24 hours). Because the paper is so porous, the moisture needs to exit the fibers slowly to prevent warping or "cockling" of the surface.
THE CORE METHOD
1. The Kinetic Load
Before you touch the paper, you must load the brush using a gradient technique. Dip the entire brush in light gray ink, then just the tip in concentrated black. This creates a reservoir of varying densities within the bristles.
Mastery Tip: The science here is fluid dynamics. By loading the brush with multiple densities, you allow the ink to self-organize as it leaves the bristles, creating a natural 3D effect on a 2D surface.
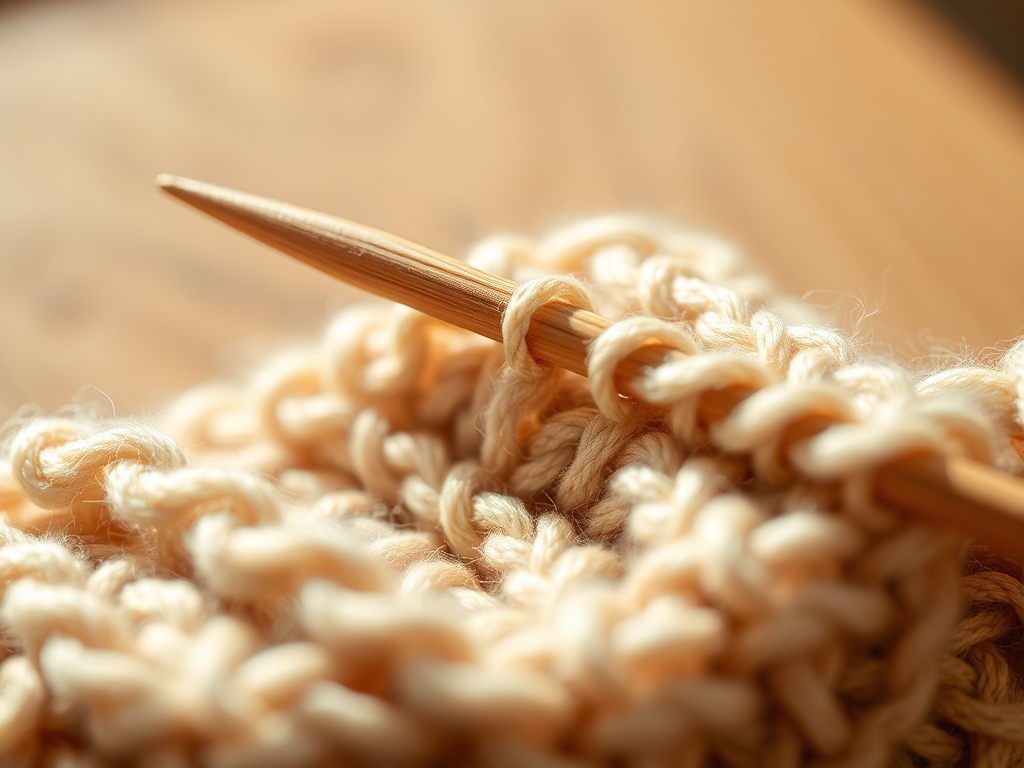
2. The Anchor Stroke
Start with a firm, deliberate stroke to anchor your composition. Use your entire arm, not just your wrist, to maintain ergonomic flow. This prevents "shaky" lines that occur when the ink flow is inconsistent.
Mastery Tip: This relies on surface tension. A fast, confident stroke breaks the tension quickly, allowing the ink to bite into the fibers rather than sitting on top and blurring into a blob.
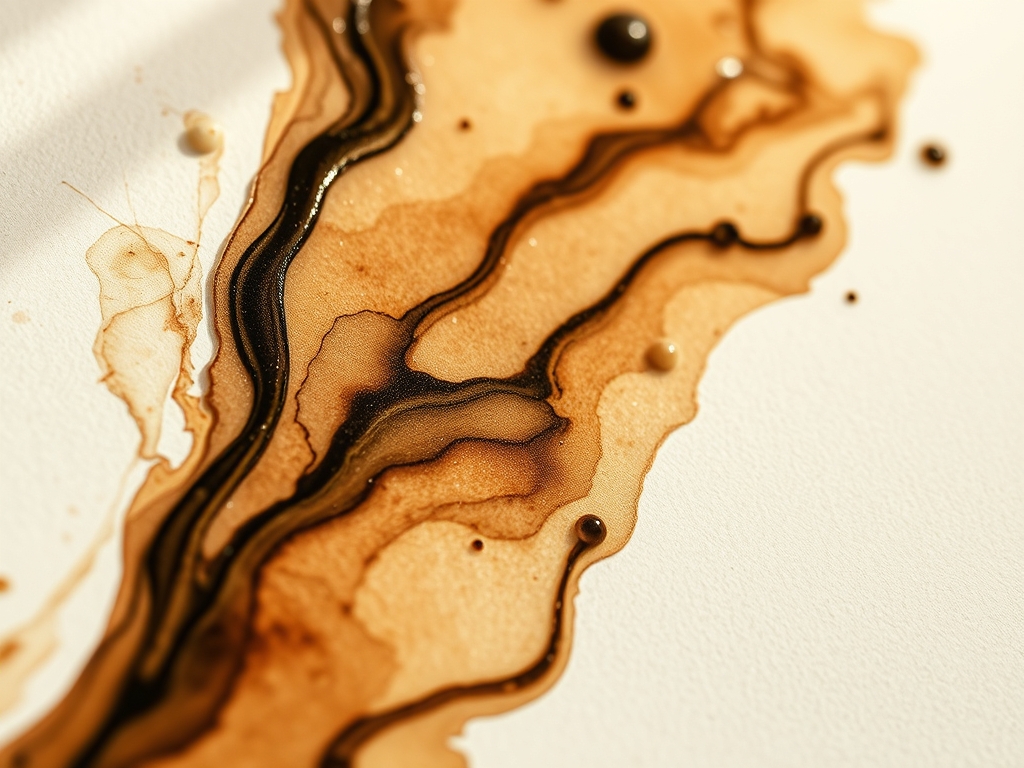
3. Controlled Bleeding
To create soft clouds or transitions, apply a drop of clear water next to a wet ink line. Watch as the ink "bleeds" into the clear water. This is the hallmark of the fluid style.
Mastery Tip: This is pure capillary action. The water travels through the dry paper fibers faster than the ink particles, pulling the pigment along in a controlled "bloom."
4. The Dry Brush Technique
Wring out your brush until it is nearly thirsty, then drag it quickly across the paper. This leaves white gaps where the brush skipped over the tooth of the paper.
Mastery Tip: This highlights the topography of the rice paper. Even though it looks flat, the paper has microscopic peaks and valleys; the dry brush only hits the peaks.
5. Layering for Depth
Wait for the first layer to be "tack-dry" before adding darker accents. This prevents the new ink from completely dissolving the work you just did.
Mastery Tip: This involves structural integrity. If the paper is too wet, the hydrogen bonds between the fibers weaken, and you risk a "blowout" where the ink spreads uncontrollably.
6. The Splatter Effect
Use a second brush or a small palette knife to flick concentrated ink onto the wet surface. This creates "stars" or texture that adds a sense of chaotic energy.
Mastery Tip: This is an exercise in kinetic energy. The force of the flick determines the size of the droplet and how deep it penetrates the paper grain.
7. Lifting and Blotting
If a section becomes too dark, use a clean, damp cloth to gently blot the area. Do not rub, as this will destroy the cellulose fibers.
Mastery Tip: You are utilizing absorbency ratios. The cloth must be more absorbent than the paper to successfully pull the pigment back out of the grain.
8. The Final Burnish
Once the piece is bone dry, turn it over and use a bone folder or a smooth stone to burnish the back. This flattens the fibers and restores the paper's original sheen.
Mastery Tip: This process realigns the molecular structure of the paper fibers that were disturbed by the water, ensuring the piece stays flat for framing.
THE TECHNICAL LEDGER
Maintenance & Longevity: Your brushes must be hung vertically to dry. If they sit in water, the ferrule will rot and the bristles will lose their gauge. Store your rice paper in a humidity-controlled environment to prevent the organic fibers from becoming brittle.
Material Variations: For a sustainable twist, use recycled hemp paper. It has a higher tensile strength than rice paper and can handle even more aggressive fluid techniques. Premium artists often opt for "Sized" paper, which has been treated with alum to reduce absorbency for finer detail work.
The Correction:
- The Blob: If ink pools, immediately use a corner of a paper towel to "wick" it up.
- The Ghost: If a stroke is too light, do not go over it while wet. Wait for it to dry, then glaze a second layer over it.
- The Tear: If the paper rips, use a tiny amount of wheat starch paste on the back to fuse the fibers back together.
Studio Organization: Store finished paintings flat between sheets of acid-free glassine. Never roll them until they have cured for at least a week, or you risk permanent "memory" in the paper fibers.
THE FINAL REVEAL
Look at that! You have successfully navigated the wild world of fluid dynamics and ancient botany. The way the ink settles into the rice paper creates a depth that no digital screen can ever replicate. Your piece should have a balance of "bones" (the dark, structural strokes) and "flesh" (the soft, watery bleeds). It feels alive because the materials are organic. The contrast between the stark black carbon and the creamy white fibers is a testament to your control over the chaos.
STUDIO QUESTIONS
How do I stop the ink from spreading too far?
Control the moisture content of your brush. Wipe the bristles on a damp sponge before dipping in ink to ensure the fibers are hydrated but not dripping, which regulates the rate of capillary flow into the paper.
Can I use watercolors instead of ink?
Yes, but the pigment load is different. Watercolors use binders like gum arabic which change the viscosity. You will need to adjust your speed, as watercolors tend to sit on the surface longer than carbon-based inks.
Why is my rice paper wrinkling so much?
This is caused by differential expansion. The wet fibers expand while the dry ones stay put. To fix this, you must perform a "wet mounting" once the painting is dry to permanently flatten the substrate.
What is the best way to clean my brushes?
Rinse them in cool water until the water runs clear. Never use soap, as it strips the natural oils from the animal hair, causing the bristles to become brittle and lose their tensile snap.