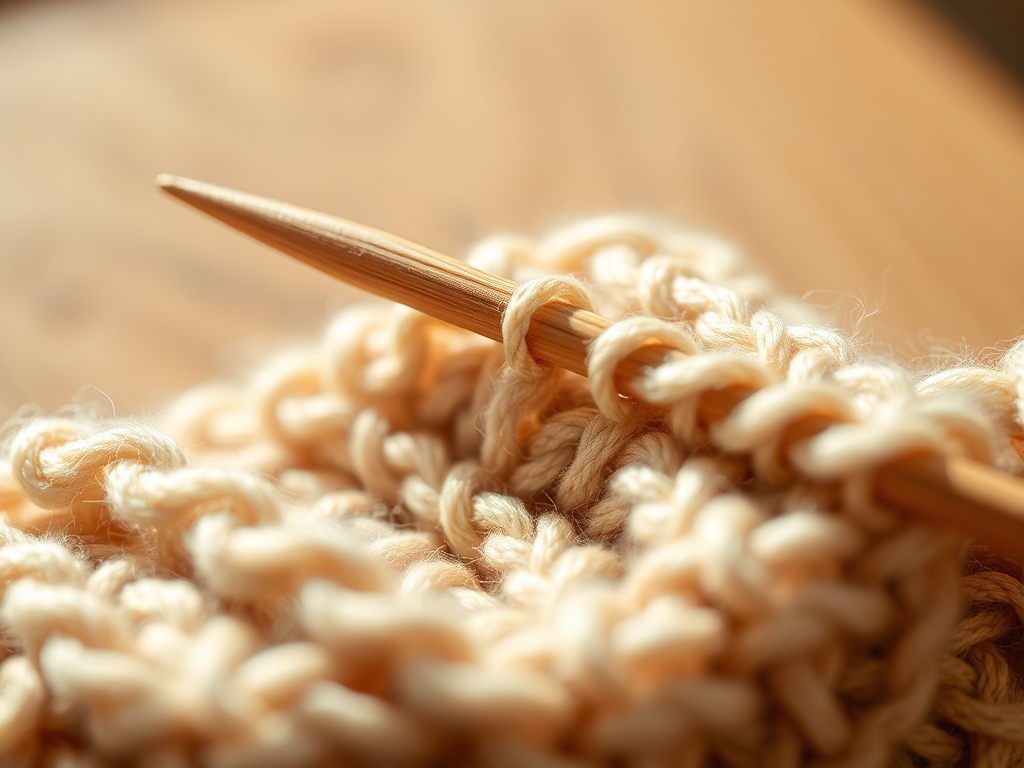
The smell of toasted cedar and the fine, cool mist of green shavings hitting your forearms is better than any morning espresso. There is a specific, electric moment when the rough square of a blank finally rounds out; the vibration in your palms smooths into a hum and the tool begins to glide rather than bounce. This is where Wood Turning Mastery begins. It is not just about making a bowl; it is about understanding the cellular structure of the timber and how your gouge interacts with the cellulose fibers. When you find that sweet spot, the wood stops resisting and starts to sing. We are diving into the physics of the spin today, turning raw tension into fluid art. You need to feel the grain, respect the torque, and let the centrifugal force do the heavy lifting while you provide the steady, calculated guidance of a master.
THE STUDIO KIT
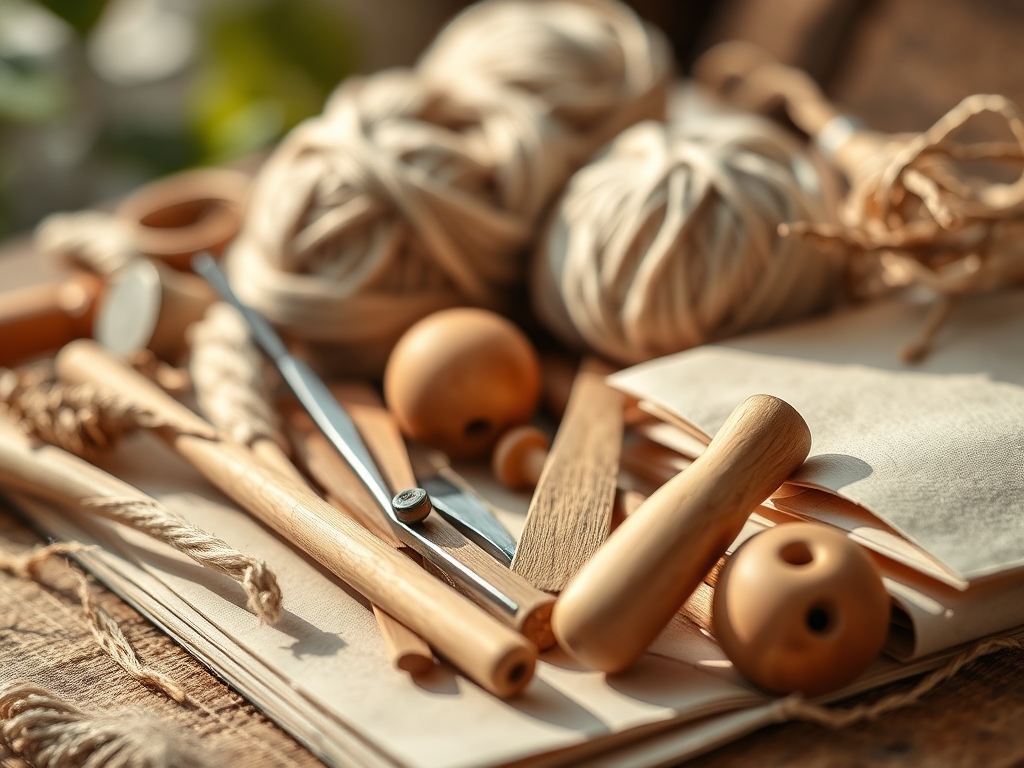
To achieve true precision, your kit must be an extension of your own biomechanics. We start with the lathe, the heart of the operation, which must be bolted or weighted to prevent harmonic vibration. Your primary weapons are the roughing gouge, the spindle gouge, and the parting tool. You will also need a high quality set of calipers to measure wall thickness and a face shield because physics does not care about your makeup.
The materials matter immensely. For these exercises, seek out hardwoods like maple or cherry. These have a high fiber density, which allows for cleaner cuts without the "tear out" common in softer, more porous woods like pine. If you cannot find premium blanks, Material Substitutions include kiln dried construction lumber (though it is prone to splintering) or even laminated plywood blocks, which offer a fascinating look at cross grain structural integrity. Always keep a burnishing cream or beeswax handy to seal the wood as soon as the friction heat opens the pores.
THE TEMPO
Wood turning is governed by the Maker's Rhythm, a psychological state where your breathing matches the RPM of the spindle.
- Setup and Squaring (20 Minutes): This is the "get to know you" phase. You are checking the tensile strength of the wood and ensuring the centers are perfectly aligned.
- The Roughing Phase (30 Minutes): High energy, high debris. You are removing the bulk to find the cylinder within the square.
- The Precision Phase (60 Minutes): This is where deep focus lives. You are making micro adjustments, feeling the tactile feedback of the steel against the grain.
- The Finishing Phase (30 Minutes): Sanding through the grits (from 80 to 400) and applying friction polish.
Total time: Roughly 2.5 hours per exercise. Do not rush the cooling periods; wood is a thermal conductor, and overheating the surface can cause micro fractures.
THE CORE METHOD
1. The Bead and Cove Dance
The first step to mastery is controlling the transition between convex (beads) and concave (coves) shapes. Using your spindle gouge, practice cutting deep, symmetrical valleys and rounded hills.
Mastery Tip: This exercise teaches you about shear force. By rotating the tool handle while simultaneously moving it along the rest, you align the cutting edge with the wood fibers. This prevents the tool from "catching" and digging into the wood, which happens when the cutting angle exceeds the wood's internal shear strength.
2. The Tapered Cylinder
Turn a square blank into a perfectly smooth cylinder, then taper it down to a fine point without losing structural integrity. Use your calipers every few minutes to ensure the taper is mathematically consistent.
Mastery Tip: Focus on the longitudinal grain direction. Wood is essentially a bundle of straws; if you cut "uphill" against the grain, you will crush the fibers. Cutting "downhill" toward the smaller diameter preserves the cellular wall structure, resulting in a surface so smooth it barely needs sanding.
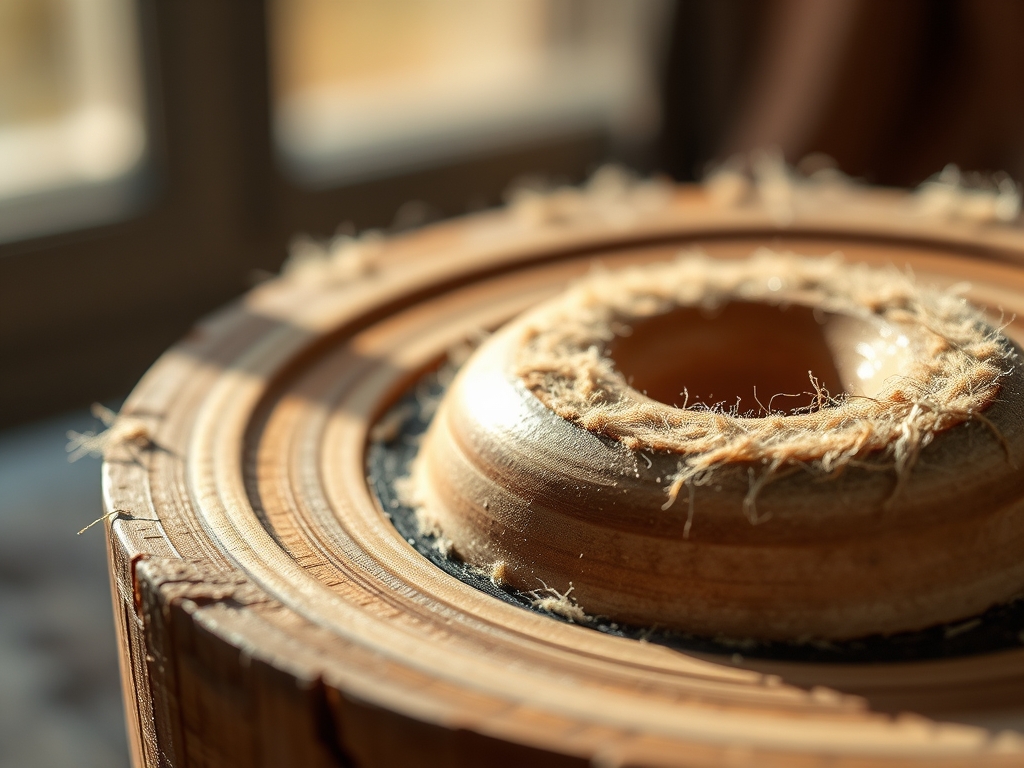
3. The Uniform Wall Bowl
Mount a blank on a faceplate and hollow out the center. The goal is to maintain a consistent 1/4 inch thickness from the rim to the base.
Mastery Tip: This is a lesson in centrifugal tension. As the bowl gets thinner, it becomes more flexible and prone to "chatter" or vibration. By keeping your tool rest as close to the wood as possible, you minimize the lever effect, allowing the tool to dampen the vibrations of the spinning wall.
4. The V-Cut Precision
Using only a parting tool or a skew chisel, create a series of deep, sharp V-shaped grooves at exact one inch intervals.
Mastery Tip: This exercise hones your understanding of compression. A sharp skew chisel actually severs the wood fibers before the bevel rubs them. If your tool is dull, you are simply mashing the fibers down, which leads to "furry" wood that refuses to take a finish.
5. The Friction Burnish
Once a piece is shaped, use a handful of its own shavings held against the spinning surface to create a natural glow.
Mastery Tip: This utilizes thermal expansion. The friction generates heat, which draws the natural oils and resins to the surface. As the resins cool, they harden within the top layer of pores, creating a durable, organic seal without the need for synthetic chemicals.
THE TECHNICAL LEDGER
Maintenance & Longevity: Your lathe bed must be kept waxed to prevent rust and ensure the tailstock slides smoothly. Sharpen your tools every 15 minutes of cutting time. A dull tool is a dangerous tool because it requires more physical pressure, increasing the risk of a catastrophic catch.
Material Variations:
- Sustainable: Use "orchard wood" like apple or pear, which are often discarded after pruning.
- Recycled: Turning old tool handles or furniture legs provides a high gauge of seasoned, stable material.
- Premium: Exotic burls offer incredible visual density but require extremely sharp tools due to their erratic grain patterns.
The Correction:
- The Spiral Mark: Caused by moving the tool too fast across the rest. Fix: Slow your lateral movement and increase the lathe speed slightly to overlap your cuts.
- End Grain Pitting: Occurs because the tool is "pulling" the fibers out. Fix: Use a "shear scrape" technique with the tool at a 45 degree angle to gently slice the fiber ends.
- The Heat Crack: Caused by aggressive sanding. Fix: Use a lighter touch and move the sandpaper constantly to dissipate thermal energy.
Studio Organization: Store your wood blanks in a cool, dry area with the end grains sealed with wax. This prevents "checking," which is when the wood dries too fast and splits along its radial lines.
THE FINAL REVEAL
Look at that finish! When you hold a piece that has been turned with true mastery, it feels balanced and surprisingly warm. The light should catch the grain without any visible scratches or dips. You have successfully navigated the physics of rotation and the biology of the tree. There is a profound sense of calm that comes from this level of focus; you are not just a maker, you are a conductor of kinetic energy.
STUDIO QUESTIONS
What is the best speed for a beginner?
Start between 800 and 1,000 RPM for roughing. As the piece becomes balanced and round, you can increase the speed to 1,500 RPM for finishing cuts. Always prioritize safety over speed when learning tool control.
Why does my wood keep splitting?
Splitting usually happens due to rapid changes in moisture content. If you are turning "green" wood, it shrinks as it dries. Seal the end grains with wax or wood sealer to slow the evaporation process and prevent structural failure.
How do I know when my tool is dull?
If the tool starts producing dust instead of long, curly shavings, it is dull. You should also feel an increase in resistance and vibration. A sharp tool should cut the wood like cold butter with minimal effort.
Can I turn wood that has knots?
Yes, but knots have a different density and grain direction than the surrounding wood. They can be brittle and may fly out. Approach knots with high speed and very light, cautious touches to maintain the integrity of the piece.