
Listen to that crisp, rhythmic scratch against the paper. It is the sound of pure potential. When you first dive into Fluid Ink Sketching, you are not just drawing; you are managing a complex chemical interaction between liquid pigment and organic cellulose fibers. Feel the weight of the pen in your hand. It should feel like an extension of your own skeletal structure, balanced and ready to dance. We are looking for that perfect moment where the ink leaves the reservoir and meets the porous surface of the page, creating a bond that is both permanent and breathtakingly delicate. You can smell the faint, metallic tang of the pigment as it hits the air. This is the sensory playground of the urban artist. We are going to capture the chaotic energy of the street using nothing but gravity, friction, and a little bit of creative soul. Grab your gear because we are about to turn a blank page into a living, breathing cityscape.
THE STUDIO KIT
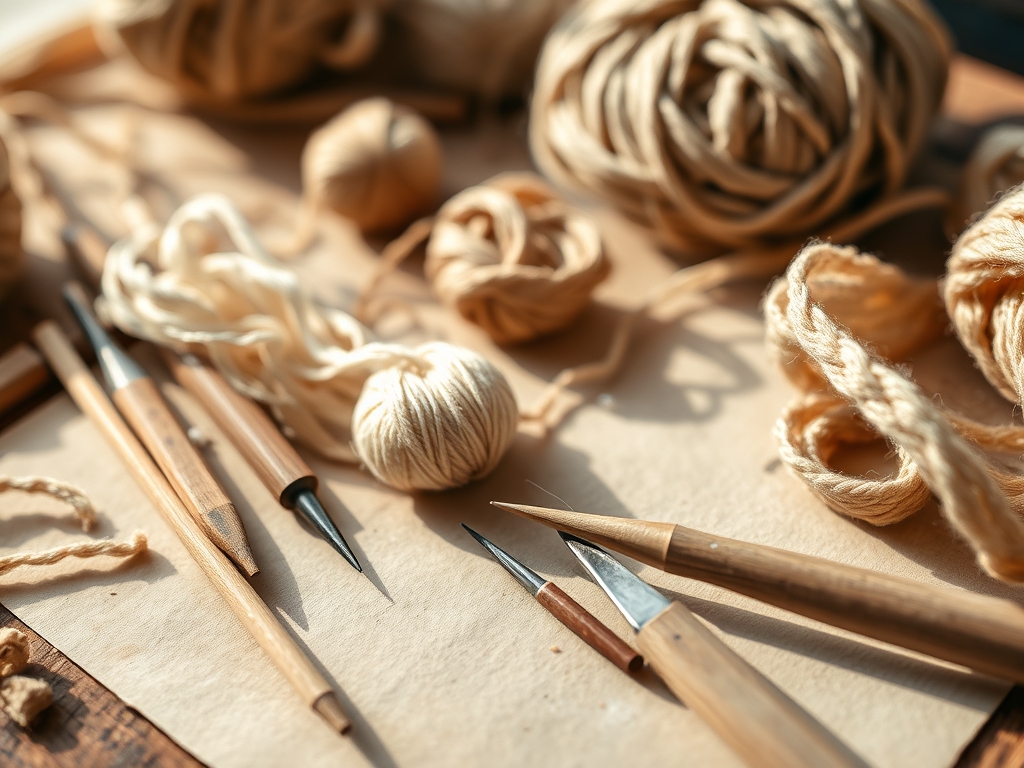
To master the art of the street, you need a kit that respects the laws of physics. Your primary engine is a fountain pen with a flexible nib or a high quality technical liner. The nib must have enough tensile strength to withstand rapid directional changes without snapping, yet enough flex to vary the line weight based on downward pressure. For the substrate, choose a paper with a high gsm (grams per square meter) rating, ideally between 150 and 200. This ensures the paper can handle heavy ink loads without buckling or "feathering," which occurs when the capillary action of the fibers pulls the ink too far from the original stroke.
You will also need a water brush for creating atmospheric washes. This tool uses a pressurized reservoir to feed water into synthetic bristles, allowing you to manipulate the ink before it reaches its final drying phase. If you want to get fancy, keep a bone folder nearby to pre-crease your sketchbook pages; this ensures a flat working surface for consistent gravity distribution of the ink.
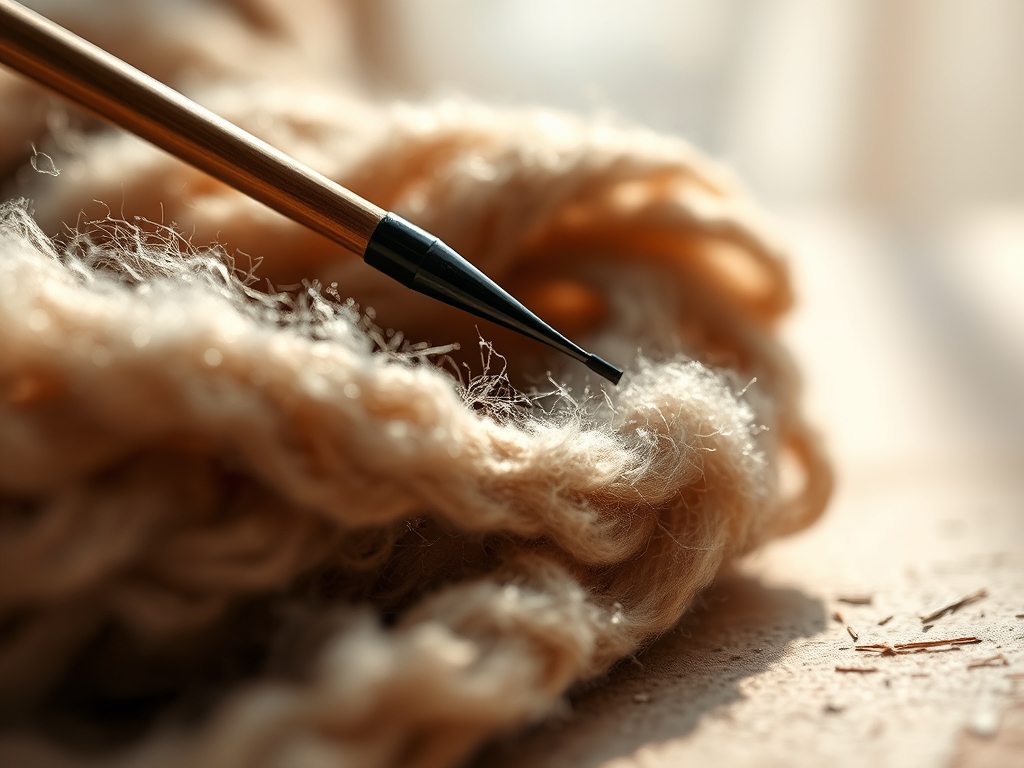
Material Substitutions: If you lack a professional fountain pen, a simple bamboo reed pen or even a sharpened twig can provide incredible organic textures. For paper, if a high end sketchbook is out of reach, use heavy cardstock. Just be aware that the lower porosity of cardstock means your drying times will increase significantly.
THE TEMPO
The "Maker's Rhythm" in sketching is all about the balance between the evaporation rate of the solvent and the speed of your hand. You have roughly thirty seconds of "open time" where the ink remains fluid enough to be moved or lifted from the page.
- The Observation Phase (2 Minutes): This is where you calibrate your eyes to the geometry of the scene.
- The Structural Lay-in (5 Minutes): Fast, light strokes to establish the vanishing points.
- The Fluid Pass (10 Minutes): The meat of the exercise where you commit to bold, wet lines.
- The Wash and Tone (8 Minutes): Using your water brush to create depth.
- The Final Definition (5 Minutes): Adding high contrast details once the initial layers have reached a tack-free state.
THE CORE METHOD
1. The Blind Contour Warm-up
Start by looking only at your subject, not your paper. Move your pen in sync with your eyes. This exercise forces you to rely on proprioception, the sense of your hand's position in space, rather than visual feedback. It breaks the "perfectionist" loop in the brain.
Mastery Tip: This technique relies on the coefficient of friction between your nib and the paper. By not looking, you learn to "feel" the resistance of the surface, which tells you how much ink is being deposited even without visual confirmation.
2. The Single Line Skyline
Try to capture an entire block of buildings without lifting your pen. This creates a continuous filament of ink. It forces you to find creative ways to double back over lines, which adds a natural structural thickness to your "shadow" sides.
Mastery Tip: Maintaining a continuous line utilizes surface tension. As long as the nib stays in contact with the wet ink trail, the fluid will flow more consistently due to the cohesive forces within the liquid pigment.
3. The Gravity Gradient
Hold your sketchbook at a slight angle. Apply a heavy bead of ink at the top of a structural shape and use a damp brush to pull it downward. This mimics the way light naturally falls across a vertical facade.
Mastery Tip: This exercise is a lesson in fluid dynamics. The ink follows the path of least resistance, and by controlling the angle of the paper, you are using gravity to dictate the viscosity and flow of your shadows.
4. Negative Space Silhouettes
Instead of drawing the car or the person, draw the shapes around them. This is a brilliant way to ensure your proportions are accurate because our brains are less likely to "correct" abstract shapes than recognizable objects.
Mastery Tip: Focus on the structural integrity of the voids. By defining the boundaries of the negative space, you are essentially "mapping" the scene using geometric constraints, which results in a more grounded composition.
5. The Splatter Texture
Load your brush with ink and tap it sharply over the paper to create "street grit." This adds a layer of organic randomness that makes a sketch feel alive and unpolished.
Mastery Tip: The size of the droplets is determined by the kinetic energy of your tap and the surface tension of the ink. A harder hit breaks the ink into smaller, high velocity micro-droplets for a finer mist.
6. Hatching for Mass
Use rapid, parallel lines to create tonal values. The closer the lines, the denser the "mass" appears. This is a classic architectural technique that translates perfectly to the energy of a street scene.
Mastery Tip: Use a consistent gauge for your lines. If your hand speed varies, the line thickness will change because the nib spends more time in one spot, allowing more ink to saturate the cellulose fibers.
7. The Final Contrast Pop
Identify the darkest "black hole" in your scene and the brightest "white highlight." Use a heavy application of ink for the former and leave the paper completely bare for the latter. This creates a dynamic range that makes the sketch jump off the page.
Mastery Tip: This is about light reflectance. By maximizing the contrast between the light-absorbing pigment and the light-reflecting paper, you create a visual "snap" that mimics high-contrast urban lighting.
THE TECHNICAL LEDGER
Maintenance & Longevity: Always cap your pens immediately. Ink is a suspension of pigment in a solvent; if the solvent evaporates in the nib, it creates a "clog" of solid particles. Clean your nibs weekly using a sonic cleaner or a gentle flush of distilled water to maintain optimal flow rate.
Material Variations:
- Sustainable: Look for "Stone Paper" which is made from calcium carbonate. It is waterproof and has a unique, non-porous drag.
- Recycled: Hemp-based papers offer high tensile strength and a beautiful, toothy texture for dry-brush techniques.
- Premium: 100% cotton rag paper is the gold standard for archival stability and moisture management.
The Correction:
- The Blot: If you drop a giant glob of ink, do not wipe it. Use a dry paper towel to "wick" the moisture vertically. This prevents the ink from spreading into the surrounding fibers.
- The Over-Saturation: If the paper starts to pill, you have exceeded its moisture capacity. Stop immediately and use a hair dryer on a cool setting to stabilize the fibers.
- The Smudge: If you smear a line, turn it into a shadow. Use a water brush to bleed the smudge into a purposeful gradient.
Studio Organization: Store your ink sketches in a pH-neutral portfolio. Avoid high humidity areas, as moisture can reactivate certain inks, leading to "ghosting" where the image transfers to the facing page.
THE FINAL REVEAL
Look at that! You have captured the soul of the city. Notice how the lines have a "velocity" to them; they look fast because they were fast. The way the ink has settled into the grain of the paper creates a wonderful tactile quality that a digital drawing simply cannot replicate. Your sketch isn't just a picture; it is a record of your physical movement and the chemical behavior of your materials. It is messy, it is bold, and it is uniquely yours. Now, go out there and find another corner to capture!
STUDIO QUESTIONS
What is the best ink for rapid sketching?
Look for "carbon" or "pigment-based" inks. These offer high opacity and become waterproof once dry, allowing you to layer washes over your lines without the original drawing dissolving or blurring into a gray mess.
How do I stop my paper from warping?
Use washi tape to secure the edges of your paper to a rigid board. This creates mechanical tension that resists the expansion of the fibers as they absorb water, keeping your work surface flat during the drying process.
Why does my pen keep skipping?
This is often caused by hand oils on the paper surface. The oils create a hydrophobic barrier that the water-based ink cannot penetrate. Try using a "bridge" or a piece of scrap paper under your drawing hand.
Can I use these techniques with markers?
Yes, but the capillary action is different. Markers use a felt nib that metes out ink through a fiber core. You will get less "flow" and more consistent line widths, which is great for precision but lacks the organic bleed of a pen.

