
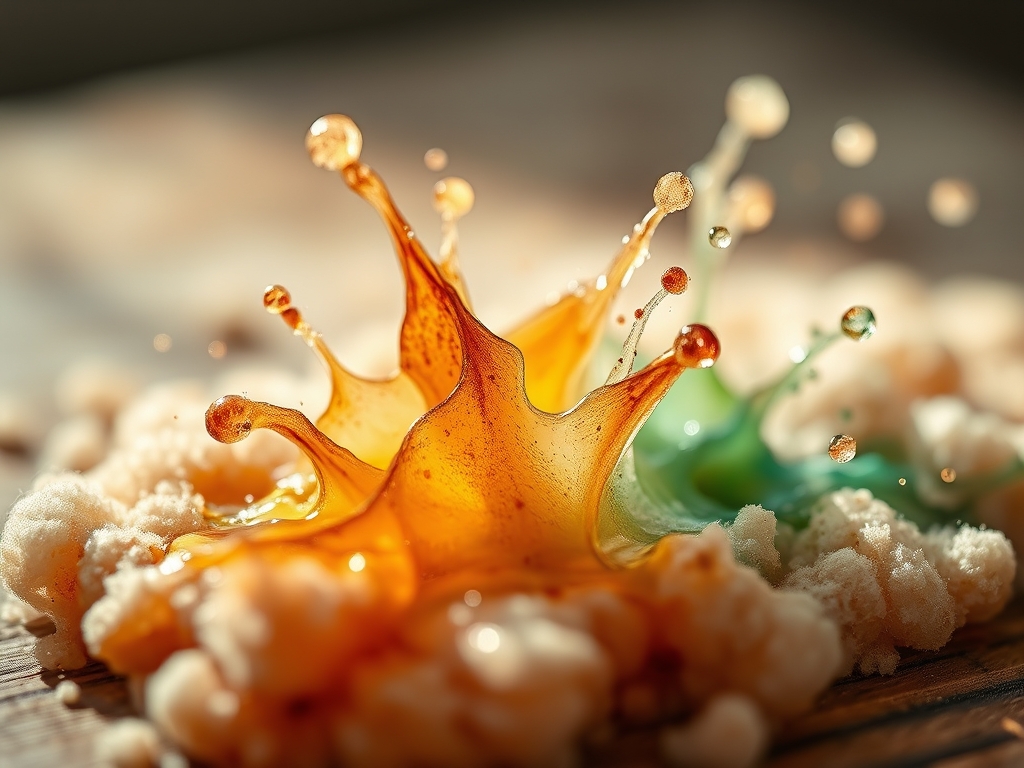
Grab your apron and clear the workbench because we are about to make a glorious, pigment-filled mess. There is a specific, electric thrill that comes from the snap of a hog-bristle brush against your finger. You can feel the potential energy stored in those fibers just before they release a chaotic spray of Fluid Watercolor Splatter across a pristine, cold-pressed surface. It is not just about throwing paint; it is a delicate dance of fluid dynamics and surface tension. When that first bead of high-flow pigment hits the paper, it interacts with the microscopic hills and valleys of the cellulose fibers. You can actually hear the faint hiss of the liquid being pulled into the porous substrate. We are moving beyond the basic "starry sky" trope today. We are going to manipulate gravity, airflow, and chemical resistance to turn a simple accident into a calculated masterpiece. This is where the physics of the studio meets the soul of the maker. Let us dive into the beautiful, splattered deep end together.
THE STUDIO KIT
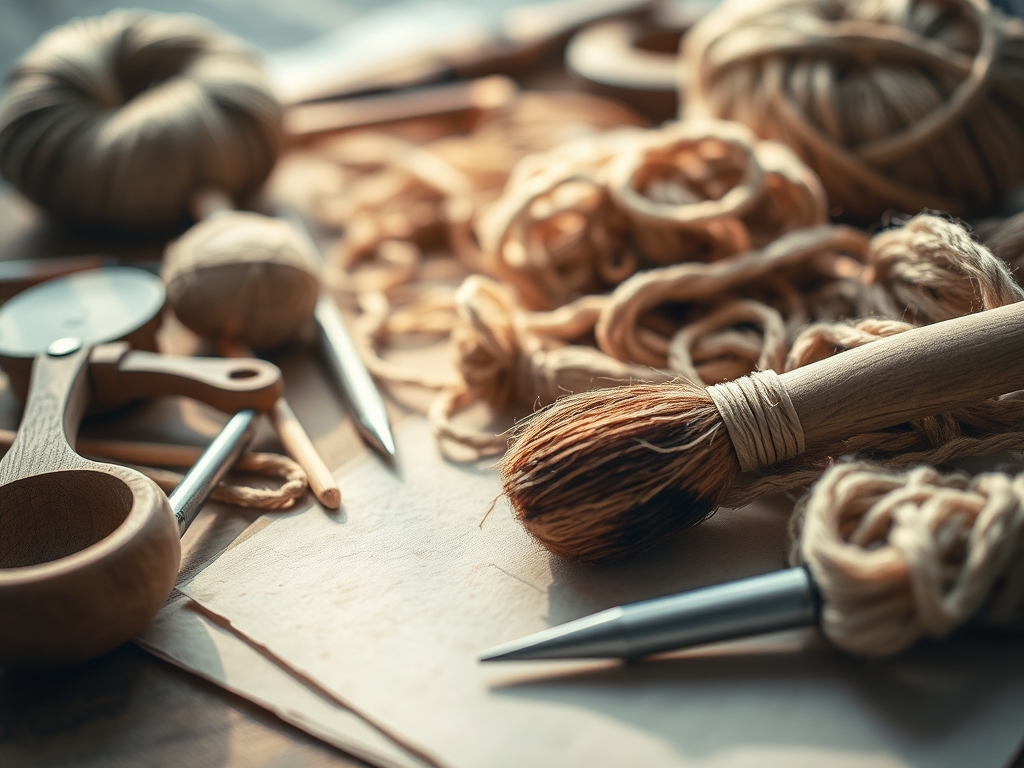
To master the art of the splatter, you need a kit that respects the tensile strength of your paper and the viscosity of your medium. I recommend starting with a 140lb (300 gsm) cotton rag paper. This heavy ply ensures the paper will not buckle or warp when we saturate it with liquid. For the pigment itself, look for "High Flow" or "Fluid" professional watercolors. These have a lower viscosity than tube paints, meaning they move with less resistance and create finer droplets.
Your primary tools will include a series of stiff-bristled brushes; think hog hair or synthetic fibers with high "snap" memory. You will also need a palette knife or a metal ruler to act as a striking bar. For precision control, keep a stylus or a clean dental pick nearby to drag through wet droplets. If you want to get really technical, a small air compressor or a simple straw will allow you to manipulate the direction of the splatter after it lands.
Material Substitutions: If you are out of professional fluid colors, you can dilute tube paint with a wetting agent like ox gall or a synthetic surfactant. This reduces the surface tension of the water, allowing the paint to spread more aggressively. Instead of a professional striking bar, a simple bone folder or the back of a heavy kitchen knife works perfectly to provide the necessary resistance for a clean flick.
THE TEMPO
The "Maker's Rhythm" for this project is divided into three distinct phases of engagement. First is the Saturation Phase (15 minutes), where you prep your workspace and calibrate your paint-to-water ratio. You are looking for the consistency of whole milk. Second is the Kinetic Phase (30 to 45 minutes). This is the active heart of the process where you are physically moving, striking, and blowing the paint. It requires high energy and quick decision-making before the edges begin to set. Finally, we have the Curing Phase (4 to 6 hours). Because we are using heavy applications of fluid, you must allow the moisture to evaporate naturally. Rushing this with a heat tool can cause the pigment to "skin over" and trap moisture underneath, which eventually leads to cracking or mold.
THE CORE METHOD
1. The Gravity Drop Technique
Hold your brush vertically, approximately six inches above the paper. Instead of flicking, allow the weight of the fluid to overcome the capillary action of the bristles. Let the drops fall naturally.
Mastery Tip: The height of the drop determines the "splat" radius. Higher drops possess more kinetic energy, causing the droplet to rupture upon impact and create thin, radiating "fingers" known as dendritic branching.
2. The Percussive Strike
Load a stiff brush with pigment and strike it sharply against a metal ruler or palette knife held two inches above the surface. This creates a concentrated "spray" pattern.
Mastery Tip: The angle of the strike dictates the trajectory. A 45-degree angle produces elongated, directional ovals, while a 90-degree strike creates perfect circles. This is a lesson in vector physics.
3. The Controlled Air Burst
Place a large droplet on the page, then use a straw or an oscillating tool attachment to blow air across the surface. This forces the liquid into thin, vein-like structures.
Mastery Tip: This technique relies on the viscosity of the fluid. If the paint is too thick, it will not move; if it is too thin, it will lose its color density as it spreads.
4. Resisting the Flow
Use a wax resist or masking fluid to draw patterns before splattering. The hydrophobic nature of the wax will repel the watercolor, leaving crisp white lines amidst the chaos.
Mastery Tip: This is a study in surface energy. The watercolor will bead up on the wax because the wax has a lower surface energy than the liquid, preventing the pigment from "wetting" that specific area.
5. The Wet-on-Wet Diffusion
Mist your paper with a fine spray of water before you begin your splatter. When the droplets hit the damp surface, the edges will instantly blur and soften.
Mastery Tip: This utilizes Brownian motion, where the pigment particles move randomly through the water film, creating a soft, ethereal gradient rather than a sharp-edged spot.
6. Salt Crystal Displacement
While the splattered droplets are still "juicy," drop grains of sea salt into the center of the larger spots. The salt will pull the pigment toward it as it absorbs the water.
Mastery Tip: This is osmosis in action. The salt creates a high-concentration zone that draws the liquid in, leaving behind a unique, crystalline texture once the paper is dry.
7. Layered Depth with Glazing
Once your first layer of splatter is completely dry, apply a second layer in a contrasting color. The transparency of the watercolor allows the bottom layer to show through.
Mastery Tip: Ensure the first layer is fully polymerized (dry to the touch) to prevent the colors from muddying. This creates a 3D effect through optical color mixing.
THE TECHNICAL LEDGER
Maintenance & Longevity: To ensure your splattered masterpieces last for decades, always use acid-free, archival paper. Watercolor is light-sensitive; once finished, treat the surface with a UV-resistant fixative spray. This protects the pigment load from fading when exposed to indirect sunlight.
Material Variations:
- Sustainable: Use handmade hemp paper, which has incredible tensile strength and a unique texture that catches splatter beautifully.
- Premium: Experiment with iridescent medium additives. These contain mica flakes that add a metallic sheen to your droplets.
The Correction:
- The Bloated Blob: If a drop is too large, do not wipe it. Use the corner of a dry paper towel to wick the excess moisture away vertically.
- The Muddy Mix: If colors are bleeding together unattractively, your paper is too wet. Stop and use a bone folder to burnish the edges of the wet area to "corral" the spread.
- The Ghosting Effect: If your splatter looks faint, your water-to-pigment ratio is off. Increase the solids content by adding more raw pigment to your mix.
Studio Organization: Store your finished pieces flat in a dry, cool environment. Use glassine paper between sheets to prevent the "tack" of the dried watercolor from sticking to other surfaces. This prevents delamination of the paper fibers over time.
THE FINAL REVEAL
Look at that! You have successfully navigated the chaotic world of Fluid Watercolor Splatter. What started as a few messy drops has transformed into a sophisticated display of fluid dynamics. Your page should now be a vibrant map of textures; sharp, percussive sprays contrasting with soft, diffused blooms and salt-crystallized centers. The way the light hits those layered glazes gives the piece a sense of movement that a flat wash could never achieve. You did not just paint; you engineered a visual experience.
STUDIO QUESTIONS
How do I get smaller, finer splatters?
Use a stiff-bristled toothbrush. Dip the tips in pigment and pull your thumb across the bristles quickly. This high-velocity release creates a fine mist of micro-droplets rather than large spots.
Why does my splatter look dull when dry?
This is often due to "sinking." If your paper is too porous, the pigment particles are pulled deep into the fibers. Try using a sized paper or adding a tiny bit of gum arabic to your mix.
Can I use acrylic ink for this?
Absolutely. Acrylic ink has a higher binder-to-water ratio, making it more permanent and vibrant. However, it dries much faster, so you must work quickly to use the salt or blowing techniques.
How do I keep the splatter off my furniture?
Create a "splatter box" by placing your paper at the bottom of a deep cardboard shipping container. This contains the centrifugal force of your brush strokes and keeps your studio walls pristine.

