
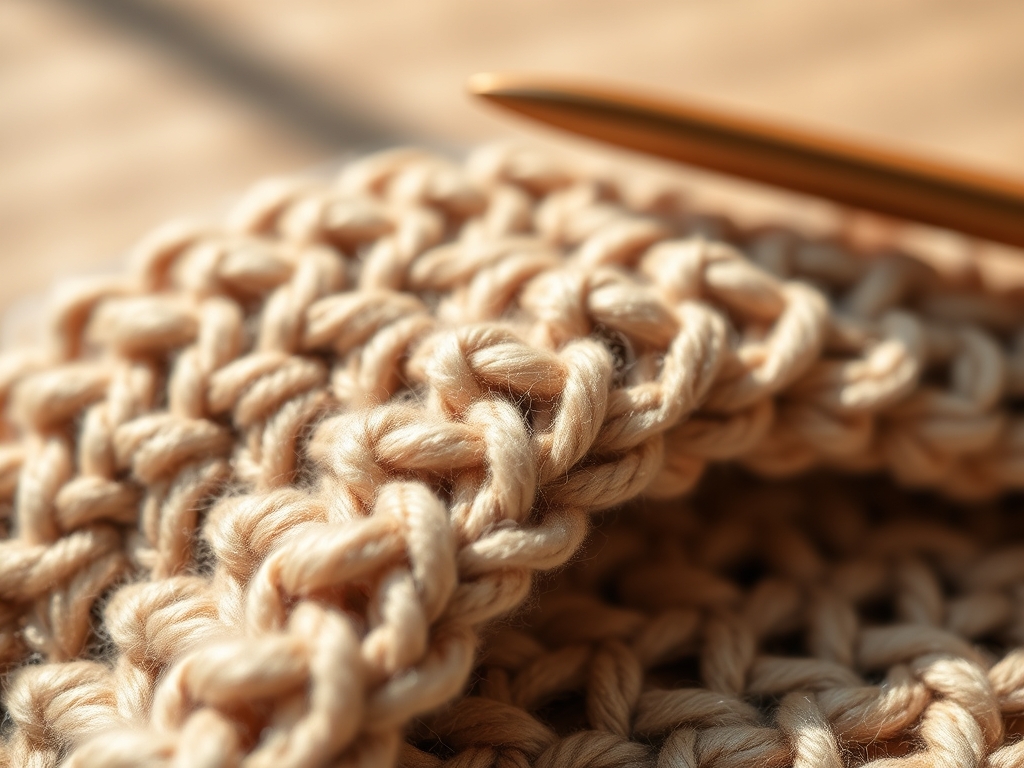
Grab your favorite mug and clear the workbench because we are diving into the high-octane world of fiber physics. There is a specific, electric hum that happens when your hook meets a high-twist wool; it is a tactile conversation between tension and torque. To master Rhythmic Crochet Stitches, you must first understand how the twist of your yarn dictates the flow of your hands.
The secret to those breathtaking, architectural cables is not just in the pattern. It is in the kinetic energy you maintain throughout the piece. When you find that perfect cadence, the yarn ceases to be a string and becomes a structural element. We are not just looping thread here; we are engineering a wearable exoskeleton. The way the fibers interlock creates a microscopic friction that holds the shape of the cable against the pull of gravity. Feel the density of the ply as it slides over your skin. That resistance is your best friend. It provides the feedback necessary to maintain a consistent gauge across thousands of individual movements. We are going to harness that friction to create six complex cables that look like they were forged rather than stitched.
THE STUDIO KIT
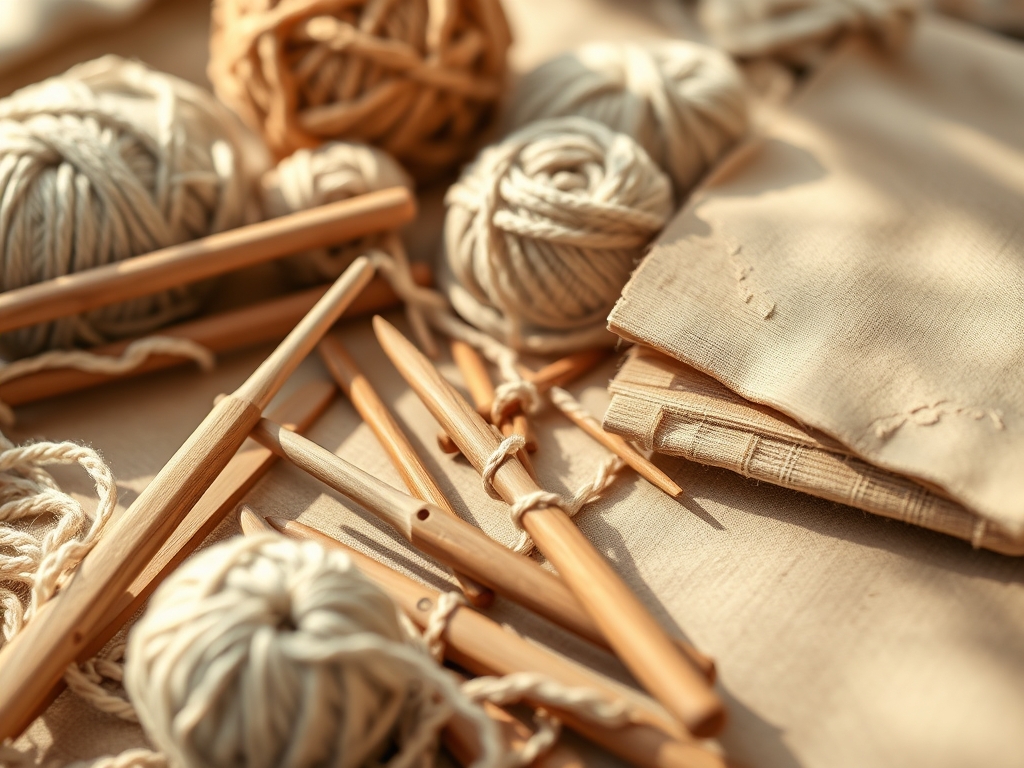
To execute these cables with professional precision, your standard plastic hook simply will not cut it. You need tools that offer a low coefficient of friction. I recommend an ergonomic tapered hook made of aerospace-grade aluminum or cold-pressed birch. These materials dissipate heat differently, ensuring the yarn does not "grab" the tool mid-stroke. You will also need a set of digital calipers to measure your stitch height. Consistency in the vertical axis is what separates a floppy sweater from a high-fashion garment.
Your material choice is the foundation of the project's structural integrity. Look for a high-twist, multi-ply worsted wool. The multiple plies act like a suspension bridge, distributing the load across several strands to prevent sagging. If you are looking for Material Substitutions, consider a cotton-linen blend for a crisper stitch definition, though be warned: linen has zero elasticity, meaning your hands will absorb all the tension. For a more sustainable route, a recycled hemp-wool mix offers incredible tensile strength and a beautiful, rustic matte finish that highlights the shadow play of the cables. Always keep a small awl or a tapestry needle nearby to help manipulate tight stitches without fraying the delicate fibers.
THE TEMPO
The "Maker's Rhythm" is a psychological state where your motor skills align with the physical properties of the yarn. For these complex cables, your tempo will fluctuate based on the density of the cross-overs. Expect the foundation rows to move quickly, roughly 20 stitches per minute. However, once you hit the "cable intersection," your speed will drop significantly as you manage the increased surface tension of the gathered loops.
A standard sweater utilizing these six complex cables will require approximately 40 to 60 hours of active labor. I break this down into three phases: the Architecture Phase (swatching and gauge verification), the Construction Phase (the rhythmic body of the piece), and the Refinement Phase (blocking and seaming). Do not rush the intersections. If you lose the rhythm, you lose the tension, and your cables will look uneven. Treat each row like a measure of music; maintain the beat, and the fabric will sing.
THE CORE METHOD
1. The Foundation Anchor
Before you even think about crossing a cable, you must establish a stable base. Use a foundation single crochet instead of a traditional chain to ensure the bottom edge has the same elasticity as the rest of the garment. This prevents the "hourglass effect" where the bottom of the sweater cinches too tightly.
Mastery Tip: This step relies on tensile equilibrium. By creating the foundation and the first row simultaneously, you ensure that the vertical pull of the cables does not distort the horizontal baseline of the fabric.
2. Establishing the Cable Pillars
Identify the specific stitches that will act as your vertical anchors. These are usually worked as Front Post Double Crochets (FPDC). You must keep these pillars perfectly vertical. Use your calipers to check that the width of your pillars remains constant every three rows.
Mastery Tip: This is about structural alignment. If the pillars lean even a fraction of a millimeter, the cumulative torque of the cable will cause the entire sweater to twist around the body over time.
3. Executing the Primary Cross
To create the first cable twist, skip the designated number of stitches and work into the subsequent ones, then go back to the skipped stitches. This creates a literal bridge of fiber. You must pull the yarn slightly tighter on the "underpass" stitch to compensate for the extra distance it has to travel.
Mastery Tip: This involves capillary action within the fibers. When you stretch the yarn across a gap, you are compressing the air pockets between the plies. Over-tightening will snap the fibers, while under-tightening leads to snagging.
4. Managing the Multi-Strand Braid
For the more complex 6-strand cables, you will be working with overlapping layers. It is vital to keep the "floats" (the yarn behind the work) short. Use a stitch marker to hold the live loop if you need to step away mid-braid to prevent the weight of the garment from unraveling your progress.
Mastery Tip: This step utilizes volumetric density. By layering the stitches, you are creating a pocket of trapped air which provides incredible thermal insulation, making the sweater much warmer than a flat-stitch garment.
5. The Transition Row
Between every cable twist, you need a "rest row" of plain stitches. This allows the fibers to settle into their new orientation. Think of it as the decompression period for the yarn. Without this row, the fabric becomes too stiff and loses its "drape."
Mastery Tip: This addresses material memory. Wool fibers want to return to their original straight state. The rest row allows the microscopic scales on the wool to interlock in their new curved position, "setting" the cable.
6. The Edge Burnish
Once the cables are complete, the edges of your panels need to be reinforced. Use a crab stitch (reverse single crochet) along the seams. This creates a corded edge that mimics the look of the cables and provides a sturdy frame for the garment.
Mastery Tip: This increases torsional rigidity. A corded edge prevents the sweater from stretching out of shape at the stress points, such as the armholes and neckline, by distributing the weight of the cables evenly.
THE TECHNICAL LEDGER
Maintenance & Longevity: To keep your cables crisp, never hang the garment. The weight of the complex stitches will cause the fibers to elongate over time due to gravitational creep. Always store the piece folded flat in a breathable cotton bag.
Material Variations:
- Premium: 100% Cashmere provides unmatched softness but requires a tighter gauge to maintain cable definition.
- Sustainable: Recycled denim yarn offers a unique "faded" look to the cables but lacks the elasticity of wool.
- Recycled: Qiviut or Bison blends offer extreme warmth and are incredibly durable for heirloom pieces.
The Correction:
- The Gap: If a hole appears at the base of your cable, you have too much slack. Fix: Use a tapestry needle to "duplicate stitch" a small anchor behind the gap to pull the fibers together.
- The Lean: If the cable slants left, your tension is tighter on the pull-through. Fix: Consciously relax your "yarn hand" during the cross-over.
- The Bunch: If the fabric ripples, you are adding too many stitches in the rest row. Fix: Count your pillars religiously; never add an extra stitch to "make it fit."
Studio Organization: Use a modular bin system to store your yarn by dye lot and weight. Use a dehumidifier in your workspace; excess moisture can cause wool to lose its "bounce," making your rhythmic crochet stitches feel sluggish and heavy.
THE FINAL REVEAL
Look at that! You have successfully engineered a masterpiece of fiber physics. The way those cables catch the light creates a rhythmic pattern of shadows that gives the sweater incredible depth and movement. It is heavy, it is structural, and it is undeniably professional. You did not just make a sweater; you mastered the tension of the universe, one loop at a time. Now, put it on, feel that weighted embrace, and go show the world what a master maker looks like!
STUDIO QUESTIONS
Why do my cables look flat instead of popping out?
Flat cables usually result from low ply-twist or loose tension. Use a smaller hook to increase the stitch density, which forces the fibers to sit on top of each other rather than blending into the background.
Can I use acrylic yarn for complex cables?
Acrylic lacks structural memory, meaning the cables may sag after washing. If using synthetic, choose a "high-bulk" variety and work at a very tight gauge to ensure the cables maintain their three-dimensional shape.
How do I prevent my hands from cramping?
Maintain an ergonomic grip and take breaks every 20 minutes. Cables require more force than flat stitches, so stretching your carpal tendons is essential to prevent repetitive strain injuries during long studio sessions.
Does blocking really matter for cables?
Absolutely. Wet blocking allows the fibers to relax and bloom, filling in tiny gaps and evening out the tension. It is the final "set" that turns a handmade project into a polished, professional garment.

