
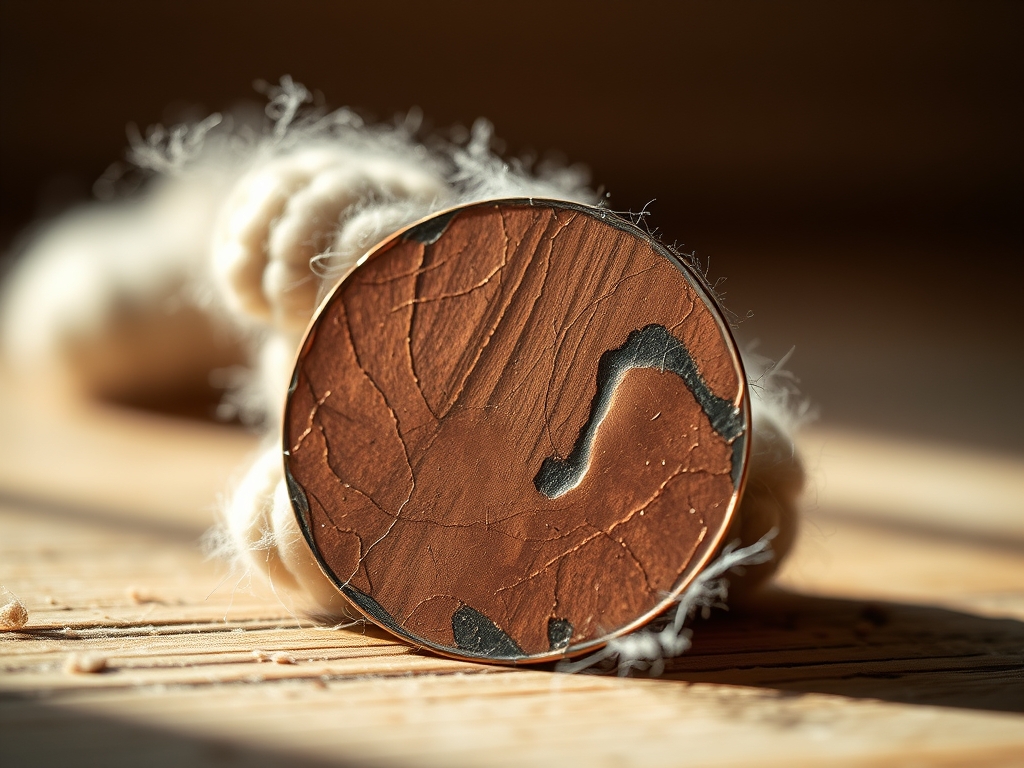
Grab your safety goggles and tie back your hair because we are about to dive into the most satisfying chemical dance you have ever witnessed. There is something deeply primal about the way a polished sheet of metal yields to the bite of an acid solution. When we talk about Meditative Copper Etching, we are not just scratching lines into a plate; we are orchestrating a controlled molecular collapse. You can feel the cool, heavy weight of the 16 gauge copper in your hands, its surface so smooth it feels almost liquid. The magic happens when that stillness meets the aggressive energy of an etchant. As the acid eats away the exposed metal, the studio fills with the quiet hum of transformation. It is a process that demands your full presence, forcing you to sync your breathing with the slow, rhythmic bubbles rising from the tray. We are turning hard industrial material into a delicate vessel for ink and imagination.
THE STUDIO KIT
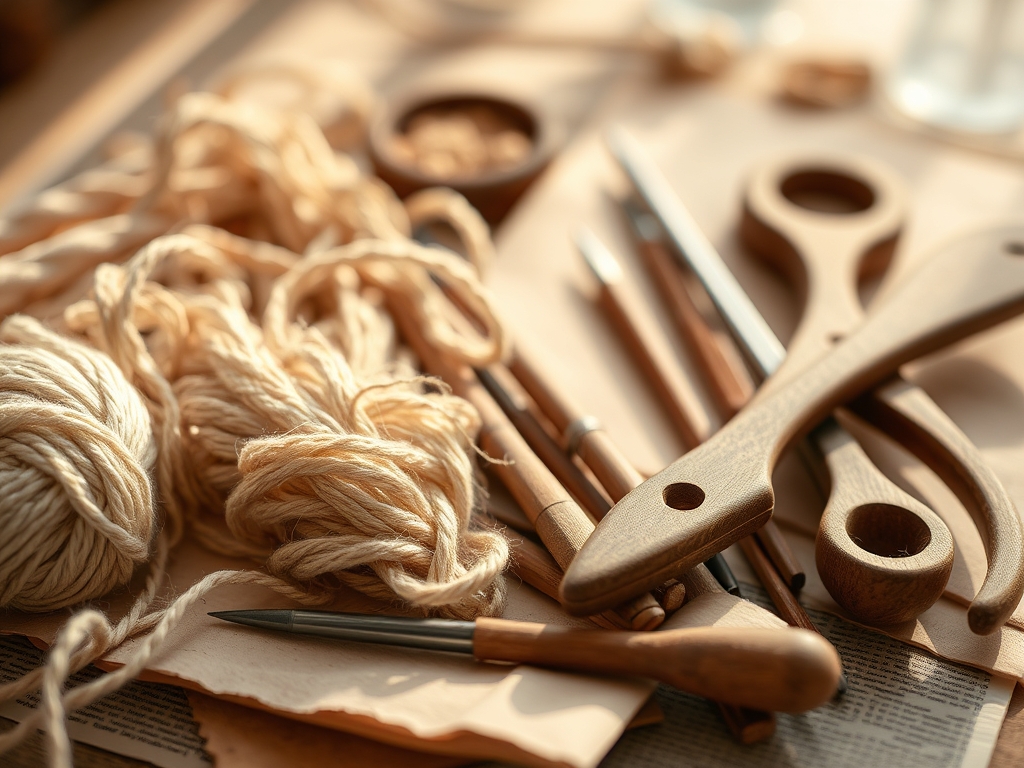
To master this craft, you need a kit that respects the chemistry involved. Your primary canvas is cold-rolled copper sheet, typically 18 to 16 gauge for structural integrity during the high-pressure printing phase. You will need a high-quality ground, which is a wax-based acid resist that protects the areas you do not want etched. For the actual drawing, a hardened steel etching needle or a jeweler's saw for shaping the plate is essential. The "bath" itself requires ferric chloride, a corrosive salt that is much safer than traditional nitric acid but still requires respect.
You also need a burnisher with a curved steel tip to smooth out mistakes and a scrapper to bevel the edges of your plate. If you cannot find a professional etching needle, a technical scribe or even a sharpened dental pick serves as an excellent material substitution. For the printing phase, ensure you have low-stretch cotton rag paper and a heavy-duty etching press capable of exerting several tons of pressure. The tactile feedback of the star wheel on the press is how you know your calibration is perfect.
THE TEMPO
The rhythm of etching is divided into three distinct movements: preparation, immersion, and extraction. Plate preparation, including degreasing and applying the ground, takes about forty-five minutes of focused, tactile labor. The actual etching time varies wildly based on the depth you desire; a light "whisper" line might take ten minutes, while a deep, ink-holding trench requires two hours in the bath.
This creates a "Maker's Rhythm" where you are constantly oscillating between high-intensity detail work and the slow, patient waiting of the chemical reaction. Do not rush the drying times for your ground. If the wax is still tacky, your needle will drag and tear the film rather than slicing through it cleanly. Budget a full afternoon for your first plate to allow the molecular bonds of the resist to fully stabilize before it hits the liquid.
THE CORE METHOD
1. Degreasing the Substrate
Before any resist can adhere, the copper must be chemically clean. Use a mixture of calcium carbonate (whiting) and a splash of vinegar to scrub the surface until water sheets off it perfectly. If the water beads, there is still oil from your fingerprints.
Mastery Tip: This relies on surface tension physics; by removing hydrophobic oils, you allow the ground to form a continuous molecular bond with the metal, preventing "foul biting" where acid seeps under the edges.
2. Applying the Hard Ground
Heat your plate slightly on a hot plate and roll on a thin, even layer of ball ground. The goal is a translucent amber coating that is hard enough to resist the acid but brittle enough to be displaced by your needle.
Mastery Tip: Use a brayer with a specific durometer (hardness) to ensure the ground thickness is uniform. An uneven ground causes inconsistent line depths because the acid takes longer to penetrate thicker areas.
3. Scribing the Design
Using your etching needle, draw your design into the wax. You are not scratching the metal yet; you are simply removing the wax to expose the copper underneath. Use a magnifying lamp to ensure your lines are crisp.
Mastery Tip: Maintain a consistent angle of attack with your needle. If you tilt the tool too far, you create an undercut in the wax which leads to "creeping" lines once the plate enters the acid bath.
4. The Acid Immersion
Submerge the plate face down in the ferric chloride bath. Suspend it with small tape loops or "cradles" so the sediment falls to the bottom of the tank rather than settling into your lines.
Mastery Tip: This process utilizes redox reactions. As the iron ions in the ferric chloride contact the copper, they swap electrons, effectively dissolving the solid copper into the liquid. Agitating the bath prevents a saturation layer from forming at the contact point.
5. Stripping and Inking
Once etched, clean the ground off with a mild solvent. Apply oil-based etching ink using a dauber, then use a tartalan cloth to wipe the surface clean, leaving ink only in the recessed lines.
Mastery Tip: This stage is all about capillary action. The ink stays in the grooves because the narrow channels create enough surface pull to resist the wiping motion of the cloth.
THE TECHNICAL LEDGER
Maintenance & Longevity: Copper is highly reactive to oxygen. To prevent premature oxidation (patina) on your finished plates, coat them in a thin layer of lithographic asphaltum or acid-free wax before long-term storage. Store plates vertically in a climate-controlled environment to avoid warping.
Material Variations: For a more sustainable studio, swap ferric chloride for a saline sulfate etch (copper sulfate and salt), which is less toxic and easier to neutralize. If you want a premium finish, use mirror-polished 16-gauge copper which requires less pre-polishing and provides a cleaner "plate tone" in the final print.
The Correction:
- Foul Biting: If acid leaks under your ground, use a scraper to shave down the surface of the metal until the unwanted marks disappear, then re-burnish.
- Shallow Lines: If your lines do not hold ink, re-apply a "transparent ground," realign your needle, and re-etch for another twenty minutes.
- Plate Tarnish: If the copper dulls, use a jeweler's rouge and a felt bob on a rotary tool to restore the high-luster finish without rounding off your etched edges.
Studio Organization: Organize your plates by "biting time" in a dedicated rack. Keep your chemicals in high-density polyethylene (HDPE) containers, as ferric chloride will eat through most metals and some low-grade plastics.
THE FINAL REVEAL
When you finally pull that first print off the press, the energy in the room shifts. There is a heavy, tactile "thump" as the paper is forced into the etched grooves, emerging with a three-dimensional embossed quality that no digital printer can replicate. The lines are velvety and rich, possessing a structural depth that catches the light at different angles. You have successfully navigated the physics of corrosion to create something permanent. It is a high-energy moment of pure creative triumph; you took a flat, stubborn piece of industrial ore and breathed a soul into it through the meditative power of chemistry.
STUDIO QUESTIONS
What is the best gauge for copper etching?
16 gauge is the professional standard. It provides the necessary tensile strength to withstand the extreme pressure of the etching press without warping or curling, ensuring your plate remains flat for multiple printing runs over many years.
Can I use salt water to etch copper?
Yes, when combined with a power source. Electrolytic etching uses a salt solution and a low-voltage battery to pull copper ions away from the plate. It is a clean, acid-free alternative to traditional chemical baths.
How do I know when the etch is done?
Use a depth gauge or your fingernail to feel the "bite." A fingernail should clearly catch in the groove. Most artists rely on a "test plate" submerged at the same time to check progress without disturbing the main piece.
Why is my ink wiping out of the lines?
This usually happens if the lines are too shallow or the ink is too thin. Ensure your etching depth is sufficient and use a "stiff" ink. Wipe gently with a starched tarlatan to avoid digging into the recessed channels.

