
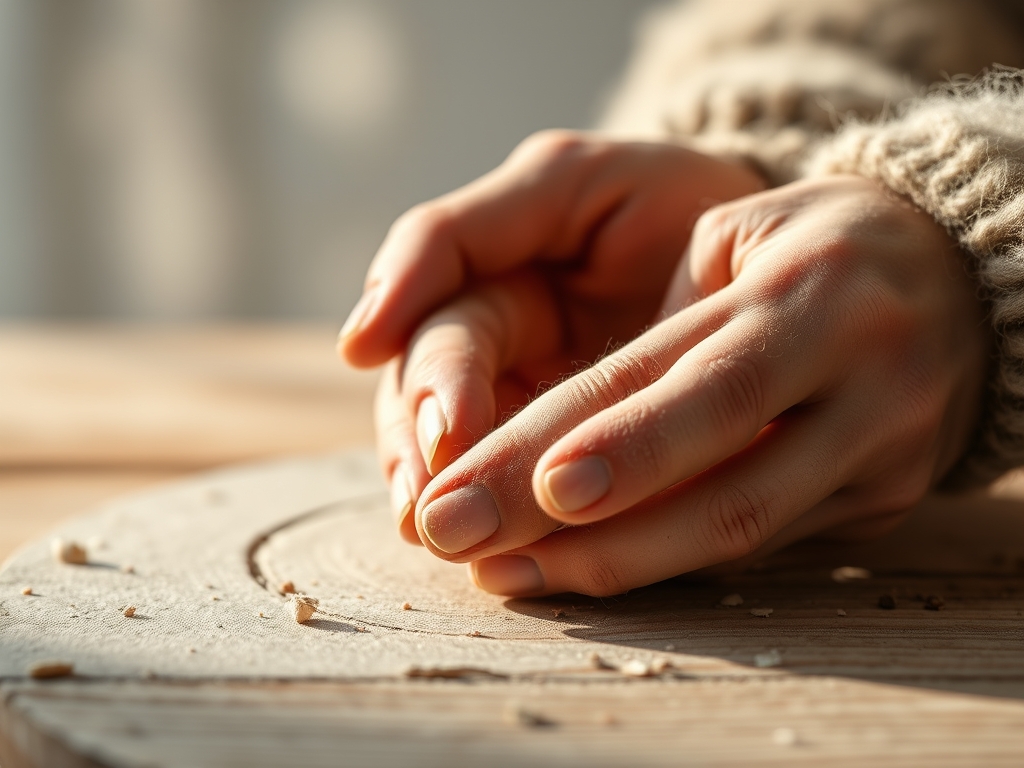
Grab a stool and clear some space because your hands are about to become the most sophisticated tools in the room. We are diving into the rhythmic, meditative world of repetitive clay pinching to create a set of five organic bowls that feel like they grew straight out of the earth. This process is not just about shaping mud; it is a masterclass in tactile feedback and structural physics. When you engage in repetitive clay pinching, you are essentially training your nervous system to detect microscopic variations in moisture and density. Your fingertips act like biological sensors, measuring the tensile strength of the clay body as you compress the platelets into a cohesive form. There is something intoxicating about the way the clay resists and then yields under the heat of your palms. We are aiming for that perfect balance where the walls are thin enough to be elegant but structurally sound enough to survive the kiln. It is messy, it is scientific, and it is the ultimate way to ground yourself after a long week of staring at digital screens.
THE STUDIO KIT
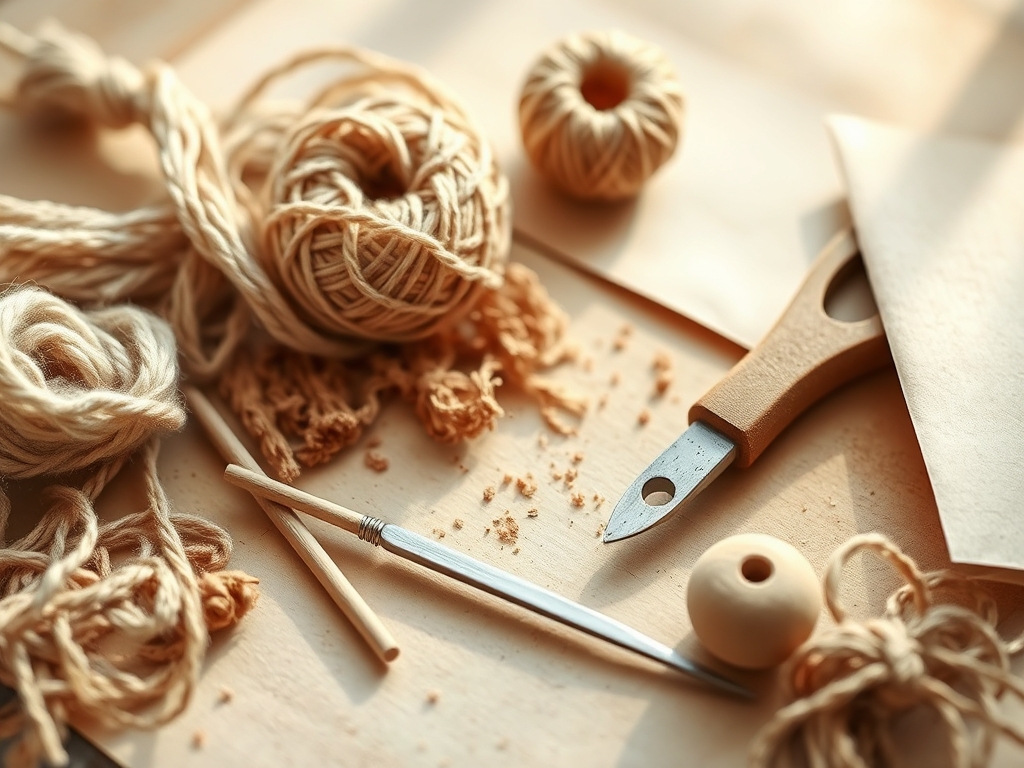
THE STUDIO KIT
To master this series, you need a high-fire stoneware clay with a fine-grained grog content. Grog consists of pre-fired clay that has been crushed into a sand-like consistency; it provides the internal skeleton necessary to prevent warping during the drying process. You will also need a set of calipers to ensure the diameter of your five bowls remains consistent. A serrated rib is essential for scoring the surface, while a smooth rubber kidney helps you burnish the exterior to a satin finish. For fine detailing, keep a needle tool and a small sponge nearby.
If you cannot source professional stoneware, a high-quality air-dry clay can serve as a material substitution. However, be aware that air-dry variants lack the vitrification properties of kiln-fired ceramic. You might also substitute a traditional rib with a simple credit card or a smooth wooden spoon to compress the clay fibers. The goal is to maintain a consistent moisture gradient across all five pieces to ensure they shrink at the same rate.
THE TEMPO
The maker's rhythm is a three-act play governed by the evaporation of water. Act one is the plastic stage, lasting about thirty minutes per bowl, where the clay is most malleable. This is when the heavy lifting of repetitive clay pinching happens. Act two is the leather-hard stage, occurring four to six hours later depending on your studio's humidity. This is the prime time for refining the rim and burnishing the base. Finally, act three is the bone-dry stage, which requires forty-eight to seventy-two hours of patient waiting.
You cannot rush the physics of evaporation. If the exterior dries faster than the interior, the resulting thermal shock or uneven contraction will cause the base to crack. Think of it as a slow-motion dance with the atmosphere. Your job is to manage the environment, using plastic coverings to slow down the process and ensure the structural integrity of the vessel remains intact.
THE CORE METHOD
1. Wedging and Portioning
Start by wedging five equal spheres of clay, approximately 400 grams each. Wedging is a mechanical process that aligns the clay particles and eliminates air pockets. By using a spiral wedge technique, you ensure that the moisture is distributed evenly throughout the mass. Use your calipers to check that each sphere is identical in volume.
Mastery Tip: The science here is all about homogeneity. Air bubbles are the enemy of structural integrity; under the high heat of a kiln, trapped air expands rapidly, leading to a catastrophic failure of the vessel wall.
2. The Initial Compression
Hold a sphere in your non-dominant hand and use your thumb to press a deep indentation into the center. Do not push all the way through; leave about half an inch for the base. This initial move establishes the axis of symmetry. Begin the repetitive clay pinching by rotating the ball and squeezing the walls between your thumb and fingers.
Mastery Tip: This step relies on capillary action. As you compress the clay, you are forcing the water molecules to lubricate the flat clay platelets, allowing them to slide over one another without tearing the surface.
3. Thinning the Walls
Continue the pinching motion in a spiral pattern, moving from the base toward the rim. Each pinch should overlap the previous one by fifty percent. This creates a consistent wall thickness and prevents "heavy spots" that could cause the bowl to slump. Keep your elbows tucked into your ribs for better ergonomic leverage.
Mastery Tip: Focus on the tensile strength of the rim. If the rim becomes too thin too quickly, it will lose its ability to support the weight of the bowl, leading to a flared or collapsed shape.
4. Refining the Profile
Once the general shape is achieved, use your rubber kidney to smooth the interior. This process, known as burnishing, aligns the surface particles into a dense, reflective layer. If you notice any small fissures, use a tiny amount of slip (liquid clay) to heal the gap. Check the height and width of all five bowls against your master measurements.
Mastery Tip: Burnishing reduces the porosity of the clay. By mechanically pressing the surface particles together, you create a smoother finish that will accept glaze more evenly during the firing process.
5. Leveling the Rim
Place the bowl upside down on a flat surface to check for any wobbles. Use an oscillating tool or a simple needle tool to trim the rim so it is perfectly parallel to the table. Soften the edge with a damp chamois cloth to ensure it feels comfortable against the lips or hands.
Mastery Tip: A rounded rim is structurally superior to a sharp one. Sharp edges are prone to stress concentrations, making them much more likely to chip or crack during daily use.
THE TECHNICAL LEDGER
Maintenance & Longevity: To keep your bowls in top shape, avoid drastic temperature changes. While stoneware is durable, the organic nature of pinched pots means they have subtle internal stresses. Hand-washing is recommended to preserve the integrity of the glaze.
Material Variations: For a sustainable twist, try mixing in paper pulp to create paper-clay. This increases the green-strength of the piece and allows for even thinner walls. For a premium feel, use a translucent porcelain body, though be warned: porcelain has a much lower plasticity and requires a more delicate touch.
The Correction:
- S-Cracks in the base: These occur due to uneven drying. Fix this by compressing the base firmly with a wooden tool during the leather-hard stage.
- Rim Flaring: This happens when the top is pinched too aggressively. Fix this by using a "collaring" motion with both hands to squeeze the rim back toward the center.
- Surface Peeling: This indicates the clay is too dry. Use a fine mist spray to restore the hydration levels before continuing.
Studio Organization: Store your active projects on a wooden bat inside a "damp box" (a plastic container with a layer of wet plaster at the bottom). This maintains a 100 percent humidity environment, allowing you to pause your work without the clay reaching the leather-hard stage prematurely.
THE FINAL REVEAL
There is nothing quite like the sight of five finished bowls sitting in a row, each bearing the unique, rhythmic fingerprints of their creator. These pieces are a testament to the power of repetitive clay pinching; they are organic, soulful, and scientifically sound. When you hold one, you can feel the weight and the intentionality behind every squeeze. The subtle variations in the walls catch the light in a way that factory-made ceramics never could. You have successfully turned a lump of minerals into a functional piece of art that bridges the gap between physics and feeling.
STUDIO QUESTIONS
What is the best clay for pinching?
A mid-range stoneware with fine grog is ideal. The grog provides structural support and reduces shrinkage, making it easier to maintain the shape during the repetitive clay pinching process without the walls collapsing.
How do I prevent my bowls from cracking?
Cracking is usually caused by uneven drying. Ensure the base and the rim dry at the same rate by covering the rim with plastic or flipping the bowl upside down once it reaches the leather-hard stage.
Can I fix a bowl that has gone bone-dry?
Once a piece is bone-dry, you cannot add wet clay to it because the shrinkage rates will differ, causing a break. You must either fire it as-is or reclaim the clay by breaking it down in water.
How thin can I pinch the walls?
Aim for a thickness of about 3 to 5 millimeters. While thinner walls look elegant, they require high levels of compression to maintain their structural integrity and prevent warping in the kiln.

