
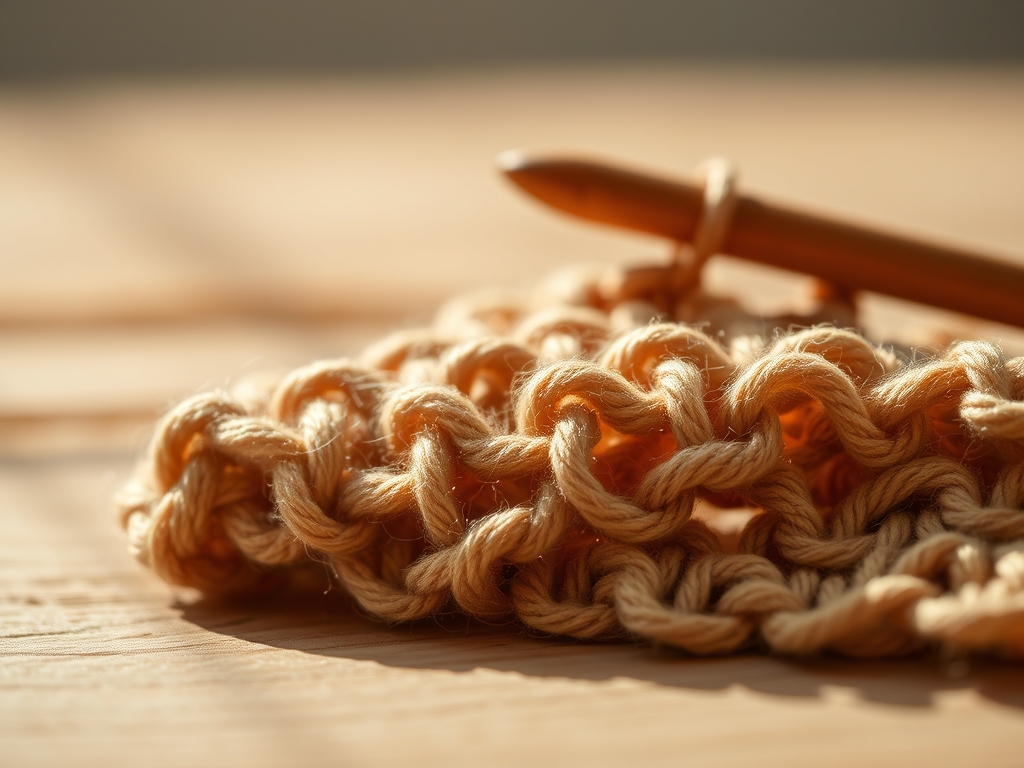
The friction of raw wool against a polished aluminum hook creates a specific frequency that most makers feel before they ever see the results. When you find your flow, you are not just making a blanket; you are mastering rhythmic crochet tension to ensure every stitch mirrors its predecessor in height and density. It is a physical dialogue between your nervous system and the tensile strength of the fiber.
Imagine the yarn as a live wire. If you pull too hard, you compress the air pockets between the fibers, resulting in a stiff, lifeless fabric that lacks drape. If you are too loose, the structural integrity collapses, leaving you with a porous mess that will sag under its own weight over time. We are looking for that sweet spot where the yarn glides with zero resistance. You want your hands to move like a metronome. This consistency is the secret sauce behind those crisp, professional rows that look like they were produced by a high end industrial loom rather than a human hand. Grab your favorite skein and let us calibrate your internal gauge.
THE STUDIO KIT
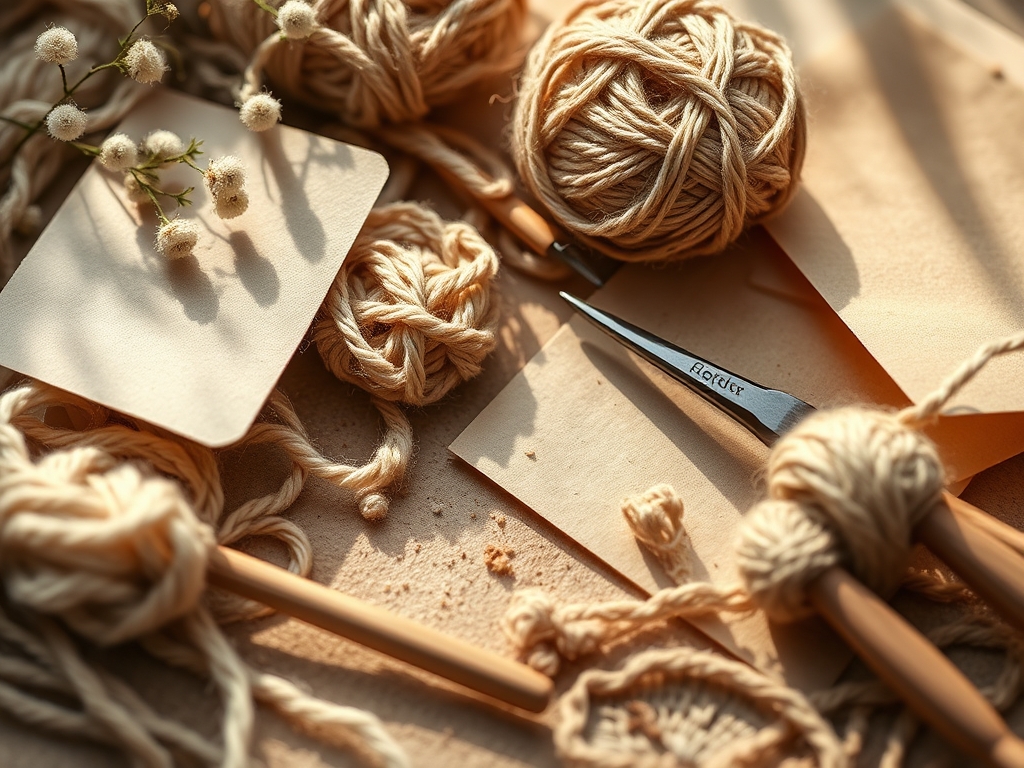
To achieve elite results, you need more than just a hook; you need a precision toolkit. Start with an ergonomic crochet hook featuring a silicon grip to reduce hand fatigue and maintain a steady grip. You will also need digital calipers to measure the diameter of your yarn and the resulting stitch width. This allows for objective data rather than "eyeballing" your progress. A high quality rotary cutter and a self healing mat are essential for trimming yarn ends with surgical precision.
For materials, I recommend a high twist merino wool or a pima cotton. These fibers have excellent "memory," meaning they bounce back to their original shape after being manipulated. If you are looking for material substitutions, try a bamboo blend for extra sheen or a recycled polyester for high durability. Avoid "fuzzy" novelty yarns while you are perfecting your rhythm; the halo of the fibers can obscure the stitch definition and hide tension errors that you need to see to correct.
THE TEMPO
Mastering this rhythm is not an overnight feat. It is a three phase evolution. Phase one is the Calibration Phase, which takes about thirty minutes. This is where you swatch various hook sizes against your yarn to find the perfect marriage of tool and fiber. Phase two is the Steady State, which usually kicks in after the first five rows. This is the "Maker's Rhythm," a meditative state where your muscle memory takes over.
Phase three is the Audit Phase, occurring every ten rows. You should spend five minutes checking your stitch count and measuring the width of your piece with a measuring tape. If you find your piece is growing or shrinking, your tension is fluctuating. Total project time depends on the scale, but expect to invest at least ten hours of active "hook time" to see a significant improvement in your natural, subconscious tension control.
THE CORE METHOD
1. The Anchor Wrap
The way you tension the yarn through your fingers dictates the friction coefficient. Most pros use a "double wrap" around the pinky finger before threading the yarn over the index finger. This creates two points of contact, allowing you to micro adjust the flow with a simple squeeze of your hand.
Mastery Tip: This technique utilizes surface tension. By increasing the surface area of the yarn in contact with your skin, you create a controlled drag. This prevents the yarn from slipping too quickly, which is the primary cause of uneven "leg" height in double crochet stitches.
2. The Golden Loop Height
When you pull up a loop, the height of that loop determines the "gauge" of your row. You must pull the loop up so it is flush with the shank of the hook, not the tip. The shank is the thickest part and provides the consistent diameter needed for uniform loops.
Mastery Tip: This is about structural integrity. If your loops are consistently pulled to the diameter of the hook shank, the resulting fabric will have uniform "negative space" between stitches, ensuring the piece does not warp during the blocking process.
3. The Hook Rotation Pivot
As you insert the hook, use a slight 45 degree rotation. This allows the head of the hook to pass through the stitch without snagging the ply of the yarn. A smooth entry and exit are vital for maintaining a steady speed, which in turn stabilizes your tension.
Mastery Tip: This minimizes mechanical friction. When you reduce the force required to insert the hook, you prevent your hand from overcompensating with a "death grip," which is the leading cause of tension spikes and hand cramps.
4. The Yarn Guide Alignment
Keep your "yarn hand" about three inches away from the hook at all times. If your hand is too close, you lose leverage; if it is too far, the yarn can bounce and create slack. This distance acts as a stabilizer for the fiber as it transitions from the skein to the stitch.
Mastery Tip: This mimics the take-up lever on a sewing machine. By maintaining a consistent distance, you ensure that the yarn is fed at a constant velocity, preventing "thin spots" in the row caused by sudden tugs on the yarn ball.
5. The Resting Row Reset
Every time you turn your work, take a deep breath and relax your shoulders. Tension in your body manifests as tension in your yarn. Shake out your wrists to reset your tendons. This physical reset ensures that row twenty has the exact same density as row one.
Mastery Tip: This relates to ergonomic biofeedback. High muscle tension increases the "pull force" on the yarn. By consciously relaxing, you maintain a lower, more consistent force, which prevents the "tapering" effect where a project gets tighter as the maker gets tired.
6. The Post Stitch Burnish
After completing a row, gently run your thumb and forefinger along the top of the stitches. This "massages" the fibers into place and helps even out any minor microscopic discrepancies in the yarn distribution. It is like "setting" the stitches before you move to the next level.
Mastery Tip: This utilizes capillary action and fiber settling. By manually Distributing the "slack" across the row, you allow the individual fibers to nestle together, creating a more cohesive and professional looking fabric surface.
THE TECHNICAL LEDGER
To maintain your tools, wipe your hooks with a microfiber cloth after every session. Skin oils can build up on the surface, increasing friction and ruining your rhythm. If you use wooden hooks, occasionally burnish them with a bit of beeswax to keep the surface slick.
Material Variations:
- Sustainable: Hemp or linen yarns offer high tensile strength but zero elasticity; they require a very loose grip.
- Premium: Silk blends provide incredible drape but are very "slippery," requiring an extra wrap around the finger for control.
The Correction:
- The Hourglass Effect: If your work is narrowing, you are tightening up. Fix: Use a hook one size larger for the next three rows to "reset" your hand.
- The Wave: If your edges are ruffling, you are adding too many stitches or your tension is too loose. Fix: Use a bone folder to flatten the stitches and check your count.
- The Split Fiber: If your hook keeps piercing the yarn, your angle is too steep. Fix: Lower your hook hand to be more parallel to the work.
Studio Organization: Store your active projects in a breathable cotton bag. Never leave a project on the hook for weeks at a time; the weight of the hanging yarn can stretch out the "active loop" and create a permanent gap in your work.
THE FINAL REVEAL
Once you finish that last row and weave in your ends with a blunt needle, take a second to feel the fabric. It should feel like a single, cohesive unit; a textile that possesses both strength and "boing." When you master rhythmic crochet tension, your work transcends the hobbyist level. It becomes a piece of engineered art. The rows are straight, the edges are crisp, and the drape is buttery. You have successfully turned a string into a structure through the sheer power of physics and persistence.
STUDIO QUESTIONS
How do I stop my yarn from tangling?
Use a yarn bowl or a heavy ceramic container. This creates a "fixed point" for the yarn to pull from, which stabilizes the tension before the fiber even reaches your hand. It prevents the "bounce" of a rolling yarn ball.
Why does my gauge change mid-project?
Usually, this is due to fatigue or a change in environment. If you get stressed, your grip tightens. Always use a stitch marker to track your progress and check your gauge every few inches to stay consistent.
Can I fix uneven tension after finishing?
Yes, through "blocking." Submerge the piece in lukewarm water, then pin it to a foam board at the correct dimensions. As the fibers dry, they will "relax" into the shape you have pinned, smoothing out minor tension variances.
Which hook material is best for beginners?
Start with matte finished aluminum or high quality plastic. These provide a "medium" amount of grip. Polished steel is often too slippery for beginners, while raw wood can "grab" the yarn too much, making it hard to find a rhythm.

