
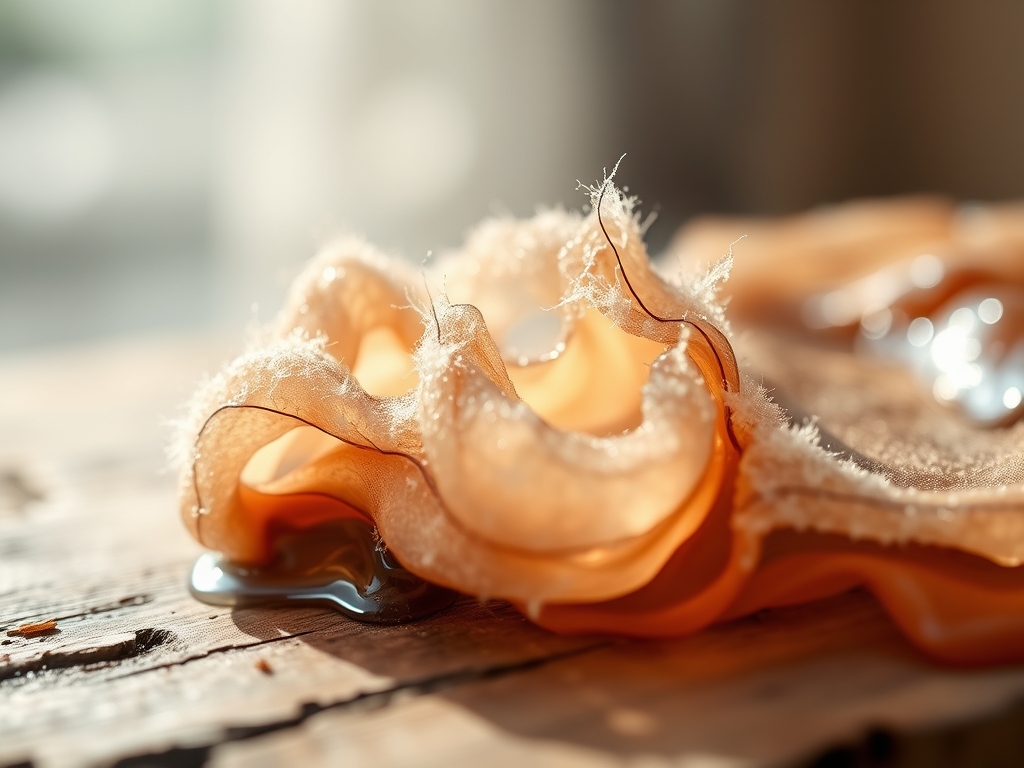
Imagine the satisfying, thick drag of a silicone spatula through a crystal clear pool of liquid polymer. There is a specific, electric thrill when the first drop of pigment hits that surface; it blooms like a nebula trapped in a petri dish. Mastering Fluid Resin Art requires more than just an eye for color. It demands an intimate understanding of viscosity and the way light refracts through suspended particulates. You are essentially playing god with liquid plastic, balancing the chemical heat of an exothermic reaction against the delicate surface tension of a coastal wave. When we talk about coastal paintings, we are talking about capturing the violent, beautiful energy of the tide using nothing but chemistry and courage. We are about to dive into the molecular dance of resins, where the right pigment density determines whether your "ocean" looks like a masterpiece or a muddy puddle. Grab your gloves; we are going to manipulate some molecules and make something breathtaking.
THE STUDIO KIT

To execute a professional grade piece, your workstation must be an ergonomic fortress. You will need a high-viscosity casting resin with a 1:1 or 2:1 mixing ratio. This serves as your structural foundation. For pigments, we focus on nine essentials: titanium white paste for foam, ultramarine blue, cerulean, turquoise, emerald green, iridescent gold, burnt umber, sandy beige, and a deep indigo. Each of these has a different particle mass, which affects how they sink or float.
Beyond the color, your toolkit requires precision. You need a digital gram scale to ensure the stoichiometric balance of your resin parts is perfect. An oscillating heat gun is non-negotiable for popping micro-bubbles and manipulating the flow. For fine details, a stainless steel dental pick or a small jeweler's saw can be used to score the substrate for better mechanical bonding. If you lack a professional torch, a butane kitchen torch is a viable Material Substitution, though it offers less heat control. Always have a caliper on hand if you are pouring into a bezel to ensure your depth does not exceed the resin's maximum pour thickness, preventing an uncontrolled heat spike.
THE TEMPO
The "Maker's Rhythm" is a race against the pot life of your resin. Usually, you have a 30 to 45 minute window of workable fluidity before the cross-linking of polymers makes the mixture too tacky to manipulate. The first 10 minutes are dedicated to the "The Stir," a slow, methodical process to avoid incorporating air. The next 20 minutes are "The Flow," where the primary colors are laid down and the composition is set. The final 15 minutes are "The Refine," where you use heat to create cells and lacing. After this, the piece enters the "Gelling Phase" for 4 to 6 hours, followed by a full 24-hour cure cycle to reach maximum tensile strength.
THE CORE METHOD
1. Substrate Preparation and Leveling
Before a single drop of resin touches the board, you must ensure your surface is perfectly level using a spirit level. A deviation of even one millimeter will cause your entire ocean to migrate off the edge of the board overnight. Sand your wooden substrate with 120-grit sandpaper to create a porous surface that allows the resin to "bite" into the wood fibers.
Mastery Tip: This is about mechanical adhesion. By scuffing the surface, you increase the surface area at a microscopic level, ensuring the resin does not delaminate as it undergoes thermal expansion during the curing process.
2. The Stoichiometric Mix
Measure your resin and hardener by weight, not volume, using your digital scale. Stir for a full three minutes, scraping the sides and bottom of the container religiously. If the mixture looks cloudy or has "strings," the chemical reaction is not yet homogenous.
Mastery Tip: This step manages molecular cross-linking. Incomplete mixing leaves unreacted monomer pockets, resulting in "tacky spots" that will never fully harden regardless of how long you wait.
3. Pigment Loading and Saturation
Divide your resin into smaller cups and add your pigments. For a coastal look, use a high-load pigment paste for the white to create "lacing" and transparent inks for the blues to maintain depth. Never exceed a 10 percent pigment-to-resin ratio, or you will compromise the structural integrity of the plastic.
Mastery Tip: This involves viscosity interference. Too much pigment acts as a contaminant that prevents the polymer chains from interlocking, leading to a brittle final product.
4. The Gradient Pour
Start with your darkest indigo at the "deep end" and transition through your cerulean and turquoise as you move toward the "shore." Use a bone folder or a flat spatula to spread the resin to the edges, ensuring the entire surface is "wet" to reduce friction for the next layer.
Mastery Tip: You are utilizing fluid dynamics here. A pre-wetted surface allows the subsequent layers to glide with less resistance, creating smoother gradients and preventing the "honey effect" where the resin clumps.
5. Creating the Wave Break
Pour a thin line of highly pigmented white resin at the junction of your blue and "sand" (beige) sections. Use your heat gun at a 45-degree angle to blow the white resin over the blue. The heat lowers the viscosity of the white resin, allowing it to "surf" over the denser blue layer.
Mastery Tip: This creates Rayleigh-Taylor instability. As the thinner, heated white resin is pushed over the cooler, denser blue resin, it breaks apart into the cellular structures we recognize as sea foam.
THE TECHNICAL LEDGER
Maintenance & Longevity: Resin is a thermoplastic; it can soften under extreme heat. Keep your finished art out of direct sunlight to prevent UV degradation, which causes yellowing. Clean only with a soft microfiber cloth and mild soap; avoid alcohol-based cleaners which can "etch" the surface and kill the gloss.
Material Variations: For a sustainable approach, look for bio-based resins derived from pine oils or soy. These often have a slower cure time but offer excellent clarity. For a premium finish, incorporate crushed quartz or recycled glass into the "shoreline" to add actual geological texture.
The Correction:
- Fish Eyes: Small circular voids where resin retreats. Fix: This is caused by surface oils. Clean the area with isopropyl alcohol and apply a "flood coat" of clear resin.
- Flash Curing: The resin gets hot and smokes in the cup. Fix: You mixed too much at once or the ambient temp is too high. Spread the resin onto a flat tray immediately to dissipate the heat.
- Dust Nibs: Specks of hair or dust in the finish. Fix: Once cured, sand the nib down with 400-grit sandpaper and apply a final thin topcoat.
Studio Organization: Store your resin in a climate-controlled cabinet between 70 and 75 degrees Fahrenheit. Low temperatures cause crystallization, while high humidity can lead to "amine blush," a greasy film on the surface of your work.
THE FINAL REVEAL
When you pull back the masking tape, the result is a high-gloss, three-dimensional slice of the Pacific. The depth of field achieved through layering transparent pigments gives the illusion that you could reach into the frame and touch the seabed. The white lacing should look crisp and organic; a testament to your mastery over heat and fluid motion. This isn't just a painting; it is a chemically engineered marvel of light and shadow that captures the ephemeral beauty of the coast in a permanent, rock-hard embrace.
STUDIO QUESTIONS
How do I get rid of bubbles in Fluid Resin Art?
Use a butane torch or heat gun. The heat lowers the viscosity of the resin, allowing trapped air to rise and pop. For deep pours, an ultrasonic bath can degas the resin before you pour it onto the substrate.
Why is my resin art still sticky after 24 hours?
This usually results from an inaccurate mixing ratio or "lazy stirring." If the stoichiometry is off, the chemical reaction cannot finish. You must scrape off the tacky resin or seal it with a fresh, correctly measured coat.
Can I use acrylic paint as a pigment?
Yes, but use it sparingly. Acrylic is water-based, and water is the enemy of resin. Too much will cause the resin to become cloudy or foam up. Keep the acrylic under 5 percent of the total volume for structural integrity.
What is the best surface for coastal resin paintings?
Non-porous or sealed surfaces like MDF boards, birch plywood, or tempered glass work best. Always prime wooden surfaces to prevent "off-gassing," where air escapes the wood pores and creates bubbles in your curing resin.

