
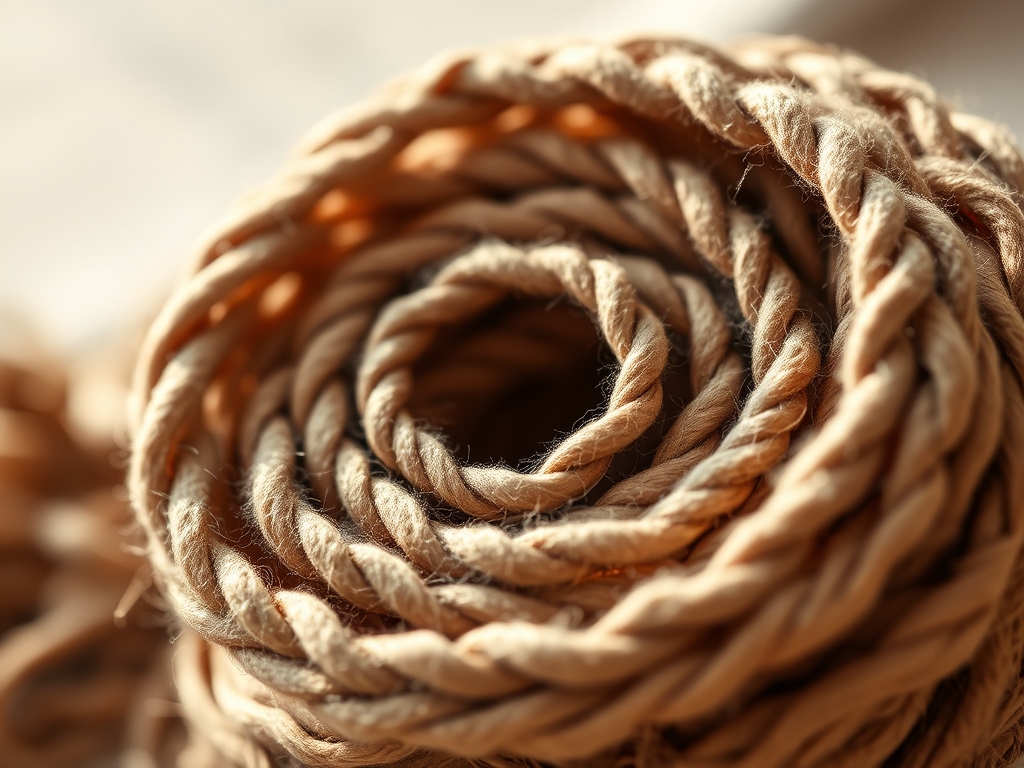
Close your eyes and listen to the snap of a dried stem. That crisp, percussive pop is the starting bell for a session of Rhythmic Basket Coiling. When you hold a bundle of sun-cured sweetgrass or the rough-hewn blades of vetiver, you are not just holding plants; you are gripping bundles of cellulose fibers held together by lignin, the natural glue of the botanical world. The magic happens when you introduce moisture to these stalks, shifting their state from brittle to ductile. This transition allows you to bend the grass around a central core without fracturing the cellular walls. As we dive into this project, you will feel the friction between the needle and the fiber, a tactile resistance that dictates the pace of your work. We are going to master the art of the spiral, using the natural tension of the grass to create a vessel that is as structurally sound as a suspension bridge but smells like a summer meadow. Get ready to sync your breathing with your stitches because this is where physics meets fine art.
THE STUDIO KIT
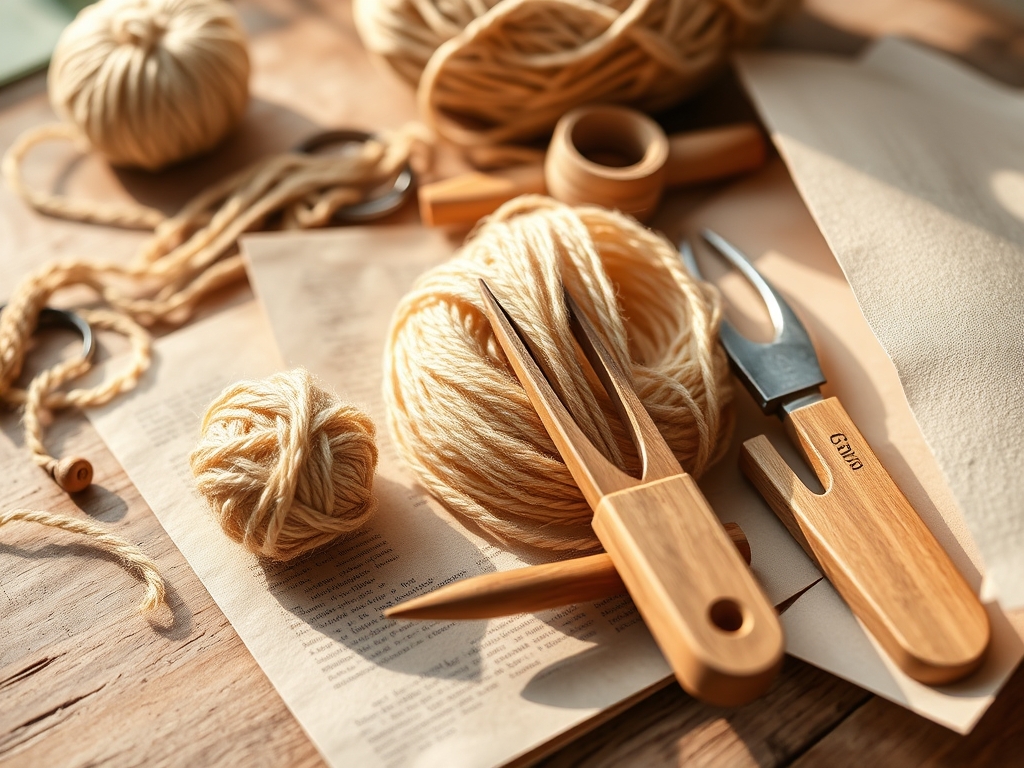
To master Rhythmic Basket Coiling, your workspace must be an extension of your intent. You will need a high-quality tapestry needle (size 18 or 20) with a blunt tip to navigate between coils without piercing the fibers. A pair of precision micro-tip snips is essential for clean botanical cuts, ensuring that the "tails" of your grass do not create unsightly bulk. For the grass itself, we are looking at eight superstars: Sweetgrass, Seagrass, Pine Needles, Muhly Grass, Vetiver, Lemongrass, Raffia, and Broomcorn. Each has a different tensile strength and moisture absorption rate.
You also need a spray mister filled with distilled water to maintain the grass's elasticity. A bone folder is surprisingly helpful here for burnishing the coils and flattening the transitions. If you cannot find a specific grass, look for "Material Substitutions" like hemp cord or even recycled sari silk for the core, though these lack the olfactory benefits of true fragrant grasses. Professional makers often use a small gauge caliper to ensure the diameter of their coil remains consistent throughout the build, preventing the basket from looking lopsided as it grows.
THE TEMPO
The "Maker's Rhythm" is not a metaphor; it is a physiological state. Expect to spend about 45 minutes on the "Starting Button," which is the most technically demanding phase due to the tight radius of the initial turn. Once the base is established, you will enter the "Flow State," where you can stitch roughly two to three inches of coil per hour. A medium-sized vessel typically requires 15 to 20 hours of active labor.
The time is divided into three distinct phases: Hydration (30 minutes of soaking), The Foundation (1 hour), and The Expansion (12+ hours). Do not rush the expansion. If you stitch too quickly, your tension will become uneven, leading to "waving" in the walls of the basket. The physics of the spiral dictates that any inconsistency in the early stages will be magnified as the circumference increases.
THE CORE METHOD
1. The Hydration Protocol
Before you even touch a needle, you must hydrate your fibers to increase their hygroscopic flexibility. Submerge your fragrant grasses in lukewarm water. Sweetgrass requires only a quick dip, while tougher fibers like pine needles need a 20-minute soak to soften the resin.
Mastery Tip: This process utilizes capillary action, where water molecules pull themselves into the microscopic pores of the plant material. Over-hydrating can lead to mold, so always pat the fibers dry until they feel like damp leather rather than wet noodles.
2. Crafting the Foundation Button
Take a small bundle of grass, about the thickness of a pencil, and taper the ends with your snips. Wrap the end of your stitching thread (sinew or waxed linen) tightly around the tip and begin to coil it upon itself. This creates the "button."
Mastery Tip: The structural integrity of the entire basket depends on the compressive force of this first inch. Use your thumb to maintain a tight radius; if the center is loose, the base will eventually "pop" outward under the weight of the contents.
3. Executing the Figure-Eight Stitch
As you wrap the grass, thread your needle and pass it through the previous coil. The figure-eight stitch creates a mechanical bond between the layers. Pull the thread toward you to lock the stitch in place, ensuring the tension is uniform across the entire row.
Mastery Tip: This is a lesson in friction coefficients. The wax on your thread reduces heat from friction as it passes through the grass, preventing the fiber from scorching or tearing during the tightening phase.
4. Tapering and Splicing
When your bundle of grass runs low, you must "feed" new stalks into the center of the coil. Slide the new ends into the middle of the existing bundle so they are hidden. Continue stitching as if nothing changed.
Mastery Tip: To maintain a constant cross-sectional area, you must subtract old, thinning fibers as you add new ones. This keeps the coil diameter consistent, which is vital for the mathematical symmetry of the spiral.
5. Shaping the Walls
To transition from a flat base to rising walls, simply stack the next coil slightly on top of the previous one rather than alongside it. The angle at which you hold the bundle determines the "flare" of the basket.
Mastery Tip: This involves lateral tension management. By placing the coil at a 45-degree angle to the base, you create a structural truss that supports the weight of the upper tiers without the need for internal ribbing.
THE TECHNICAL LEDGER
Maintenance & Longevity: Fragrant baskets are organic machines. To keep them from becoming brittle, keep them out of direct sunlight, which breaks down the lignin through UV degradation. A light misting once a year can "re-set" the fibers.
Material Variations:
- Sustainable: Local field grasses harvested post-frost.
- Recycled: Strips of old denim or plastic bags used as the core.
- Premium: Hand-dyed Madagascan Raffia for the stitching.
The Correction:
- The Gap: If you see daylight between coils, your stitch spacing is too wide. Fix: Reverse your stitches and decrease the interval to 1/8th of an inch.
- The Spiral Twist: If the basket looks like it is leaning, your tension is tighter on one side. Fix: Use a caliper to check the coil height every 90 degrees and adjust your pull strength.
- Fiber Shatter: If the grass snaps, it is too dry. Fix: Stop immediately and re-hydrate the working end with a damp sponge.
Studio Organization: Store your grasses in long, breathable cotton bags. Never use plastic; trapped moisture leads to fungal growth which can destroy your entire inventory in weeks.
THE FINAL REVEAL
Look at that! You have successfully manipulated raw botanical fibers into a sophisticated geometric form. The scent of the sweetgrass and vetiver should be filling the room now, a natural byproduct of the friction and hydration used during the build. Your finished basket should feel "hefty" for its size; a sign of high fiber density and proper stitch tension. Run your hand over the surface; it should feel smooth and architectural. This isn't just a container; it is a mathematical record of your focus and rhythm.
STUDIO QUESTIONS
Which fragrant grass is the easiest for beginners?
Sweetgrass is the gold standard because of its high tensile strength and natural flexibility. It requires minimal soaking and provides a smooth surface that reduces thread snagging, making it ideal for those still mastering their stitch consistency.
How do I prevent my thread from tangling?
Use a beeswax block to coat your thread before stitching. This increases the lubricity of the fiber, allowing it to glide through the grass bundles without creating "bird's nests" or knots that can compromise the basket's structural integrity.
Can I use fresh grass from my yard?
Yes, but it must be "cured" first. Fresh grass has high moisture content, which causes it to shrink as it dries. If you coil with fresh grass, your stitches will become loose and the basket will lose its shape.
What is the best way to end the final coil?
Taper the grass bundle down to a single blade over the course of two inches. This gradual reduction in mass allows the final coil to blend seamlessly into the one below it, creating a "vanishing" edge that looks professional.

