

Imagine the smell of fresh cedar shavings and the cool, heavy weight of a brass caliper in your palm. Developing creative flow starts long before your hands hit the workbench; it begins when you align your sensory input with the physical properties of your medium. When you run your fingers over a piece of top-grain leather or the toothy surface of cold-pressed paper, you are engaging in a tactile dialogue with material physics. This ritualistic connection bridges the gap between a wandering mind and a focused maker. By treating your morning prep as a technical calibration, you transform your studio from a room of objects into a high-performance engine of output. We are not just making things today; we are engineering a state of mind through the mastery of our tools and the understanding of tensile strength.
THE STUDIO KIT
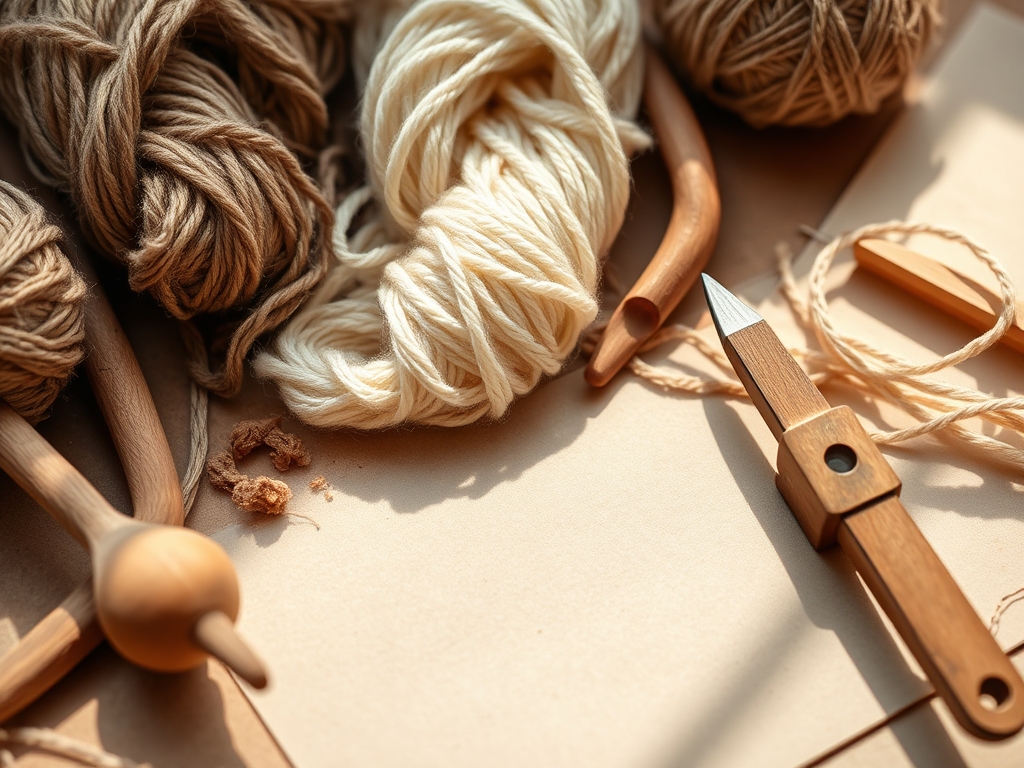
To master your morning rituals, you need a kit that respects the science of your craft. Start with a precision steel rule and a hardened steel awl for marking your territory. These tools rely on the hardness scale to ensure they don't deform against your materials. You will also need a bone folder for manipulating the cellulose fibers in paper or the collagen bundles in leather. For cutting, a rotary cutter with a tungsten carbide blade is essential because its circular motion reduces the friction coefficient compared to a static blade.
Material Substitutions: If you cannot find high-density cork for your backing, a self-healing PVC cutting mat works by utilizing polymer memory to close gaps after a cut. If brass calipers are out of reach, high-grade polycarbonate versions offer similar precision without the thermal expansion issues of cheaper plastics. Always prioritize materials with a known ply count or gauge thickness to ensure your project maintains structural integrity throughout the day.
THE TEMPO
The "Maker's Rhythm" is a biological clock tuned to the drying time of adhesives and the fatigue limits of your own muscles. Your first hour is the Calibration Phase, where you sharpen blades and organize by material density. This takes exactly 20 minutes. The next two hours are the Deep Work Phase, where the prefrontal cortex enters a theta wave state. This is the peak window for tasks requiring high manual dexterity.
Following this, you enter the Technical Plateau. This 45-minute block is for repetitive tasks like sanding or burnishing, which rely on muscle memory rather than intense cognitive load. Finally, the Curation Phase lasts 30 minutes. This is when you clean your tools to prevent oxidation and document your progress. Respecting this tempo prevents the "mid-day slump" by aligning your hardest tasks with your peak metabolic energy.
THE CORE METHOD
1. The Material Handshake
Before you cut, you must understand the grain direction. For wood or paper, the grain is the path of least resistance for internal stress. Mastery Tip: Use a magnifying loupe to observe the fiber orientation. Cutting against the grain increases the shear stress on your blade, leading to micro-fractures in the material edge.
2. Calibrating Your Instruments
Zero out your calipers and check the squareness of your blocks. A deviation of even 0.5 millimeters can compound over a project, leading to a total failure of fitment. Mastery Tip: This is known as tolerance stacking. By calibrating early, you ensure that every subsequent measurement remains within an acceptable margin of error, maintaining the geometric precision of the final piece.
3. Surface Tension Priming
If your ritual involves paints, dyes, or glues, you must test the surface tension of your substrate. Apply a single drop of distilled water to see if it beads or spreads. Mastery Tip: This test determines the porosity of the material. If the water beads, the surface energy is too low for bonding, and you must mechanically abrade the surface with 220-grit sandpaper to create a "mechanical key" for the liquid to grip.
4. The Ergonomic Pivot
Adjust your stool and lighting to minimize parallax error. When you look at a measurement from an angle, the perceived position shifts. Mastery Tip: Proper ergonomics is not just about comfort; it is about optical accuracy. Aligning your dominant eye directly over the marking tool eliminates the refraction bias caused by the thickness of your ruler.
5. Kinetic Warm-ups
Spend five minutes performing low-stakes cuts or stitches on scrap material. This warms the synovial fluid in your finger joints, increasing your tactile sensitivity. Mastery Tip: This process improves your proprioception, which is your body's ability to sense its position in space. Higher proprioceptive awareness leads to smoother, more confident movements during the high-stakes phases of your build.
6. The Clean Sweep
Clear your immediate workspace of everything except the current tool in use. Visual clutter creates cognitive friction, which breaks your flow state. Mastery Tip: This follows the 5S Lean Methodology. By reducing the "visual noise," you allow your brain to focus entirely on the haptic feedback coming from the tool, effectively turning the tool into an extension of your own nervous system.
THE TECHNICAL LEDGER
Maintenance & Longevity: Steel tools should be wiped with a light coat of camellia oil to prevent atmospheric moisture from causing oxidation. For wooden handles, an occasional rub with beeswax maintains the hydrophobic barrier, preventing the wood from swelling and cracking.
Material Variations:
- Sustainable: Reclaimed cork or mushroom leather offers unique cellular structures that require slower cutting speeds.
- Recycled: High-density polyethylene (HDPE) can be heat-molded but has a specific glass transition temperature you must monitor.
- Premium: Grade 5 Titanium or aerospace-grade carbon fiber provides incredible strength-to-weight ratios but requires specialized diamond-tipped bits.
The Correction:
- The Mistake: Over-burnishing an edge, causing it to mushroom. The Fix: Lightly sand the edge back to square and re-apply moisture before using a lighter touch with your wood slicker.
- The Mistake: Adhesive "squeeze-out" marring the surface finish. The Fix: Wait for the glue to reach a "rubbery" state (partial polymerization) and slice it off with a chisel rather than wiping it, which pushes the glue deeper into the pores.
- The Mistake: Tool chatter during a cut. The Fix: Increase the downward pressure and decrease the lateral speed. Chatter is caused by harmonic resonance; changing the speed breaks the vibration cycle.
Studio Organization: Store your materials in a climate-controlled environment with a relative humidity of 40 to 50 percent. Use vertical racking for sheet goods to prevent bowing caused by gravity acting on the material's own weight over time.
THE FINAL REVEAL
There is nothing quite like the moment you step back and see a finished piece that is structurally sound and aesthetically brilliant. When you master these rituals, your work takes on a professional "fit and finish" that is impossible to achieve through haphazard effort. You will feel the snap of a perfect joint or the smooth glide of a well-burnished edge. This is the physical manifestation of your creative flow. You have moved beyond being a hobbyist; you are now a technician of the beautiful. Your studio is no longer just a room; it is a sanctuary of precision where science meets soul.
STUDIO QUESTIONS
How do I find my creative flow faster?
Start with a repetitive mechanical task like sharpening tools or organizing by weight. This lowers the cognitive barrier to entry and uses tactile feedback to signal to your brain that it is time to transition into a focused work state.
Why does my material keep cracking?
Cracking is usually a result of low moisture content or working against the grain. Check the ambient humidity and ensure you are respecting the material's natural orientation. Applying a light lubricant or conditioner can increase the flexibility of the fibers.
What is the best way to clean precision tools?
Use 90 percent isopropyl alcohol to remove resins and oils without inducing rust. Immediately follow with a thin layer of mineral oil. This maintains the tool's surface integrity and ensures the moving parts operate without mechanical friction or binding.
How do I stop making measurement mistakes?
Adopt the "measure twice, cut once" rule, but add a technical twist: use a marking knife instead of a pencil. A knife line creates a physical track for your saw or chisel to follow, ensuring microscopic accuracy that graphite cannot provide.

