
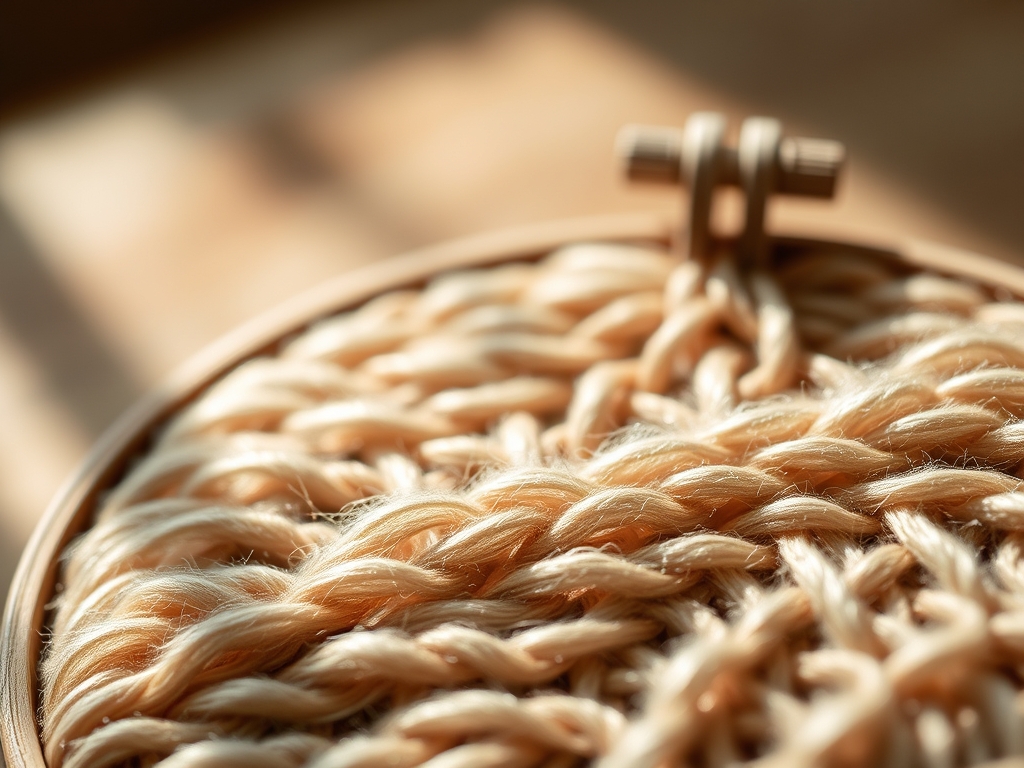
Close your eyes and listen to the sound of the needle piercing the taut drum of the fabric. It is a crisp, percussive snap that signals perfect tension. When you engage in Rhythmic Embroidery Work, your brain enters a flow state where the mechanical repetition of the stitch aligns with your heart rate. This is not just a hobby; it is a high-performance exercise in material physics and sensory grounding. We are creating nine botanical hoops designed to act as a visual symphony of organic textures. Feel the cool, smooth surface of the polished bamboo and the slight friction of the 100 percent cotton linen. The fiber density of the base fabric determines how well it holds the weight of your thread without puckering. We are looking for a weave that is tight enough to support complex knots but porous enough to allow the needle to glide through without excessive force. It is about the balance between the resistance of the textile and the momentum of your hand.
THE STUDIO KIT
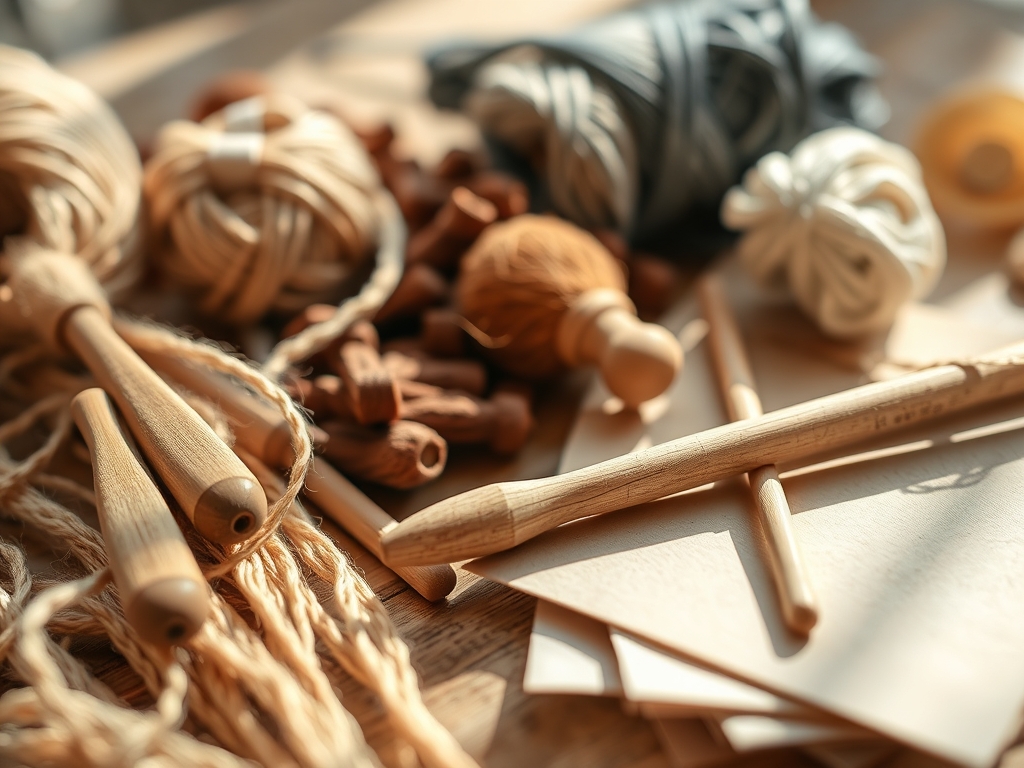
To achieve professional results, you need tools that respect the laws of physics. Start with nine high-quality beechwood hoops. Beechwood has a higher density and tighter grain than pine, ensuring that the inner and outer rings maintain a perfectly circular geometric integrity under pressure. You will also need a rotary cutter and a self-healing mat to ensure your fabric edges are sliced cleanly along the grain line, preventing the fraying that occurs with standard scissors.
For the thread, we are utilizing six-strand Egyptian cotton. This material is prized for its long-staple fibers, which provide superior tensile strength and a subtle luster. You will also need a size 10 embroidery needle, which has a narrow eye to minimize the puncture diameter, and a bone folder to burnish the fabric edges into the hoop.
Material Substitutions: If you cannot find high-grade linen, a heavyweight muslin works beautifully, though it has a lower thread count. For those avoiding wood, nylon hoops offer incredible grip, but they lack the tactile warmth of natural cellulose. If you are out of traditional embroidery floss, perle cotton provides a gorgeous twisted texture that adds 3D depth to your botanical stems.
THE TEMPO
Creating a series of nine hoops is a marathon of precision. Each hoop requires approximately three to five hours of active Rhythmic Embroidery Work, depending on the complexity of the botanical specimen. The "Maker's Rhythm" is divided into three distinct phases. First is the Preparation Phase (30 minutes), where you calibrate your hoop tension and transfer the design. Second is the Execution Phase (2 to 4 hours), the heart of the process where the repetitive motion of the needle creates the pattern. Finally, the Finishing Phase (20 minutes) involves securing the back and burnishing the edges.
The secret to avoiding fatigue is to synchronize your breathing with your stitches. Inhale as the needle rises through the fabric; exhale as you pull the thread through to the back. This synchronization reduces cortisol and turns the technical act of stitching into a meditative ritual.
THE CORE METHOD
1. Calibrating the Hoop Tension
Before a single stitch is placed, the fabric must be drum-tight. Place your linen over the inner ring and press the outer ring down. Use your calipers to ensure the gap at the screw mechanism is uniform. Tighten the screw while pulling the fabric gently along the bias, which is the diagonal direction of the weave.
Mastery Tip: This process relies on structural integrity. If the fabric is loose, the needle will cause the fibers to shift, leading to distorted patterns. A taut surface ensures that the energy of each stitch is distributed evenly across the textile grid.
2. Transferring the Botanical Blueprint
Using a water-soluble heat pen, trace your botanical designs onto the fabric. Focus on the asymmetrical balance found in nature. Your nine designs should vary in density; some should feature delicate, spindly vines, while others showcase thick, succulent leaves.
Mastery Tip: This step utilizes capillary action. The ink from the pen sits on the surface of the fibers without bleeding into the core, allowing for a sharp line that disappears completely when exposed to moisture or heat later.
3. Establishing the Stem Stitch Foundation
The stem stitch is the backbone of Rhythmic Embroidery Work. Insert the needle and bring it back up halfway through the previous stitch. This creates a rope-like texture that mimics the vascular system of a plant.
Mastery Tip: Pay attention to the ply of your thread. Using three strands instead of six allows for finer detail but requires more repetitions. The friction between the thread and the fabric creates a mechanical bond that keeps the stem from sagging over time.
4. Executing the French Knot Blooms
To create the texture of pollen or small flowers, wrap the thread around the needle twice before inserting it back into the fabric. Hold the tail taut until the very last second to ensure the knot sits flush against the surface.
Mastery Tip: This is an exercise in surface tension. If the wrap is too loose, the knot will collapse into a "floppy" loop. If it is too tight, you risk snapping the thread or distorting the fabric weave.
5. Layering the Satin Stitch Foliage
For leaves, use the satin stitch to create a smooth, reflective surface. Work from the center of the leaf outward to maintain the correct angle. Each stitch should sit perfectly parallel to the last with no fabric showing through.
Mastery Tip: The goal here is optical density. By packing the threads closely, you create a surface that catches the light, mimicking the waxy cuticle of a real leaf.
6. The Backing and Burnish
Once the embroidery is complete, trim the excess fabric to one inch beyond the hoop. Use a running stitch to gather the fabric toward the center. Take your bone folder and press the fabric into the inner groove of the hoop for a flush finish.
Mastery Tip: This final step ensures dimensional stability. By securing the excess fabric, you prevent the tension from shifting over years of display, protecting your work from the effects of gravity and humidity.
THE TECHNICAL LEDGER
Maintenance & Longevity
To keep your botanical hoops pristine, avoid direct sunlight, which can degrade the cellulose fibers in the cotton and fade the dyes. Dust the surface occasionally with a soft-bristled brush. If the fabric loses tension due to humidity changes, gently tighten the top screw by a quarter turn.
Material Variations
For a Sustainable approach, use organic hemp fabric and naturally dyed wool threads. For a Premium finish, swap the beechwood for hand-polished sandalwood hoops and use real silk filaments, which offer an unparalleled refractive index and shine.
The Correction: Common Technical Failures
- The Puckering Effect: This happens when your thread tension is higher than your fabric tension. Fix it by loosening your stitch pull and ensuring the hoop is tighter.
- The Bird's Nest: Tangled thread on the back of the hoop is usually caused by static or long thread lengths. Keep your thread segments under 18 inches to minimize frictional drag.
- Ghost Lines: If your transfer lines won't disappear, you likely used a permanent pigment. Use a fine-point awl to gently nudge the fibers back into place and cover the error with a decorative leaf.
Studio Organization
Store your hoops in a climate-controlled environment. Use acid-free tissue paper between layers to prevent acid migration, which can yellow the fabric over time. Store your needles in a magnetized case to prevent oxidation.
THE FINAL REVEAL
Look at the collection you have built. The nine hoops together create a rhythmic narrative of growth and precision. The way the light hits the satin-stitched leaves and the shadows cast by the French knots create a 3D botanical garden that feels alive. You have mastered the physics of the needle and the grain of the wood. This isn't just art; it is an engineered masterpiece of fiber and form. Your space now breathes with the calm, steady energy of your hard work.
STUDIO QUESTIONS
What is the best fabric for rhythmic embroidery?
High-quality linen with a consistent weave is ideal. Its tensile strength supports heavy stitching without tearing, while the natural gaps between fibers allow for smooth needle passage, reducing hand fatigue during long sessions.
How do I stop my thread from tangling?
Keep your thread lengths under 20 inches. Use a bit of beeswax to coat the strand; this reduces static electricity and smooths the fiber cuticles, preventing the thread from knotting back on itself during the stitch.
Why does my fabric get loose in the hoop?
This is often due to atmospheric moisture expanding the wood or stretching the fibers. Use a hoop with a metal screw and a texture-grip inner ring to maintain constant pressure against the fabric's surface.
Can I use a regular sewing needle?
It is not recommended. Embroidery needles have a specialized tapered point and an elongated eye designed to carry multiple plies of thread through fabric without causing structural damage or leaving unnecessarily large holes.
How do I clean a finished hoop?
Use a pressurized air canister to blow off dust. For spots, use a damp cotton swab with distilled water. Avoid submerging the piece, as moisture can cause the wooden hoop to warp or the thread to bleed.

