
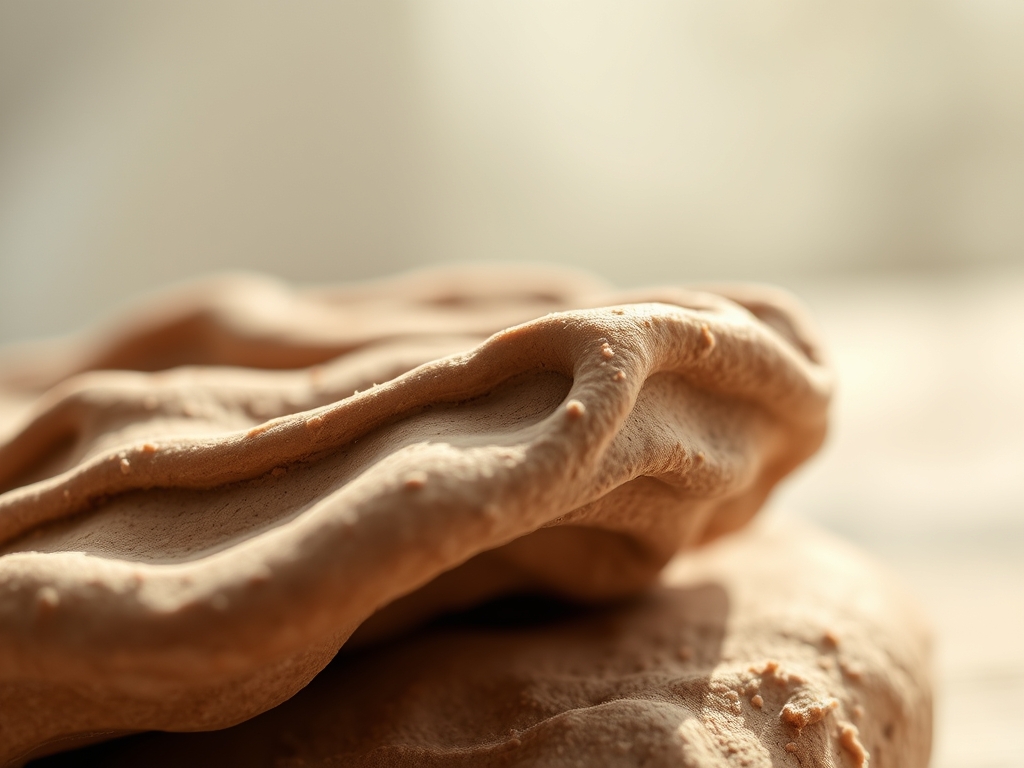
Imagine the cold, heavy weight of a damp slab resting against your palms as the scent of minerals fills the air. You are not just playing with mud; you are engaging in a high-stakes dance with molecular friction and hydraulic pressure. We are diving deep into the world of Fluid Clay Extruding to create sharp, geometric masterpieces that look like they were 3D printed by a machine but possess the soul of a handmade artifact. It is about that perfect moment when the resistance of the clay gives way to a smooth, continuous flow through a precision die.
The physics here is intoxicating. We are manipulating the plasticity index of the material to ensure it holds a crisp edge without collapsing under its own weight. When you press that lever, you are forcing millions of microscopic, plate-like particles to align in a single direction. This creates a structural "grain" similar to wood but with the versatility of a liquid. We are going to master the tension between gravity and geometry; so grab your apron and let us get technical.
THE STUDIO KIT
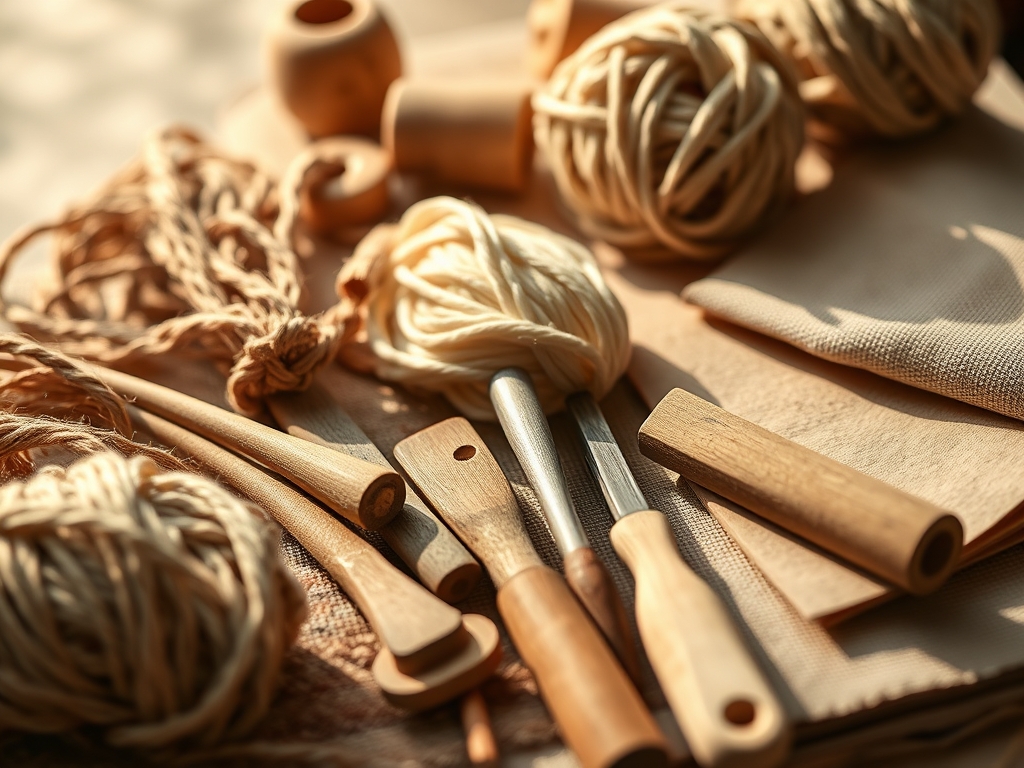
To achieve professional-grade results in Fluid Clay Extruding, your kit must be as precise as a laboratory. You cannot rely on guesswork when you are aiming for architectural sharp edges. The backbone of your setup is the Wall-Mounted Lever Extruder. Unlike handheld versions, a wall-mounted unit provides consistent downward force, which is essential for maintaining a uniform extruding velocity. You will also need a set of Stainless Steel Dies in various geometric shapes; circles, squares, and hollow hexes.
For the material itself, look for a High-Fire Stoneware with a low grog content. Grog provides structural integrity but can tear the surface of the clay during high-pressure extrusion. If you want a smoother finish, a Porcelain Blend offers incredible tensile strength once fired, though it requires a delicate touch during the drying phase. You will also need digital calipers for measuring wall thickness, a flexible steel rib for surface burnishing, and a wire cutter with a fine-gauge filament to prevent deforming the clay as it exits the die.
Material Substitutions: If you cannot find high-fire stoneware, a terracotta body works beautifully for a more porous, rustic finish. For those avoiding a kiln, a polymer-based air-dry clay can be used, provided you increase the moisture content to lower the viscosity for the extrusion process.
THE TEMPO
The "Maker's Rhythm" is a sequence of tension and release. You cannot rush the physics of evaporation. The initial Preparation Phase takes about 45 minutes; this includes wedging the clay to remove air pockets and calibrating your extruder. The Active Extrusion Phase is fast, usually 10 to 15 minutes, as you must work while the clay maintains its peak moisture equilibrium.
The real test of patience is the Stabilization Phase. Your geometric shapes need to sit for 2 to 4 hours until they reach a "leather-hard" state. This is when the clay is firm enough to handle but damp enough to join. Finally, the Curing Phase lasts 3 to 7 days depending on your studio's humidity. If you dry it too fast, the capillary action of the water leaving the clay will cause warping or "S-cracks" at the joints.
THE CORE METHOD
1. Preparing the Clay Slug
Before the clay ever touches the extruder, you must perform a spiral wedge. This technique aligns the particles and eliminates air. If an air bubble hits the die, it will cause a "blowout" in your geometric profile. Use a wire cutter to slice the clay and inspect the cross-section for voids. Once clear, shape the clay into a cylinder slightly smaller than your extruder barrel to prevent air trapping during loading.
Mastery Tip: The science of thixotropy is your friend here. Clay becomes more fluid when stressed; by vigorously wedging the clay just before extruding, you temporarily lower its internal resistance, making the extrusion smoother and more consistent.
2. Calibrating the Die Alignment
Insert your chosen die and secure the locking ring. If you are using a hollow die (for tubes or boxes), ensure the "bridge" that holds the center piece is perfectly centered. Use your digital calipers to check the gap on all sides. Even a 0.5mm offset will cause the extrusion to curve as it exits the machine due to uneven friction.
Mastery Tip: Apply a microscopic layer of silicone-based lubricant or WD-40 to the inner face of the die. This reduces surface drag, ensuring that the outer "skin" of the clay does not tear or develop "dragon scales" as it is forced through the aperture.
3. The Controlled Descent
Apply steady, even pressure to the lever. Do not jerk it. Watch the clay as it emerges. If it starts to curl, your pressure is uneven or your clay is drier on one side. Use a padded landing board to catch the extrusion. As it reaches your desired length, use a fine-gauge wire cutter to snap it off cleanly.
Mastery Tip: This stage is all about viscosity control. If the clay is too soft, the geometry will collapse under gravity. If it is too hard, you risk breaking the extruder handle. Aim for the consistency of cold butter for the best structural retention.
4. Geometric Assembly and Scoring
Once the pieces are leather-hard, use a jeweler's saw or a sharp scalpel to cut your miters for the geometric joints. Use a scoring tool to create a cross-hatch pattern on the joining surfaces. Apply liquid slip (clay thinned with water) to the scores. Press the pieces together until a small bead of slip "sweats" out of the seam.
Mastery Tip: This creates a chemical bond rather than just a mechanical one. The slip re-hydrates the surfaces, allowing the clay particles to interlock across the seam, which maintains structural integrity during the shrinking process of firing.
5. Final Burnishing and Refinement
After assembly, use a bone folder or a polished stone to burnish the seams. This compresses the clay particles at the joint, making it the strongest part of the piece. Use a flexible steel rib to shave away any minor imperfections in the geometric planes.
Mastery Tip: Compression is the secret to longevity. By burnishing the surface, you reduce the porosity of the outer layer, which prevents moisture from seeping in and causing cracks during the final expansion and contraction in the kiln.
THE TECHNICAL LEDGER
Maintenance & Longevity: Your extruder is a mechanical beast. After every session, disassemble the barrel and soak the dies in warm water. Use a nylon brush to clear the crevices. Lubricate the plunger gasket with food-grade mineral oil to maintain the vacuum seal.
Material Variations: For a sustainable twist, mix 10% recycled paper pulp into your clay body. This "paper clay" has incredible green strength, allowing you to extrude much thinner, more daring geometric shapes that would otherwise collapse.
The Correction:
- The Curve: If your extrusion bends, the clay was not centered in the barrel. Fix: Reload and ensure the slug is perfectly vertical.
- The Tear: If the edges look ragged, the clay is too dry. Fix: Spray the clay with a fine mist and re-wedge.
- The Slump: If the shape flattens on the board, the clay is too wet. Fix: Let the clay sit on a plaster bat for 20 minutes to pull out excess moisture.
Studio Organization: Store your unfinished extrusions in a damp box (a plastic bin with a layer of wet plaster at the bottom). This maintains a 100% humidity environment, stopping the drying process indefinitely so you can work on complex geometries over several days.
THE FINAL REVEAL
There is nothing quite like the sight of a finished geometric sculpture where the lines are so sharp they look like they could cut glass. When you master Fluid Clay Extruding, you are bridging the gap between organic Earth and rigid mathematics. Your piece should feel balanced, with a surface that begs to be touched; a testament to your control over pressure, moisture, and time. It is sleek, it is modern, and it is undeniably yours.
STUDIO QUESTIONS
What is the best clay for extruding?
A smooth stoneware or porcelain with low grog content is ideal. These bodies have high plasticity, allowing them to flow through complex dies without tearing or creating jagged edges during the high-pressure extrusion process.
Why does my clay crack at the corners?
This usually happens due to uneven drying. Corners have more surface area exposed to air, causing them to shrink faster than the walls. Cover your piece with plastic to slow the evaporation and equalize the internal tension.
Can I make my own extruder dies?
Yes; you can cut custom shapes out of acrylic sheets or heavy-gauge aluminum. Ensure the edges are sanded perfectly smooth, as any burr will create a visible streak or "drag mark" along the entire length of your extrusion.
How do I prevent the extrusion from deforming when I cut it?
Use a very fine-gauge wire or a high-tensile fishing line. Hold the wire taut and cut in one swift, continuous motion. Avoid using a knife, as the thickness of the blade will displace and compress the clay.

