
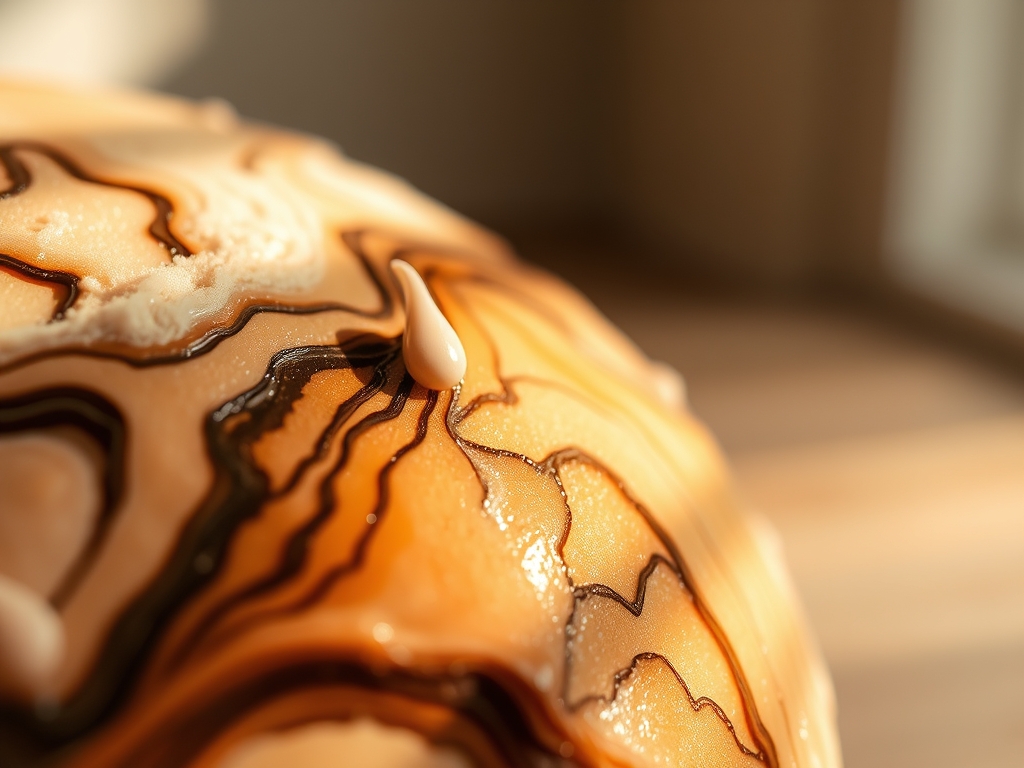
Imagine the cool, viscous weight of acrylic paint sliding across a primed canvas like heavy silk. There is a specific, electric thrill when you first tilt that surface, watching the pigments collide and bloom into organic patterns. Achieving the perfect Fluid Pour Painting is not just about luck; it is a high-stakes dance between fluid dynamics and chemical resistance. We are hunting for those elusive, lace-like cells that look like microscopic galaxies. To get there, you have to understand the specific gravity of your pigments and how they interact with your silicone additive. It is tactile, messy, and deeply scientific. We are about to manipulate surface tension to create art that looks like it is breathing. Forget flat, boring washes of color. We are going for depth, dimension, and that high-gloss finish that makes people want to reach out and touch the surface. Grab your apron and clear your workspace, because we are diving into the molecular mechanics of flow.
THE STUDIO KIT
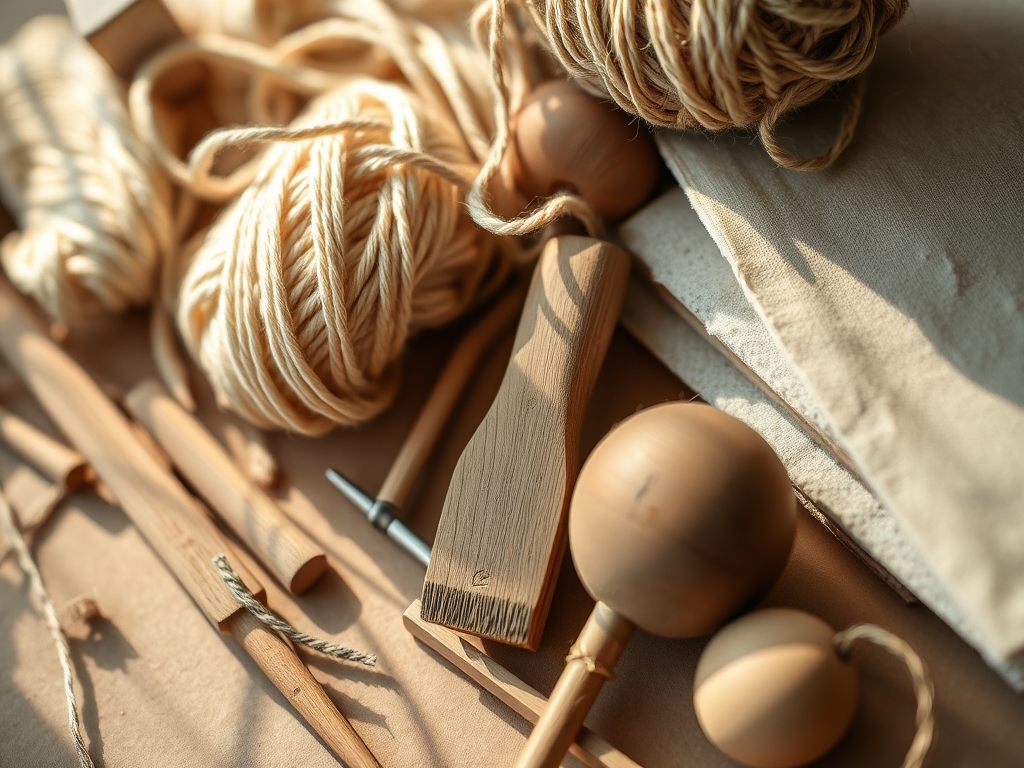
To master this medium, you need a kit that respects the **viscosity** of your materials. Your primary engine is a high-quality acrylic paint set paired with a professional-grade pouring medium. The medium acts as a vehicle, extending the paint without breaking down the pigment binder. You will need 100 percent pure dimethicone or treadmill silicone oil; this is the secret catalyst for cell production. For precision, use a **digital gram scale** to ensure your ratios are consistent across different batches.
Your hardware should include graduated mixing cups, stainless steel palette knives for folding in color, and a high-output butane torch to pop air bubbles. For those who want to get technical, a viscosity cup (like a Zahn cup) can help you measure the exact flow rate of your mixture. If you are looking for material substitutions, you can swap professional pouring medium for a mix of PVA glue and distilled water, though this may impact the archival longevity of the piece. Always use a leveled work surface; even a one-degree tilt will cause your design to drift during the curing process.
THE TEMPO
The Maker's Rhythm for a pour is divided into three distinct phases: the Prep, the Pour, and the Cure. The Prep phase takes about forty-five minutes. This is where you calibrate your colors and ensure your rheology is uniform across all cups. The Pour itself is a frantic, beautiful ten-minute window where you execute your technique before the paint begins to "skin over" due to evaporation.
Finally, the Cure phase is a test of patience, requiring forty-eight to seventy-two hours. During this time, the volatile organic compounds (VOCs) evaporate, and the polymer chains in the acrylic cross-link to form a durable, plastic film. Do not rush this. If you move the canvas too early, you risk "crazing," which is the technical term for the surface cracking that occurs when the top layer dries faster than the bottom.
THE CORE METHOD
1. Calibrating the Base Viscosity
Begin by mixing your acrylic paint with your pouring medium in a one-to-two ratio. Use a stainless steel stir rod to incorporate the two without whipping in excess air. You are looking for the consistency of warm honey or heavy cream.
Mastery Tip: This step relies on laminar flow. If your paint is too thick, the silicone cannot migrate to the surface; if it is too thin, the colors will muddy into a gray soup. The goal is to match the tensile strength of each color so they sit side-by-side rather than mixing.
2. The Silicone Injection
Add exactly two drops of silicone oil to each colored cup, but leave your "base" color (usually white or black) silicone-free. Stir very gently; three or four rotations are plenty.
Mastery Tip: The science here is Rayleigh-Taylor instability. By adding a low-density fluid (silicone) to a high-density fluid (paint), you create a buoyant force. The silicone wants to rise, pushing through the heavier paint layers to create the "cell" effect.
3. The Layered Charge
Pour your colors into a single "dirty pour" cup. Layer them slowly to prevent premature blending. Start with your densest pigments (like titanium white or metallic golds) and end with your lighter transparent shades.
Mastery Tip: Observe the interfacial tension between the layers. Heavy pigments have a higher mineral content and will naturally sink, forcing the lighter, silicone-infused colors upward in a beautiful display of fluid displacement.
4. The Execution and Tilt
Invert your cup onto the center of the canvas and lift it vertically. Once the paint spreads, use slow, sweeping motions to tilt the canvas toward each corner.
Mastery Tip: Use a leveling tool to check your progress. Avoid over-stretching the cells. If you tilt too aggressively, you exceed the elastic limit of the paint film, causing your beautiful circular cells to distort into jagged, unattractive streaks.
5. Thermal Activation
Pass a butane torch quickly over the surface, holding it about six inches away. Watch as tiny pinpricks of color expand into massive, multi-layered cells.
Mastery Tip: This is thermocapillary convection. The heat reduces the viscosity of the top layer of paint, allowing the trapped silicone bubbles to burst through the surface more easily. It also removes micro-bubbles that could cause "pitting" once the piece is dry.
THE TECHNICAL LEDGER
Maintaining your studio equipment is vital for consistent results. Always clean your palette knives and mixing tools with isopropyl alcohol to remove dried polymer residue. For long-term storage, keep your finished pieces in a climate-controlled environment with low humidity to prevent the hydroscopic nature of the wood frame from warping the canvas.
Material Variations: For a premium finish, use gallery-wrapped linen canvases which have a higher thread count and better structural integrity than cotton. For a sustainable approach, you can use recycled wood panels, provided you seal them with a high-solids primer to prevent "support induced discoloration" (SID).
The Correction:
- The Muddy Mess: If colors blend into brown, your viscosity was too low. Fix: Add a thickening agent or more raw pigment to your next batch.
- The Silicone Pit: If you see "holes" where the canvas shows through, you used too much silicone. Fix: Use a fine-tipped brush to drop a tiny amount of base paint into the pit.
- The Cracking Surface: This happens from drying too fast. Fix: Cover the next project with a large cardboard box to slow down the evaporation rate.
THE FINAL REVEAL
When you finally step back, you should see a vibrant, glossy topography of interlocking cells. The finish should be smooth to the touch, with a specular reflection that shows off the depth of your layers. It is a triumph of physics and art; a frozen moment of fluid motion that looks as if it is still swirling. Your piece is now a durable, polymerized statement of your technical skill.
STUDIO QUESTIONS
Why are my cells disappearing after the pour?
This usually happens due to over-tilting. When the paint is stretched beyond its structural capacity, the cells collapse. Keep your movements slow and stop tilting as soon as the paint reaches the edges to preserve cell integrity.
Can I use hair serum instead of pure silicone?
Yes, but check the ingredients for cyclomethicone. While it works, pure dimethicone provides a higher refractive index and more consistent cell sizes. Hair serums often contain additives that can turn yellow over time or affect the paint's bond.
How do I get rid of the oily residue?
Once the paint is fully cured, sprinkle a light layer of cornstarch or baby powder over the surface. Gently buff it with a soft microfiber cloth. This absorbs the excess silicone without scratching the delicate acrylic film.
Why did my paint peel off the canvas?
This is a failure of adhesion. It usually happens if the canvas was too oily or if the paint was diluted with too much water, breaking the acrylic binder. Always use a professional pouring medium to maintain the paint's chemical bond.

