
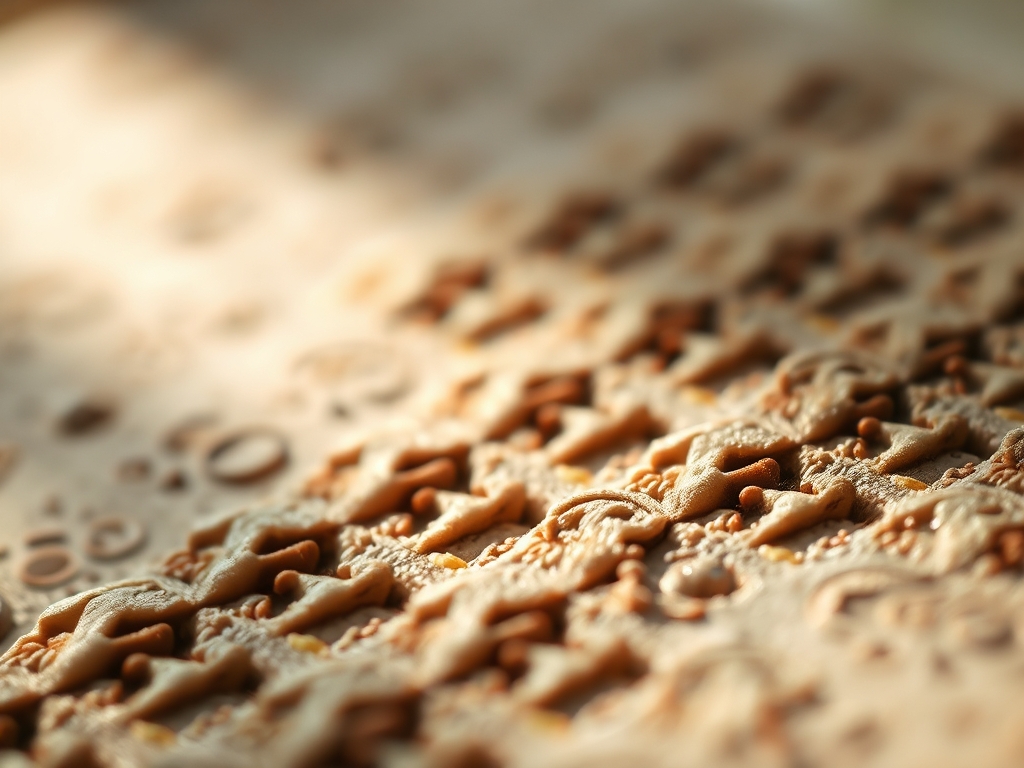
Grab your apron because we are about to dive into the messy, glorious world of ink and fiber. There is something intoxicating about the smell of oil-based pigment hitting a freshly pressed bolt of linen. You can feel the tensile strength of the fabric under your palms; it is sturdy, slightly abrasive, and hungry for color. We are mastering the art of Repetitive Block Printing today to transform plain yards into high-end textiles. This is not just stamping; it is a calculated dance of pressure and timing. When you press that hand-carved block into the weave, you are engaging with the porous nature of the flax fibers. The goal is a seamless flow where the eye cannot find the start or the end of the pattern. It is about finding that perfect "squish" when the ink transfers from the linoleum to the cloth. We are looking for consistency, rhythm, and a little bit of studio magic. Let us get those hands dirty and create something heirloom-quality.
THE STUDIO KIT
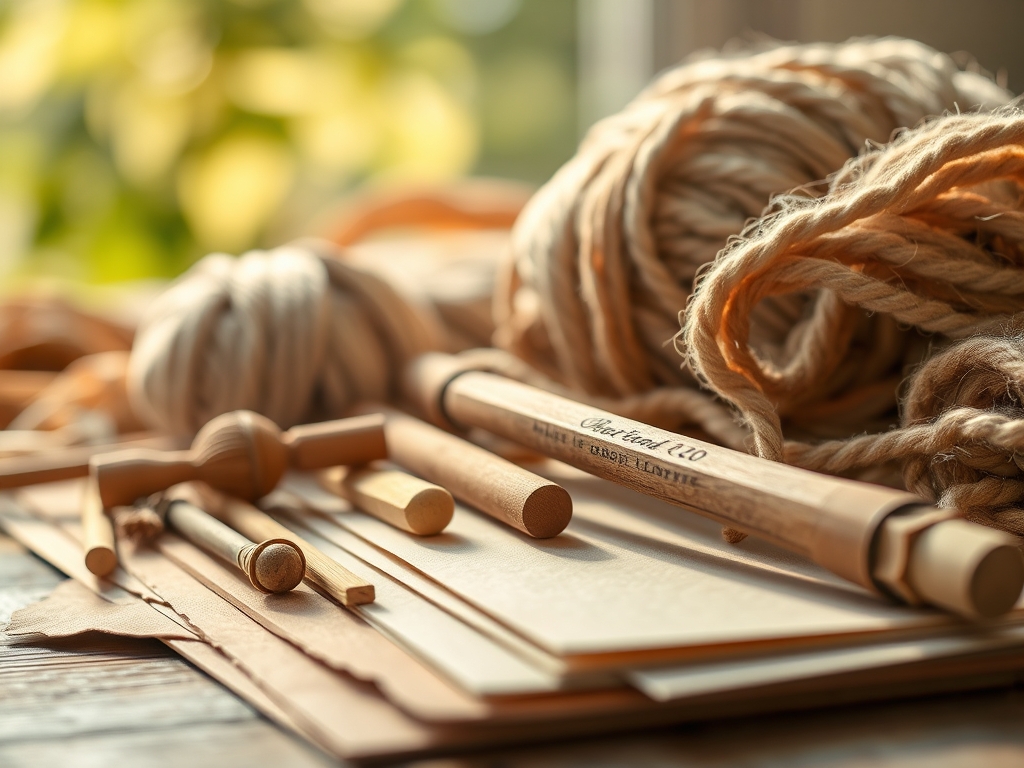
To achieve professional results, you need tools that respect the physics of the medium. Start with a high-density linoleum block; the molecular density of grey battleship lino allows for finer detail without the edges crumbling under the pressure of a printing press or a heavy hand. You will need a set of tempered steel gouges with ergonomic handles to prevent fatigue during long carving sessions. For the ink, choose a professional-grade oil-based relief ink that is fabric-fast. These inks have a higher pigment load than water-based alternatives, ensuring your motifs do not fade after the first wash.
The applicator is just as vital. Use a high-shore durometer brayer (a rubber roller). A harder rubber ensures the ink sits on the surface of the block rather than sinking into the carved valleys. You will also need a bone folder for crisp registration marks and a rotary cutter to trim your linen yards with surgical precision. For a padded printing surface, layer a wool blanket under your backing paper; this provides the necessary "give" to ensure the ink penetrates the interlocking weave of the linen.
Material Substitutions: If you cannot find traditional linoleum, high-density pink carving foam works in a pinch, though it lacks the structural integrity for thousands of impressions. Instead of a professional printing press, a heavy glass barren or even a sturdy stainless steel spoon can be used to burnish the back of the fabric to ensure total ink transfer.
THE TEMPO
The "Maker's Rhythm" is a three-act play. Act one is the Design and Carving phase, which typically takes four to six hours depending on the complexity of your motif. You are working against the resistance of the material here. Act two is the Calibration phase. Spend sixty minutes testing your ink viscosity and pressure on scrap fabric. This is where you find your "beat." Finally, the Printing phase for five yards of fabric will take approximately three hours. You must maintain a steady pace; if you work too slowly, the ink on your glass palette will begin to oxidize and tack up, leading to splotchy transfers. Consistency is your best friend.
THE CORE METHOD
1. Preparing the Textile substrate
Before a single drop of ink touches the cloth, you must stabilize the linen. Linen is notorious for its hygroscopic properties, meaning it expands and contracts with humidity. Pre-wash and iron your fabric to remove any factory sizing that might repel the ink. Use a square ruler and a rotary cutter to ensure your edges are perfectly true.
Mastery Tip: Understanding capillary action is key here. If the fabric is too bone-dry, it may suck the moisture out of the ink too fast, leaving a grainy texture. A very slight, almost imperceptible misting of water can sometimes open the fibers to accept the pigment more deeply.
2. Carving the Organic Motif
Trace your design onto the block using carbon paper. Use your smallest V-gouge to outline the motif first. This creates a "channel" that prevents your larger U-gouges from slipping into areas meant to remain raised. Always carve away from your body to maintain ergonomic safety and control.
Mastery Tip: Pay attention to the grain direction of the linoleum. Carving with the grain requires less force, while carving across it requires a sharper angle of attack. This control prevents "chatter marks" in the negative space of your design.
3. Inking the Matrix
Squeeze a small amount of ink onto a glass slab. Use your brayer to roll it out until you hear a specific "hissing" sound. This sound indicates the ink has reached the optimal viscosity and thickness (usually measured in microns) for a clean transfer. Roll the ink onto the block in a cross-hatch pattern.
Mastery Tip: This is all about surface tension. If the ink layer is too thick, it will fill in your fine carved lines. If it is too thin, the tactile peaks of the linen weave will not be fully coated, resulting in a "salt and pepper" effect.
4. Executing the Repetitive Strike
Place your block face down onto the linen, using a registration jig or a simple T-square to ensure alignment. Apply firm, even pressure using a barren. Move in circular motions from the center outward to displace any trapped air pockets that could cause "holidays" (unprinted spots).
Mastery Tip: The physics of mechanical bonding occurs here. You are physically forcing the pigment particles into the gaps between the warp and weft of the linen. Consistent pressure ensures the gauge of the print remains uniform across the entire five-yard run.
5. Curing and Heat Setting
Once printed, the linen must hang undisturbed for 48 to 72 hours. Oil-based inks do not "dry" by evaporation; they cure through polymerization. Once the ink is no longer tacky, use a dry iron on a high setting to heat-set the design, ensuring the molecular bond between the ink and fiber is permanent.
Mastery Tip: Do not rush the curing. If you heat-set too early, you can trap un-oxidized oils under a "skin" of dried ink, which may lead to the pattern cracking or peeling over time as the structural integrity of the ink layer is compromised.
THE TECHNICAL LEDGER
Maintenance & Longevity: Clean your linoleum blocks immediately after use with a vegetable-based oil or a mild solvent. Store them flat in a cool, dark place. Over time, linoleum can become brittle; a light wipe with linseed oil every year maintains its supple carving surface.
Material Variations:
- Sustainable: Use hemp-based linen and soy-based inks for a lower environmental footprint.
- Premium: Opt for Belgian linen with a high thread count for ultra-fine detail.
- Recycled: Upcycled flour sacks offer a beautiful, high-character tactile surface for rustic motifs.
The Correction:
- The Ghost Image: If your print looks blurry, the block slipped. Fix: Use a "sticky" registration mat to hold the fabric taut.
- The Bleed: Ink is spreading past the lines. Fix: Your ink is too thin; add a drop of magnesium carbonate to increase the body.
- The Fade: The center of the print is light. Fix: Your printing surface is too hard. Add a felt compression pad under your fabric.
Studio Organization: Store your finished yards rolled on heavy-duty cardboard tubes rather than folded. Folding creates permanent creases in the ink film, which can lead to delamination of the pigment from the linen fibers.
THE FINAL REVEAL
Look at that! You have successfully navigated the complex physics of Repetitive Block Printing. The way those organic motifs repeat across the linen is nothing short of hypnotic. Notice how the ink sits deep in the porous grain, creating a texture you just cannot get from a digital print. Your fabric now has a weight and drape that feels expensive and intentional. You have mastered the pressure, the timing, and the chemistry of the ink. This isn't just fabric; it is a technical achievement wrapped in a beautiful aesthetic. Go ahead, run your hands over it; that is the feel of a job perfectly done.
STUDIO QUESTIONS
How do I stop my block from slipping on the linen?
Use a light spray of repositionable adhesive on your printing board. This holds the linen's tensile grid in place without leaving a residue, ensuring your registration remains perfect throughout the entire yardage run.
Why is my ink drying too fast on the block?
You are likely experiencing high studio temperatures or low humidity. Add a tiny drop of ink retarder to your palette. This slows the oxidative drying process, giving you a longer "open time" to work the fabric.
Can I use acrylic paint instead of professional ink?
Acrylics lack the pigment density and flexibility of oil-based inks. They often sit on top of the fibers and "crack" once dry. For a professional tactile finish, stick to dedicated relief inks formulated for textiles.
How do I clean my brayer without ruining the rubber?
Avoid harsh mineral spirits which can degrade the rubber's durometer. Use a dedicated eco-friendly wash or simple vegetable oil followed by dish soap. This preserves the surface integrity and keeps the roller smooth for future projects.

