
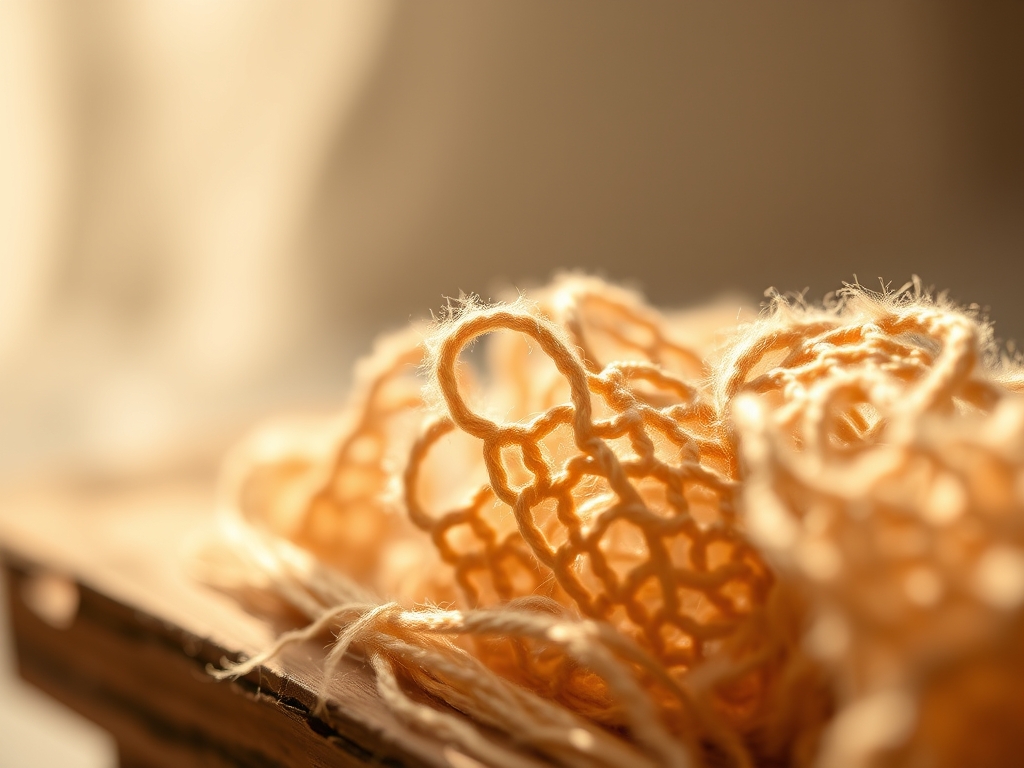
Close your eyes and listen to the click. It is a sharp, percussive snap that signals the perfect tension of silk meeting wood. When you dive into the world of Rhythmic Lace Making, you are not just weaving; you are conducting a high speed physics experiment with nine delicate bobbins as your instruments. The weight of the wood matters because gravity is your silent partner in this dance. If the bobbin is too light, the thread drifts. If it is too heavy, the tensile strength of your fiber reaches its breaking point. We are looking for that sweet spot where the grain of the pearwood or boxwood provides enough friction to hold a knot but enough smoothness to slide across the velvet pillow. This is about the tactile feedback of the fiber. You can feel the microscopic ridges of the thread through your fingertips as you cross and twist. We are building a structural lattice that looks like air but holds the strength of a geometric grid. Grab your coffee and clear your workbench; we are about to turn physics into vintage trim.
THE STUDIO KIT
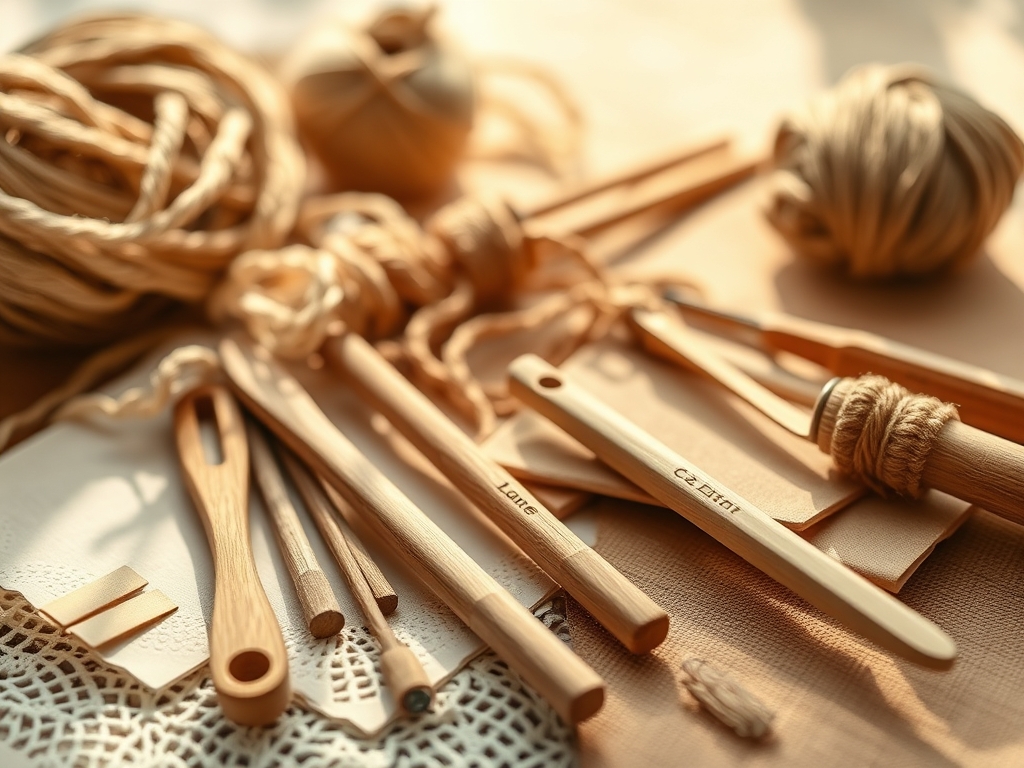
To master the tempo of this craft, your kit must be curated with precision. You will need nine specialized bobbins, preferably turned from high density hardwoods like ebony or maple. These woods possess a tight grain structure that resists splintering under the constant friction of the thread. You will also need a firmly packed lace pillow, often filled with compressed straw or sawdust to provide a high density surface that holds brass pins without shifting. Speaking of pins, do not settle for standard sewing pins. You need fine gauge stainless steel lace pins to prevent snagging the delicate ply of your thread.
Your primary material is the thread itself, usually measured by Gassed Mercerized Cotton or high grade silk. The "gassing" process involves passing the thread through a flame at high speed to burn off stray fibers, which increases the smoothness and luster of the final lace. For measuring your progress and ensuring symmetry, keep a pair of digital calipers on hand. You will also need a fine point awl for clearing holes and a bone folder to burnish any stubborn knots into place.
Material Substitutions: If you cannot source traditional hardwood bobbins, heavy duty acrylic bobbins offer a similar weight profile. In a pinch, high density cork blocks can replace the straw pillow, though they lack the same longevity. For thread, a high quality 80 weight quilting cotton can mimic the behavior of traditional lace thread, provided it has a low lint profile to prevent friction buildup during the rhythmic toss.
THE TEMPO
The "Maker's Rhythm" is a state of flow where the muscle memory of your hands outpaces your conscious thought. This project is broken into three distinct phases. First is the Winding Phase, which takes approximately 30 minutes. This is where you load your nine bobbins, ensuring uniform tension so the thread does not "dive" into the lower layers of the spool. Second is the Foundation Phase, taking about 2 hours. This is the slowest part because you are establishing the geometric anchor points of your pattern. Finally, you enter the Flow Phase, where the Rhythmic Lace Making truly begins. Depending on the complexity of your vintage trim, you can expect to produce about two inches of lace per hour. The secret to maintaining this speed is the ergonomic positioning of your hands. Keep your elbows tucked and use your wrists to flick the bobbins; this minimizes energy loss and prevents repetitive strain.
THE CORE METHOD
1. The Symmetrical Wind
Start by loading your bobbins in pairs. Use your thumb to guide the thread in a tight, overlapping spiral. Mastery Tip: This is about rotational inertia. By winding the thread with consistent pressure, you ensure that the bobbin spins evenly when hanging from the pillow. If the wind is lumpy, the bobbin will wobble, causing uneven tension in your lace grid.
2. Setting the Anchor Pins
Trace your pattern onto parchment and pin it to the pillow. Insert your first row of brass pins at a 45 degree angle away from the direction of the pull. Mastery Tip: This utilizes mechanical leverage. The angle of the pin counteracts the lateral force of the bobbins, preventing the pattern from distorting as you tighten your first "cloth stitch."
3. The Cross and Twist
The fundamental movement involves crossing the right bobbin over the left, then twisting the pairs. This creates a stable intersection. Mastery Tip: This is essentially a torsional shear maneuver. The twist adds structural integrity to the thread, preventing the fibers from flattening out and losing their rounded, crisp definition.
4. Managing the Tension Arc
As you move across the row, use your pinky fingers to "feel" the weight of the hanging bobbins. Every bobbin must exert the same downward force. Mastery Tip: Think of this as equilibrium. If one pair is tighter than the others, it will pull the entire lace motif out of alignment, creating a "bias" in the fabric that cannot be fixed by blocking later.
5. Closing the Pin Hole
Once a stitch is complete, insert a pin into the junction and gently tug the bobbins to "set" the knot around the pin. Mastery Tip: This involves friction coefficients. The thread must grip the pin just enough to hold its shape without biting into the metal, which could cause microscopic abrasions on the fiber.
THE TECHNICAL LEDGER
Maintaining your tools is just as important as the craft itself. Hardwood bobbins should be wiped down with a microfiber cloth after every session to remove skin oils, which can become acidic and degrade the thread over time. Once a year, lightly burnish your bobbins with a drop of mineral oil to maintain their smooth surface.
Material Variations:
- Sustainable: Use bamboo thread and recycled glass bobbins for a lower environmental footprint.
- Premium: Opt for 100% mulberry silk and hand carved bone bobbins for a museum quality finish.
The Correction:
- The Loop Gap: If you see a loose loop in your trim, your tension was uneven. Fix it by using your awl to gently "walk" the excess thread back through the previous three stitches.
- The Snag: If a fiber splays, do not pull it. Use a tiny drop of archival textile glue to lay the fiber flat against the ply.
- The Pin Slip: If a pin moves, your pillow density is too low. Reinforce the area by pinning through a small scrap of leather placed on top of the pillow.
Studio Organization: Store your unfinished lace by pinning a piece of acid free tissue paper over the entire pillow. This prevents dust from settling into the porous fibers and protects the work from UV degradation. Keep your bobbins in a lined wooden box to prevent the wood from denting.
THE FINAL REVEAL
Look at that! You have successfully navigated the complex physics of Rhythmic Lace Making. The finished trim should have a crisp, architectural quality. When you lift it from the pillow, it should feel light as a feather but have a surprising amount of tensile strength. The way the light catches the gassed cotton creates a subtle shimmer that synthetic machine lace simply cannot replicate. You have created a piece of history using nothing but gravity, geometry, and your own two hands. It is delicate, it is rhythmic, and it is absolutely brilliant.
STUDIO QUESTIONS
Why do my bobbins keep clinking together?
This is actually a good sign! The clinking indicates you have achieved a consistent rhythmic velocity. As long as they are not tangling, the sound means your hand movements are synchronized and your tension is holding steady across the pillow.
Can I use regular embroidery floss for this?
Standard floss is too loosely plied and will shred under the constant friction of the bobbins. For successful lace, you need a high twist, long staple fiber that can handle the mechanical stress of the "cross and twist" method.
How do I stop my thread from unravelling?
Use a hitch knot at the neck of the bobbin. This creates a temporary friction lock that holds the thread in place while it hangs, but allows you to easily release more length with a simple twist of the wrist.
What is the best way to clean vintage lace?
Never scrub. Use a gentle soak in distilled water with a pH neutral detergent. Lay it flat on a towel and use stainless steel pins to block it back into its original geometric shape while it air dries.

