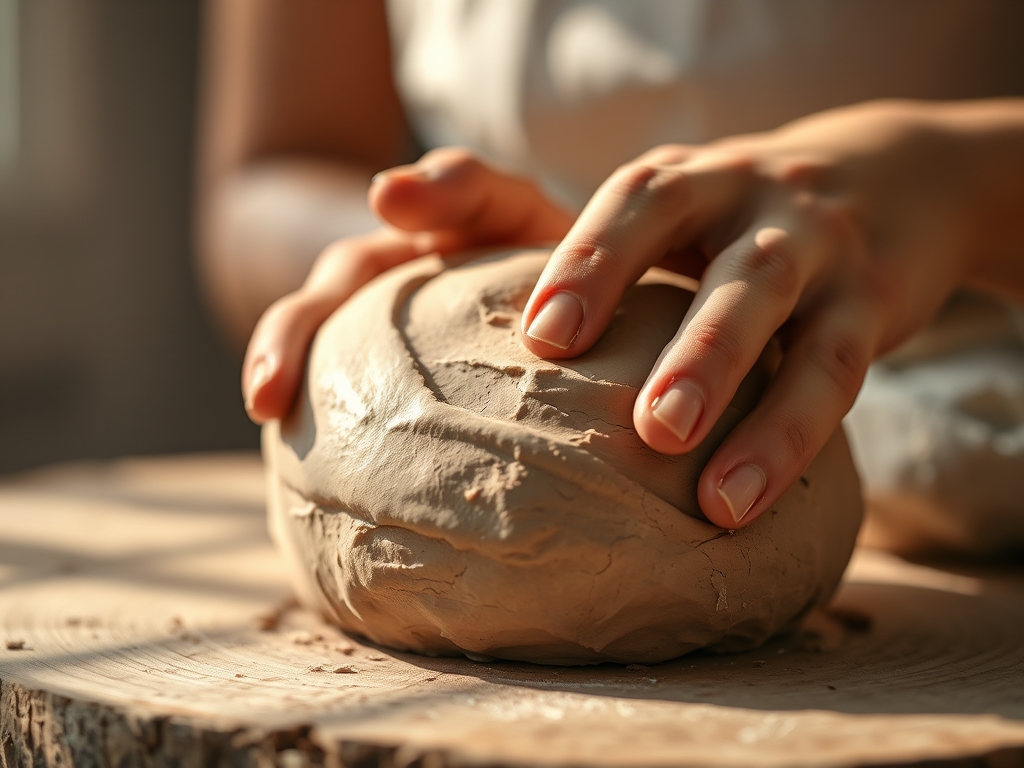
Grab your apron because we are about to get messy in the most scientifically satisfying way possible. Before you even think about touching that pottery wheel, we have to talk about the magic of the prep work. Therapeutic Clay Kneading is not just a chore; it is the fundamental bridge between a raw, unyielding lump of earth and a masterpiece of structural integrity. When you press your palms into that cold, dense mass, you are engaging in a high stakes game of physics. You are aligning millions of microscopic plate like particles called platelets to ensure your vessel does not collapse under its own weight. It is visceral, it is grounding, and it is the secret sauce to becoming a master maker. We are going to dive deep into why your brain craves this tactile feedback and how your hands become the ultimate precision tools. Let us transform that stubborn block of mud into a supple, air free canvas ready for the spin of a lifetime.
THE STUDIO KIT
THE STUDIO KIT
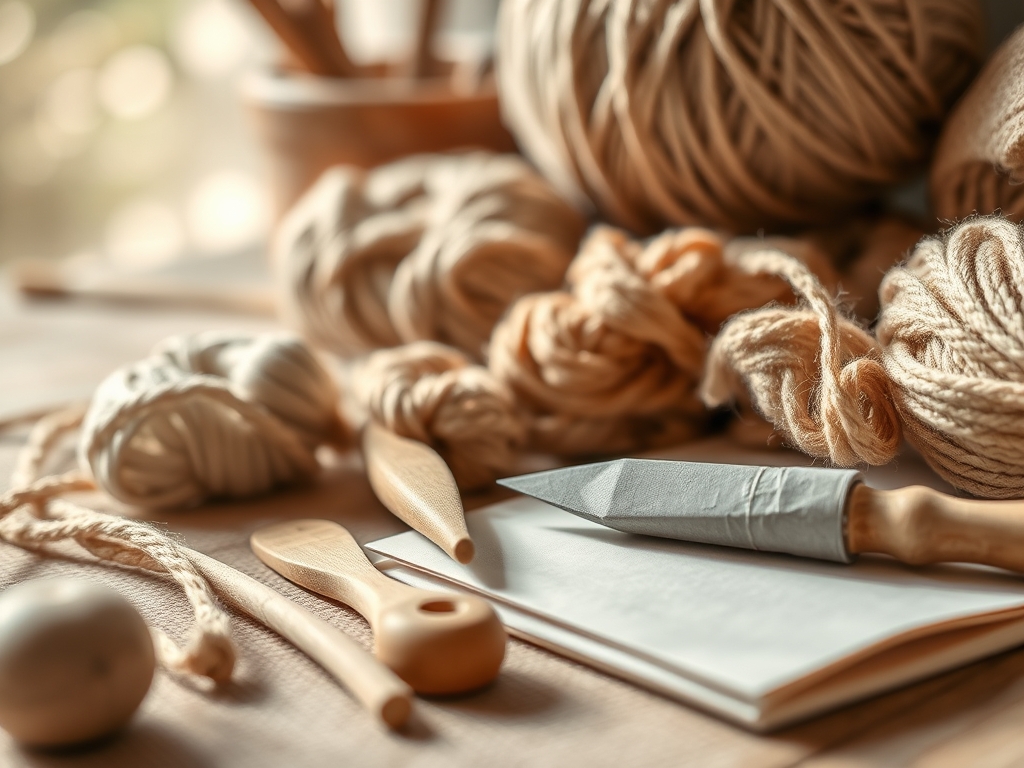
To master the art of Therapeutic Clay Kneading, you need a setup that respects the porous nature of your medium. Your primary surface should be a high density plaster bat or a heavy canvas covered table. These surfaces provide the necessary friction to grab the clay while wicking away excess moisture through capillary action. You will also need a wire clay cutter for checking your work; this tool uses a high tensile stainless steel strand to slice through the mass, revealing any hidden air pockets. Keep a serrated metal rib nearby to score the surface if you need to integrate different moisture levels.
For those looking at Material Substitutions, if you do not have a plaster bat, a piece of unfinished plywood works in a pinch, though it offers less moisture control. If your clay is too stiff, do not just splash water on it; use a fine mist spray bottle to maintain a consistent gauge of hydration. Professional potters often use a caliper to check the diameter of their wedged "loaves" to ensure they fit perfectly within the concentric circles of the wheel head. This stage is all about the ergonomic relationship between your body weight and the resistance of the minerals.
THE TEMPO
The "Maker's Rhythm" is a three phase process that demands about fifteen to twenty minutes of focused energy. First is the Hydration Equalization phase (5 minutes), where you aggressively work the clay to ensure the water content is uniform from the core to the surface. Next is the De-airing Spiral (10 minutes), a repetitive, rhythmic motion that uses centrifugal force and compression to drive out oxygen. Finally, there is the Structural Alignment (5 minutes), where you shape the clay into a tight, dense cone or ball. This tempo prevents the clay from becoming "tired" or over worked, which can lead to a loss of tensile strength.
THE CORE METHOD
1. The Initial Compression
Start by slamming your clay onto the work surface to break the initial surface tension. Use the heels of your hands to push the mass away from you, creating a thick, tongue like shape. This action begins the process of breaking down the "memory" of the clay's previous state.
Mastery Tip: This step utilizes shear stress to realign the internal grain of the clay. By applying consistent pressure, you are forcing the flat mineral platelets to slide over one another, which increases the overall plasticity of the material.
2. The Rams Head Roll
Fold the top of the clay back toward you and push down again with a slight twist. The clay will begin to look like a ram's head with curled horns on the sides. This specific geometry ensures that every cubic centimeter of the material is being folded and compressed.
Mastery Tip: Observe the lamination of the layers. By folding the clay onto itself, you are creating a spiral of compressed material that prevents "S-cracks" from forming during the drying process. This is the peak of Therapeutic Clay Kneading.
3. The Spiral Wedge
Transition into a circular motion, using one hand to pivot the clay while the other applies downward pressure. This creates a beautiful, seashell like spiral. This is the most advanced form of wedging and is essential for large scale pieces that require maximum structural integrity.
Mastery Tip: This technique relies on centripetal force. The spiral motion drives air bubbles toward the center and then out through the top of the cone, ensuring a perfectly homogenous mass that will not explode in the kiln.
4. The Final Taper
Once the clay feels silky and responsive, begin to taper the bottom into a rounded cone. Use your palms to burnish the surface, closing up any remaining micro pores. This shape allows for a smooth transition when you "slap" the clay onto the wheel, preventing air from getting trapped underneath.
Mastery Tip: Reducing the surface area of the base minimizes the risk of vacuum pockets forming between the clay and the wheel head. A smooth, dense base ensures the piece stays centered during high speed rotations.
THE TECHNICAL LEDGER
To maintain your studio's longevity, always scrape your kneading surface with a flexible steel scraper after every session. Allowing "slop" to dry on your board creates dust that can compromise the purity of your next batch.
Material Variations:
- Sustainable: Reclaim your scraps by slaking them down in water and re-kneading them on a plaster bat to restore their elasticity.
- Premium: Porcelain requires a more delicate touch; over-kneading can cause it to lose its "short" memory, making it collapse on the wheel.
The Correction:
- Problem: Clay sticking to the table. Fix: Your surface is too saturated; move to a dry spot on the canvas or use a heat gun to lightly dry the board.
- Problem: Hard lumps in the center. Fix: Use a wire cutter to slice the clay into thin wafers, mist them, and restack them before re-kneading.
- Problem: Wrist pain. Fix: Shift your weight to your hips and use your core to push, rather than relying on your small wrist joints.
Studio Organization: Store your kneaded clay in heavy duty polyethylene bags. For long term storage, wrap the clay in damp chamois cloth to maintain the vapor pressure inside the bag, preventing the edges from becoming brittle.
THE FINAL REVEAL
There is nothing quite like the feeling of a perfectly wedged ball of clay. It feels alive, dense, and ready to transform. When you perform Therapeutic Clay Kneading correctly, the clay loses its stickiness and gains a velvety, tactile sheen. You have successfully manipulated the microscopic world to serve your creative vision. Your hands might be tired, but the clay is now an extension of your intent. It is balanced, airless, and possesses the tensile strength to reach new heights on the wheel. You are no longer just playing with mud; you are a technician of the earth.
STUDIO QUESTIONS
Why does my clay feel "short" or crumbly?
This usually indicates low plasticity or dehydration. The capillary action has pulled too much moisture out. Add a fine mist of water and use a plasticity increasing technique like heavy spiral wedging to restore the mineral bond.
Can I skip kneading if the clay is fresh?
No. Even fresh clay has "settled" during transport. Therapeutic Clay Kneading ensures the particle distribution is uniform and removes any air pockets that formed during the vacuum pugging process at the factory.
How do I know if all the air is out?
Perform the "Wire Test." Use your wire clay cutter to slice the loaf in half. If the cross section is smooth and free of tiny holes or "seeds," your de-airing is successful.
Is there a limit to how much I can knead?
Yes. Over-working the clay can cause it to become "tired," where the tensile strength breaks down. If the clay starts to feel mushy or loses its ability to hold a shape, let it rest for an hour.