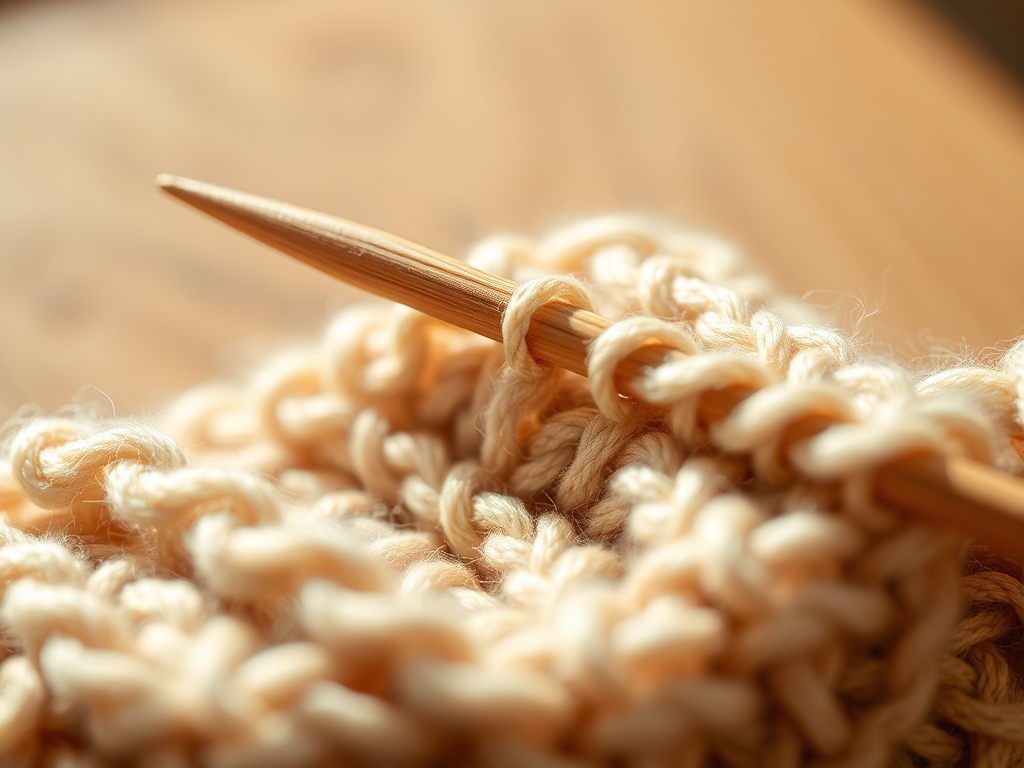
Imagine the scent of scorched earth and wet stone as you uncork a fresh bottle of carbon-rich sumi ink. There is a specific, visceral thrill in feeling the resistance of a high-quality nib against the tooth of cold-pressed paper. We are not just writing; we are engineering a flow state. By mastering these five Meditative Calligraphy Strokes, you transform your desk into a laboratory of fluid dynamics and rhythmic precision. It is about the friction between the metal and the cellulose fibers. It is about the way your breath synchronizes with the capillary action pulling ink from the reservoir. We are diving deep into the physics of the line to find your creative center.
THE STUDIO KIT

THE STUDIO KIT
To achieve professional-grade results, you must respect the tensile strength and porosity of your substrate. Your primary tool is an oblique pen holder, which provides an ergonomic offset to help you maintain the 55-degree angle required for Copperplate or Spencerian scripts. Pair this with a Zebra G nib, a tool favored for its high elasticity and chrome plating that resists corrosion.
Your paper must be at least 100gsm with a smooth, non-porous finish to prevent feathering, a phenomenon where ink spreads uncontrollably along the paper fibers. A bone folder is essential for creasing your guide sheets, while a rhythmic metronome or a simple ticking clock can help you maintain a consistent tempo.
Material Substitutions: If you cannot source professional sumi ink, a high-pigment acrylic ink diluted with distilled water works, though it has a different viscosity. If an oblique holder feels too complex, a straight holder with a stiff monoline nib allows you to focus on the geometry of the stroke without the variable of pressure-induced line width.
THE TEMPO
The "Maker's Rhythm" is the heartbeat of calligraphy. This is not a race; it is a controlled release of kinetic energy.
- The Setup (10 Minutes): Preparing your workspace, mixing ink to the consistency of heavy cream, and burnishing your paper to ensure a flat surface.
- The Calibration (5 Minutes): Performing "warm-up" loops to test the surface tension of the ink on the nib.
- The Execution (30-40 Minutes): Slow, deliberate strokes. Each major movement should take approximately 3 to 5 seconds.
- The Curing (20 Minutes): Allowing the ink to fully bond with the paper fibers. High-pigment inks require significant time to dry to avoid smudging.
THE CORE METHOD
1. The Entrance Stroke
The entrance stroke is a thin, hairline curve that starts at the baseline and travels upward. It requires a light touch to avoid snagging the micro-fibers of the paper. Keep your grip loose to allow for a natural pivot point at the wrist.
Mastery Tip: This stroke relies on minimal friction. If the nib scratches, you are likely applying too much downward pressure. The goal is to let the ink glide across the surface via molecular adhesion rather than forcing it into the grain.
2. The Downstroke (The Pressure Build)
This is where we play with material deformation. As you pull the pen toward your body, apply gradual pressure to spread the tines of the nib. This increases the flow of ink, creating a thick, shaded line.
Mastery Tip: The science here is flexural rigidity. Every nib has a specific "yield point." If you push beyond this, you risk permanent deformation of the metal. Focus on a smooth transition from a hairline to a swell by modulating your grip force.
3. The Underturn
The underturn is a U-shaped stroke that transitions from a heavy downstroke to a light upstroke. It is a masterclass in momentum management. You must release pressure at the exact moment you hit the curve to ensure the ink flow narrows.
Mastery Tip: Observe the meniscus of the ink at the base of the curve. If the ink pools, your transition is too slow. Use a rhythmic pulse to lift the pen, allowing the tines to snap back together through elastic recovery.
4. The Overturn
The inverse of the underturn, this stroke starts thin, curves at the top, and finishes thick. It requires you to engage your forearm muscles rather than just your fingers to maintain a consistent slant.
Mastery Tip: To keep your slant uniform, use a protractor to draw 55-degree guidelines. The geometric alignment of your strokes is what creates the "calming" visual repetition that defines meditative calligraphy.
5. The Compound Curve
This is the ultimate test of fluidity. It is an "S" shape that combines the overturn and the underturn. It requires a constant, shifting balance of pressure and speed.
Mastery Tip: This stroke demonstrates centripetal force in miniature. As you navigate the curves, your hand must maintain a steady velocity to prevent "shaking" in the line. A steady velocity ensures the ink is distributed evenly across the width of the stroke.
THE TECHNICAL LEDGER
Maintenance & Longevity: Always clean your nibs with a soft cloth and a drop of rubbing alcohol after every session. This prevents the buildup of dried ink, which can cause pitting in the metal. Store nibs in a dry container with a small packet of silica gel to prevent oxidation.
Material Variations:
- Sustainable: Use handmade hemp paper, which has high tensile strength and a unique tactile feedback.
- Premium: Experiment with 24k gold leaf and size for illuminated strokes that catch the light.
- Recycled: Try "walnut ink" made from boiled husks; it offers a beautiful, acidic-free brown hue that ages gracefully.
The Correction:
- The Railing: When the tines spread but ink only flows down the sides. Fix: Clean the nib to remove oils or thicken your ink with a pinch of gum arabic.
- The Blob: Too much ink at the start of a stroke. Fix: Touch the nib to a scrap piece of paper first to break the initial hydrostatic pressure.
- The Jagged Edge: Ink bleeding into the paper. Fix: Your paper is too absorbent. Apply a light coat of spray fixative or switch to a "sized" paper.
Studio Organization: Store your paper flat in a clamshell box to prevent warping from humidity. Use a caliper to measure the consistency of your stroke widths if you are working on a professional commission.
THE FINAL REVEAL
Look at that page! You have successfully navigated the complex interplay of metallurgy, chemistry, and physics. The result is a series of strokes that feel alive. There is a profound sense of satisfaction in seeing a perfectly executed compound curve; it is a visual representation of your controlled breathing and steady hand. You have moved past simple "writing" and into the realm of precision engineering. Your creative rhythm is now a tangible, beautiful artifact.
STUDIO QUESTIONS
Why is my ink "feathering" on the page?
Feathering occurs when the paper fibers are too porous, pulling ink away from the stroke via capillary action. Use a "sized" paper or add gum arabic to your ink to increase its viscosity and surface tension.
How do I stop my hand from shaking?
Shaking is often a result of muscle fatigue or excessive grip pressure. Shift the movement from your fingers to your forearm and shoulder. This utilizes larger muscle groups, providing a more stable mechanical pivot for longer strokes.
What is the best way to prep a new nib?
New nibs are coated in a thin layer of industrial oil to prevent rust. This oil repels ink. Remove it by gently scrubbing the nib with a toothbrush and toothpaste or quickly passing it through a flame.
Why does my ink look grey instead of black?
This is usually a matter of pigment density. If you are using a concentrate, you may have diluted it too much. Ensure you stir your ink thoroughly with a palette knife to redistribute the carbon particles before starting.
Can I use regular printer paper for practice?
Standard printer paper has low structural integrity and will likely bleed. For practice, use a rhodia pad or a high-quality marker paper. These surfaces are engineered to handle wet media without compromising the line definition.