
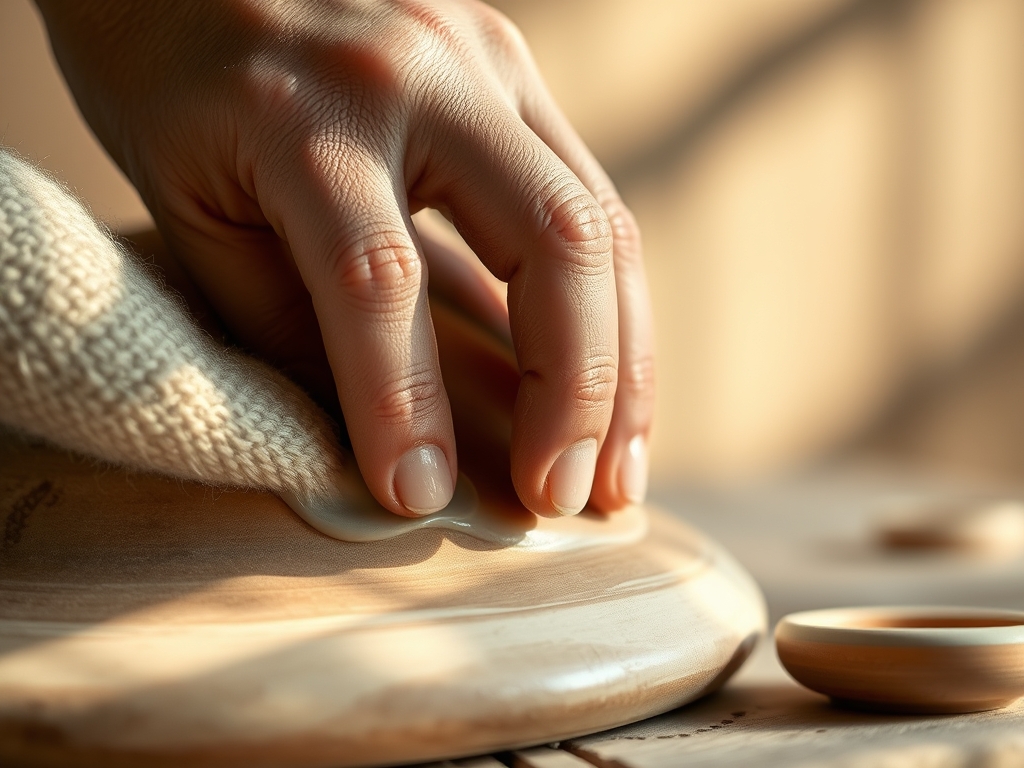
Imagine the weight of wet earth pressing against your palms as you begin the rhythmic dance of Fluid Pottery Handbuilding. It is a tactile conversation between your muscles and the mineral structure of the clay; a moment where physics meets pure artistic intuition. When you are working on large-scale vases, you are not just stacking mud. You are managing the structural integrity of a vertical column that wants to succumb to gravity. The clay feels cool and porous against your skin, smelling of deep iron and ancient rain. As you roll your first coil, you can feel the tensile strength of the material resisting your touch. If the moisture content is off by even a small percentage, the entire vessel risks catastrophic collapse. We are diving deep into the mechanics of how to make mud stand tall and look elegant while doing it. This is about mastering the fluid motion of the hand to create forms that look like they were frozen in a state of grace. Grab your apron; we are going to build something monumental.
THE STUDIO KIT
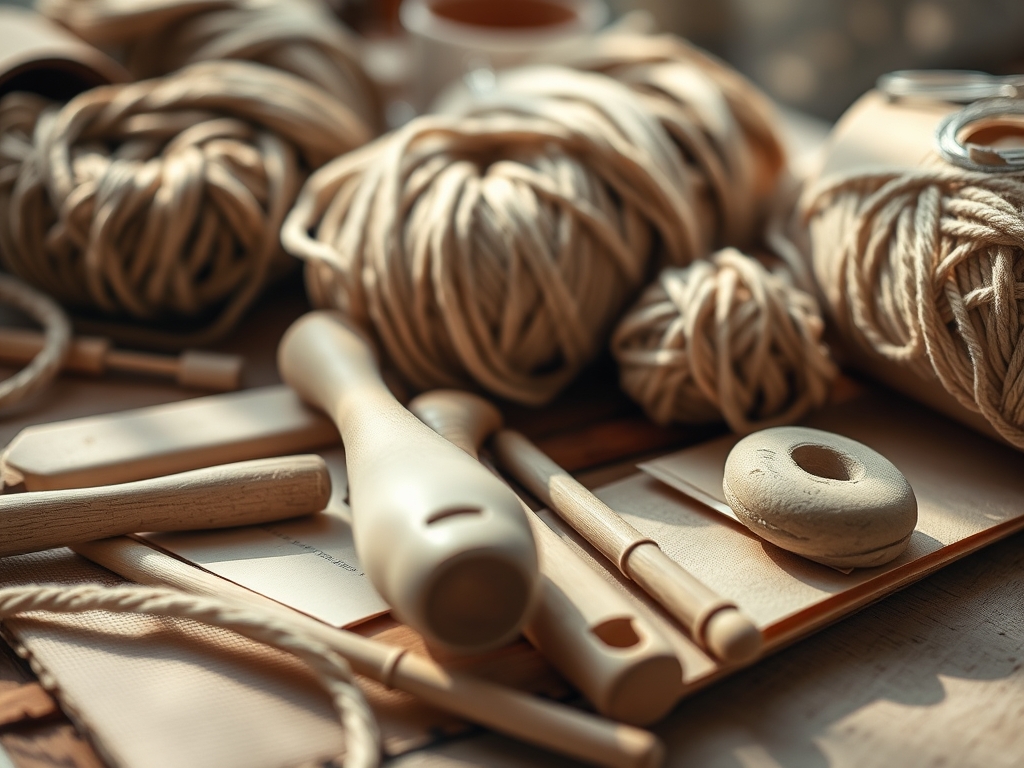
To master Fluid Pottery Handbuilding, your toolkit must be an extension of your sensory perception. You will need a high-fire stoneware body with a significant amount of grog; this is crushed, pre-fired clay that acts like a skeleton to provide internal structural support. For precision shaping, keep a set of stainless steel calipers nearby to measure the diameter of your opening as you rise. You will also need a serrated rib for scoring, a flexible polymer kidney for burnishing the surface, and a weighted plumb line to ensure your vertical axis remains true.
Material Substitutions: If you cannot find high-grog stoneware, you can "paper-tow" your clay by kneading in cellulose fibers to increase the green-strength. Instead of a professional metal rib, a credit card with a serrated edge works wonders for creating mechanical tooth on the clay surface. For those looking for a premium finish, substituting standard tap water with a flocculated slip (clay mixed with a tiny bit of Epsom salts) will create a "sticky" bond that prevents the coils from sliding during the wet-build phase.
THE TEMPO
The "Maker's Rhythm" is governed by the evaporation rate of water. You cannot rush a large vase. The process is divided into three distinct phases: The Foundation, The Ascent, and The Refinement. The Foundation takes roughly two hours; you must allow the base to reach a soft leather-hard state before it can support the weight of the walls. The Ascent is the longest phase, often spanning two to three days. You add three or four coils, then pause for the clay to firm up. If you build too fast, the bottom will "slump" or "belly out" due to the weight. The Refinement happens in the final four hours, where you burnish the exterior and compress the rim to prevent drying cracks.
THE CORE METHOD
1. The Compressed Foundation
Every great vase starts with a slab base that has been thoroughly compressed with a wood paddle. This aligns the clay particles into a dense, flat plane, reducing the risk of S-cracks during the firing process.
Mastery Tip: Compression forces the plate-like clay particles to lay flat; this increases the tensile strength of the base so it can withstand the downward pressure of the subsequent coils.
2. The Tapered Coil Roll
Instead of rolling uniform cylinders, roll your coils so they are slightly thicker in the middle. This allows for more material to be pushed upward or inward as you shape the "fluid" silhouette of the vessel.
Mastery Tip: Avoid using your fingertips, which creates "thick and thin" spots. Use the flat of your palm to ensure a consistent gauge across the entire length of the coil.
3. The Beveled Join
Never stack a coil directly on top of another. Cut the ends of your coils at a 45-degree angle using a needle tool or an awl to create a scarf joint. This increases the surface area for the bond.
Mastery Tip: Increasing the surface area of the join utilizes capillary action, drawing the slip deeper into the seam for a permanent chemical and mechanical bond.
4. Internal Ribbing
As you add a coil, use a wooden thumb tool to "knit" the clay downward on the inside of the pot. This creates a series of internal structural ribs that act like the rings of a tree.
Mastery Tip: This technique manages the hoop stress of the cylinder, preventing the walls from bowing outward under their own weight as the clay remains plastic.
5. The External Burnish
Once the coils are joined, use a flexible rib to smooth the exterior. Move the tool in a diagonal upward motion to "pull" the clay molecules into a tighter weave.
Mastery Tip: Burnishing aligns the surface particles, creating a hydrophobic barrier that slows down the evaporation rate, leading to a more even drying process.
6. Paddling for Symmetry
When the vase is about twelve inches high, use a flat wooden paddle to gently tap the sides while spinning the piece on a banding wheel. This corrects any wobbles in the silhouette.
Mastery Tip: This mechanical agitation settles the clay into its most stable form, utilizing thixotropic properties where the clay becomes slightly more fluid under vibration, then sets firmly.
7. The Centered Rim
The rim is the most vulnerable part of a large vase. Use a chamois cloth or a strip of plastic to compress the top edge until it is rounded and dense.
Mastery Tip: A compressed rim resists the differential drying stresses that often cause "rim-tears" or "zipper cracks" as the top dries faster than the weighted base.
8. The Expansion Stretch
If you want a bulbous midsection, reach inside with a damp sponge and push outward while supporting the exterior with your hand. This is the essence of Fluid Pottery Handbuilding.
Mastery Tip: You are testing the ductility of the clay. If the surface begins to "alligator" or crack, the clay has reached its limit of plastic deformation and needs to rest.
9. Slow Curing
Wrap the finished piece in a heavy plastic "tent" for at least a week. This allows the moisture to equalize between the thick base and the thinner rim.
Mastery Tip: Slow curing prevents thermal shock and drying warping by ensuring that the entire molecular structure of the vase reaches equilibrium before it enters the kiln.
THE TECHNICAL LEDGER
Maintenance & Longevity: To keep your handbuilt vases from degrading over time, ensure they are fired to full vitrification. This is the point where the silica in the clay turns to glass, making the piece non-porous and structurally sound for centuries.
Material Variations:
- Sustainable: Incorporate "reclaim" clay scraps into your coils to reduce waste.
- Recycled: Mix in crushed, fired bisque (grog) from failed projects to add grit and character.
- Premium: Use a porcelain-stoneware blend for a smooth, white surface that still possesses the strength of a heavy-duty body.
The Correction:
- The Slump: If the base starts to bulge, use a blowtorch or heat gun to quickly firm up the bottom three inches before adding more weight.
- The Air Pocket: If you find a bubble, use a fine awl to prick it at an angle, then compress the clay back down to seal the void.
- The Dry Join: If a coil is too dry to stick, apply a "vinegar slip" (clay mixed with white vinegar). The acid breaks down the clay particles, creating an ultra-strong chemical bond.
Studio Organization: Store your large-scale projects on marine-grade plywood bats. These absorb a small amount of moisture from the bottom, helping the base dry at the same rate as the walls, which prevents the dreaded "S-crack" at the center of the floor.
THE FINAL REVEAL
Look at that silhouette! There is nothing quite like the feeling of standing back and seeing a massive, fluid form that you built with nothing but your hands and a few simple tools. The curves are intentional; the surface is smooth and reflects the light with a soft, burnished glow. You have successfully navigated the laws of physics to create a piece that feels light despite its massive scale. This vase is a testament to your patience and your growing mastery of the material. It is bold, it is elegant, and it is ready to be the centerpiece of any room.
STUDIO QUESTIONS
How do I prevent my large vase from collapsing?
Build in stages. Allow the bottom sections to reach a leather-hard state so they gain enough compressive strength to support the weight of the wet clay added on top. Never add more than four coils at a time.
What is the best clay for large handbuilding?
Use a clay body with at least 10 to 15 percent grog. The grit provides an internal scaffold that prevents the clay from warping or slumping during the Fluid Pottery Handbuilding process and the subsequent firing.
Can I use a potter's wheel for coil building?
Yes! A slow-turning banding wheel or an electric wheel on the lowest setting is perfect for "coil-and-throw" techniques. It helps maintain perfect symmetry while you use your ribs and sponges to shape the walls.
How do I fix a crack in a dry vase?
If the piece is bone-dry, use "paper clay" slip to fill the gap. The fibers act as a bridge. However, for structural cracks in large vases, it is often safer to reclaim the clay and start over.
Why does my vase lean to one side?
This usually happens if your coils are uneven in thickness or if you are applying more pressure on one side while shaping. Use calipers and a plumb line frequently to check your vertical alignment.

