
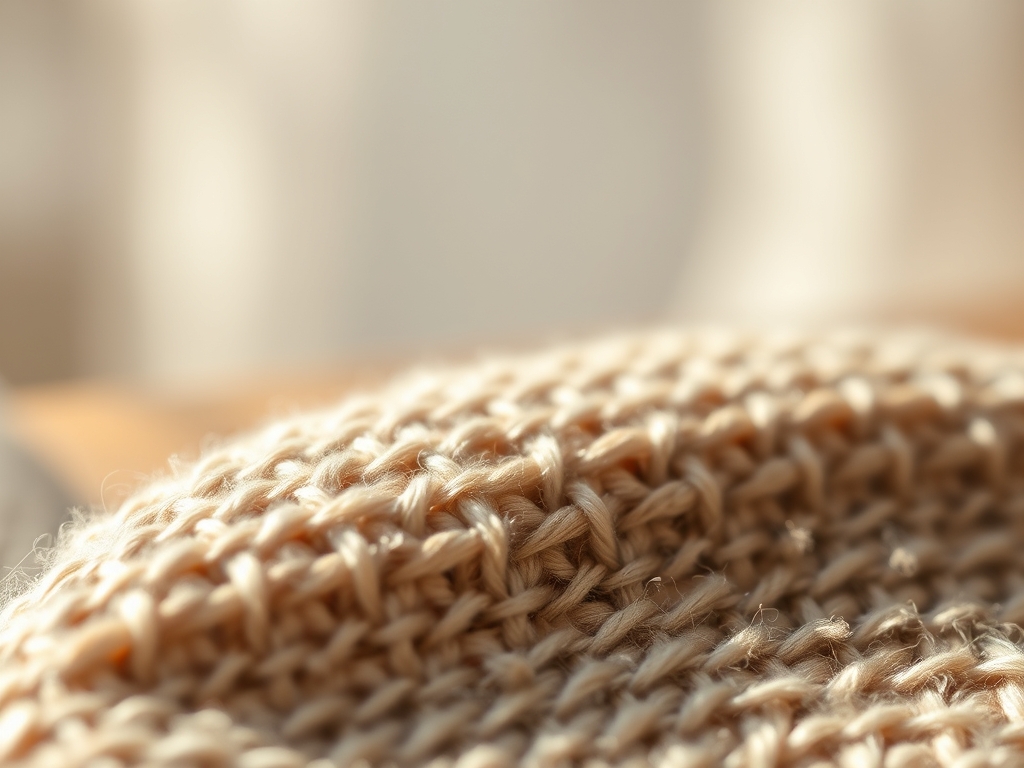
The snap of the hoop is the first note in a symphony of precision. When you pull that cotton tight, you are not just prepping a surface; you are creating a drum of calibrated tension. I can feel the ridges of the Aida cloth against my thumb, a grid of woven fibers waiting for the rhythmic dance of the needle. We are diving into the world of repetitive cross stitch, a practice where the mechanical consistency of every "X" transforms into a meditative state of flow. It is about more than just thread on fabric. It is about the tactile feedback of the needle piercing the starch-heavy weave and the soft friction of six-strand floss sliding through a puncture. This is where high-energy creativity meets the cold, hard physics of geometry. We are going to build eight tiny patterns that rely on the sheer predictability of the grid to quiet the noise in your brain. Grab your favorite needle; we are about to turn simple geometry into a masterpiece of focus and fiber.
THE STUDIO KIT
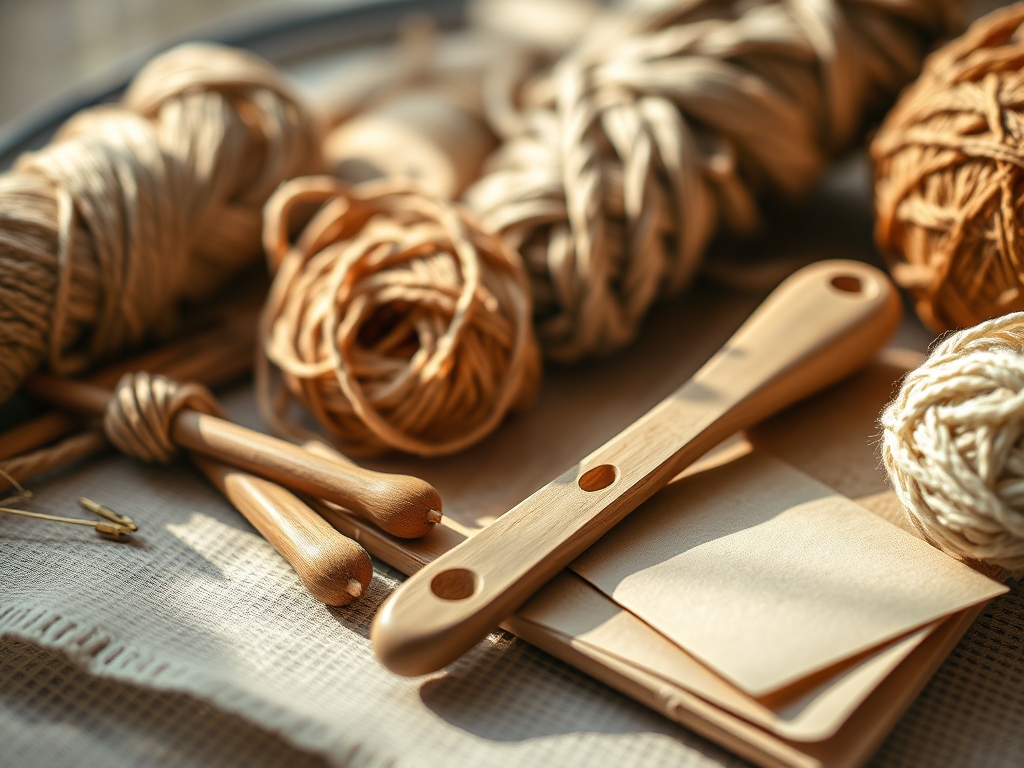
To master repetitive cross stitch, you need a kit that respects the tensile strength of your materials. I always reach for a beechwood embroidery hoop because the density of the wood prevents the inner ring from warping under the pressure of the screw. You will need a size 24 or 26 tapestry needle, which features a blunt tip designed to navigate the holes of the fabric without splitting the structural fibers of the warp or weft. For the thread, standard six-strand cotton is the gold standard; however, pay attention to the mercerization process, which gives the thread its luster and increases its resistance to fraying.
Material Substitutions: If you cannot find high-count Aida, you can substitute a linen weave, though you must account for the irregular thickness of the natural slubs. If your hands cramp, swap your standard hoop for an ergonomic lap stand to reduce the torque on your wrist. For those seeking a modern edge, try using perforated paper or even fine-gauge plastic mesh, which offers zero flexibility and maintains perfect structural integrity throughout the stitching process.
THE TEMPO
The Maker's Rhythm is a calculated balance between speed and precision. In the first phase, the Setup Phase, you will spend approximately fifteen minutes measuring your fabric with a rotary cutter and centering your pattern. This is the structural foundation. Once you begin the Execution Phase, each tiny pattern should take roughly thirty to forty-five minutes.
This is where the repetitive cross stitch magic happens. You enter a state of stochastic resonance, where the repetitive motion of the needle stabilizes your focus. The rhythm is "poke, pull, angle, repeat." Do not rush the pull; moving the thread too quickly through the fabric creates heat and friction, which can degrade the outer ply of the floss. Allow about ten minutes at the end for the Finishing Phase, where you will secure the tails and burnish the edges of the fabric to prevent unraveling.
THE CORE METHOD
1. Calibrating the Fabric Tension
Before the first stitch, you must ensure the fabric is taut enough to resist the downward force of the needle. Place your fabric over the inner hoop and press the outer ring down firmly. Use a bone folder to smooth any ripples before tightening the screw.
Mastery Tip: This is all about surface tension. If the fabric is too loose, the needle will drag the weave downward, creating "puckering" once the piece is removed from the hoop. A drum-tight surface ensures the holes remain perfectly square.
2. The Anchor Start
Forget the messy knots of your childhood. Use the Loop Method to start your thread. Fold a single long strand in half, thread the two cut ends through the eye, and catch the loop on the back of your first stitch.
Mastery Tip: This method utilizes friction-based anchoring. By looping the thread through itself, you create a flat, secure join that does not add bulk to the back of the work, maintaining a low profile and preventing the fabric from bulging.
3. The Danish Method of Stitching
For repetitive cross stitch, consistency is king. Work in rows by completing all the bottom diagonal slashes (////) first, then returning to cross them (\\). This ensures that the light refraction across the surface of the thread is uniform across the entire pattern.
Mastery Tip: This technique manages the torsional twist of the thread. By working in one direction and then the other, you prevent the floss from tangling or knotting on the underside of the fabric.
4. Managing Thread Tension
As you pull each stitch, apply just enough pressure to lay the thread flat against the fabric. If you pull too hard, you will distort the holes of the Aida; if you pull too loosely, the stitch will lack definition.
Mastery Tip: Observe the capillary action of the fibers. When thread is pulled at the correct tension, it sits flush with the weave, allowing the natural luster of the cotton to catch the light. Over-tensioning narrows the thread's diameter and ruins the visual "bloom."
5. Transitioning Between Patterns
When moving from one tiny pattern to the next, do not "travel" your thread more than half an inch across the back. Instead, weave the tail under existing stitches to secure it and start fresh for the next section.
Mastery Tip: This preserves the structural integrity of the piece. Long "floats" on the back can snag or cause the fabric to shadow, which is when the dark thread shows through the white holes of the Aida.
6. The Final Burnish
Once the eight patterns are complete, remove the hoop and lay the fabric face down on a soft towel. Use a steam iron to press the back of the work gently.
Mastery Tip: The heat and moisture help the cotton fibers relax and reset into their new positions. The towel prevents the stitches from being flattened, preserving the three-dimensional texture of the repetitive cross stitch.
THE TECHNICAL LEDGER
Maintenance & Longevity: To keep your work pristine, avoid touching the thread with bare hands more than necessary; skin oils can cause yellowing over decades. If the piece becomes dusty, use a soft-bristled brush or a low-suction vacuum with a mesh screen over the nozzle.
Material Variations: For a premium feel, use hand-dyed silk floss. Silk has a higher tensile strength than cotton and a natural sheen that reflects light with incredible intensity. For a sustainable option, look for recycled PET thread, which offers high durability and vivid colorfastness.
The Correction:
- The Twisted Stitch: If your thread starts to pucker, let the needle hang freely to allow the natural torque to unwind.
- The Missed Hole: Use a seam ripper or the tip of your needle to carefully back out the stitches. Never cut the thread while it is still in the fabric.
- The Railroading Fail: If the two strands of floss are crossing each other, use a laying tool or a large needle to smooth them flat so they sit side-by-side.
Studio Organization: Store your ongoing projects in acid-free archival sleeves. To prevent degradation from UV light, keep your storage bins in a cool, dark environment. Use a caliper to measure your fabric margins before cutting to ensure you always have enough room for framing.
THE FINAL REVEAL
There is nothing quite like the feeling of running your fingers over a finished grid of repetitive cross stitch. Those eight tiny patterns are now a testament to your focus and technical skill. The way the light hits the uniform crosses creates a shimmering effect that feels both modern and timeless. You have taken raw materials—simple cotton and steel—and organized them into a structured, beautiful whole. It is a high-energy win for your brain and a gorgeous addition to your creative portfolio. You did that!
STUDIO QUESTIONS
What is the best fabric for repetitive cross stitch?
Standard 14-count Aida cloth is ideal for beginners due to its clear, stable grid. For advanced makers, 28-count evenweave offers a more refined, fabric-like finish while maintaining the necessary structural integrity for precise, repetitive geometric patterns.
How do I prevent my thread from tangling?
Keep your thread lengths under 18 inches to minimize friction. Periodically let your needle hang freely to release built-up torsional twist. Using a thread conditioner like beeswax can also reduce static and smooth the fibers for easier passage through the fabric.
Can I do repetitive cross stitch without a hoop?
While possible using the "sewing method," a hoop is highly recommended to maintain consistent surface tension. Without a hoop, the fabric can easily pucker or distort, leading to uneven stitches and a loss of the pattern's mathematical precision.
What should I do if I run out of thread mid-pattern?
Secure the old thread by weaving it under the back of the existing stitches. Start the new strand using the loop method or by tucking the tail under the same stitches to maintain a flat, knot-free profile on the reverse side.

