Imagine the sharp, rhythmic snap of flush cutters echoing against the quiet hum of your studio. There is a specific kind of magic in the way a spool of dead-soft copper yields to the warmth of your palms. We are diving deep into the world of meditative wire bending today. This practice is not just about making pretty things; it is a high-stakes dance with physics where you learn to negotiate with the tensile strength of metal. When you achieve that perfect flow state, the wire stops being a stubborn alloy and starts feeling like an extension of your own nervous system. You are going to feel every microscopic ridge in the metal as you guide it into fluid, sculptural forms. This is where engineering meets intuition. We are going to master the art of the curve, ensuring every loop is structurally sound and aesthetically transcendent. Grab your tea and your favorite pliers because we are about to turn cold metal into pure, rhythmic poetry.
THE STUDIO KIT
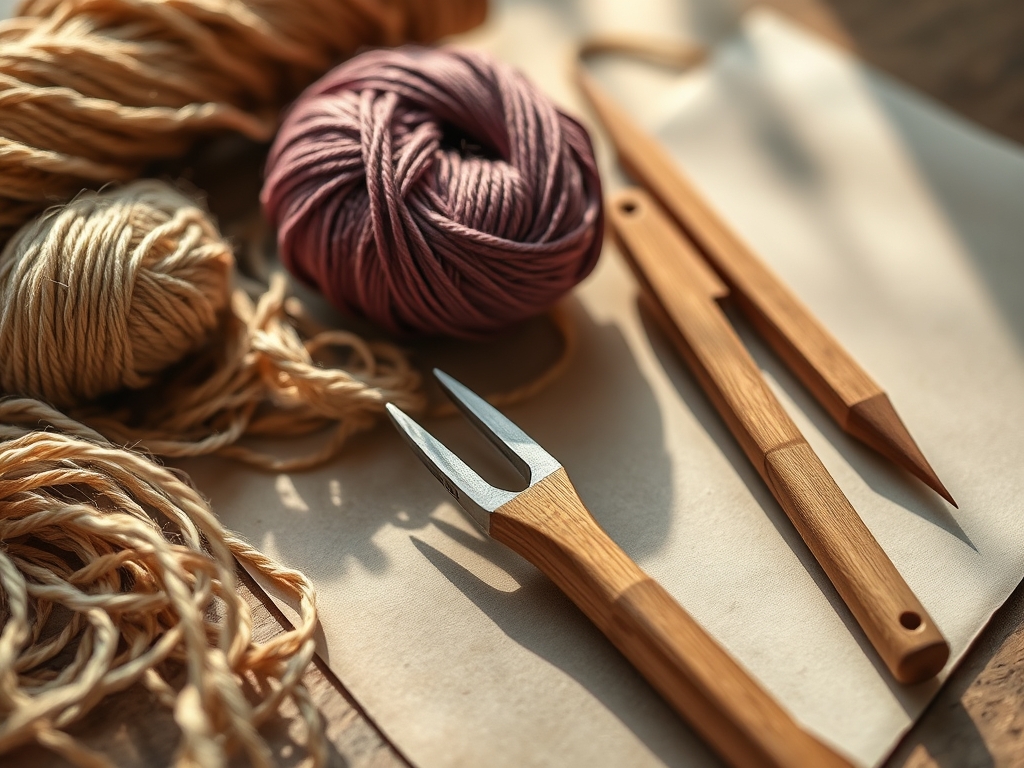
To master meditative wire bending, your tool kit must be an extension of your hands. You will need chain-nose pliers with smooth inner jaws to prevent marring the surface of your metal. Flush cutters are non-negotiable; they create a perfectly flat edge by utilizing a one-sided bevel, which is essential for seamless joins. For the wire itself, start with 18-gauge and 24-gauge copper or brass. Copper is exceptionally malleable due to its atomic structure, making it the perfect candidate for beginners. You should also have a steel bench block and a nylon hammer for work-hardening your finished pieces.
Material Substitutions: If you cannot find jeweler-grade copper, look for recycled electrical wire, provided you strip the insulation safely. For a premium experience, silver-filled wire offers the luxurious luster of sterling silver at a fraction of the cost. If you lack a professional mandrel, household objects like pill bottles or markers serve as excellent guides for maintaining consistent diameters.
THE TEMPO
The maker's rhythm is divided into three distinct phases. First is the Preparation Phase (20 minutes), where you measure, cut, and straighten your wire. This is a tactile process of removing kinks to ensure the molecular alignment is uniform. Next is the Sculpting Phase (1 to 3 hours), which is the heart of meditative wire bending. This is where you focus on the repetitive motions of looping and wrapping. Finally, the Finishing Phase (30 minutes) involves filing sharp ends with a needle file and burnishing the metal to a high shine. Total time varies by complexity, but rushing the process risks work-hardening the metal too early, which leads to brittle snaps.
THE CORE METHOD
1. The Fibonacci Spiral
Begin by gripping the very tip of a 20-gauge wire with your round-nose pliers. Rotate your wrist in a singular, fluid motion to create a tiny loop. As you continue to wrap the wire around itself, maintain constant tension. This shape relies on the geometric progression found in nature, creating a visually soothing focal point.
Mastery Tip: Understand the yield strength of your wire. If you pull too hard, you will stretch the metal, thinning the gauge and weakening the overall structure. Keep your pressure consistent to maintain a uniform thickness.
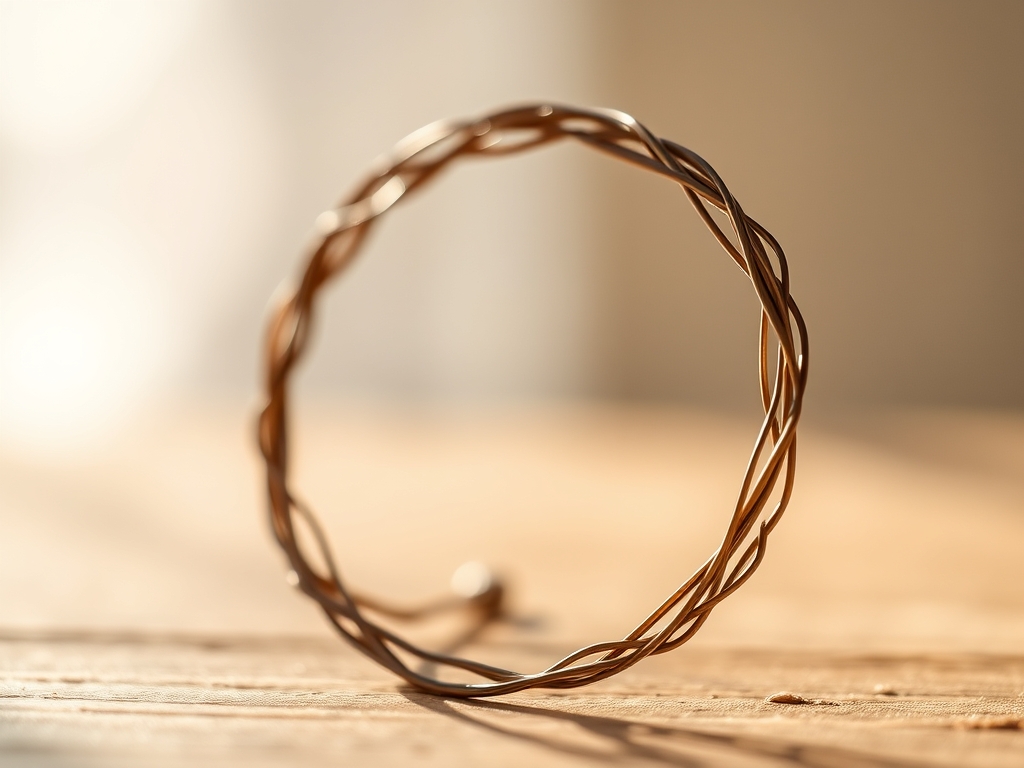
2. The Infinity Link
Fold a length of wire in half and use your pliers to create two opposing loops. This creates a figure-eight shape that serves as the foundation for many jewelry designs. The key here is symmetry; use digital calipers to ensure both loops are identical in diameter.
Mastery Tip: This structure utilizes mechanical interlocking. By slightly overlapping the wire ends before hammering, you create a friction fit that increases the durability of the link without needing solder.
3. The Nested Orb
Take a series of wire circles and layer them inside one another, securing them with fine 28-gauge binding wire. This creates a three-dimensional sculpture that captures light from all angles. It is a masterclass in managing spatial volume with minimal material.
Mastery Tip: Use capillary action to your advantage if you choose to add a drop of liver of sulfur for patina. The liquid will pull into the tightest crevices of the wraps, creating deep shadows that highlight the sculptural depth.
4. The Herringbone Wrap
Wrap a thin wire around a thicker core wire in a repetitive, diagonal pattern. This technique provides incredible structural integrity and mimics the look of woven fabric. It requires intense focus to keep the wraps touching but not overlapping.
Mastery Tip: This is all about friction coefficients. The tighter your wraps, the less the core wire can shift. If the wraps are loose, the piece will feel "mushy" and lose its geometric precision over time.
5. The Kinetic Mobile
Create a series of balanced wire arms, each holding a small, hand-bent charm. This project introduces the physics of center of mass and equilibrium. Each bend must be calculated to ensure the sculpture hangs perfectly level in the air.
Mastery Tip: Use a chasing hammer on the pivot points. Flattening the metal here "freezes" the grain structure, making the joints rigid while allowing the rest of the arm to remain flexible and bouncy.
THE TECHNICAL LEDGER
Maintenance & Longevity: Copper and brass will naturally oxidize over time. To maintain the original finish, store pieces in airtight containers with anti-tarnish strips. For a lived-in look, allow the patina to develop, then highlights the raised areas with a polishing cloth to create contrast.
Material Variations:
- Sustainable: Use 100% recycled copper wire sourced from industrial scrap.
- Premium: Utilize 14k gold-filled wire, which features a thick layer of gold mechanically bonded to a brass core.
The Correction:
- The Over-Bend: If you bend the wire too far, do not just bend it back. Use nylon-jaw pliers to gently stroke the wire straight, then re-bend. This minimizes metal fatigue.
- The Scratched Surface: If your pliers leave marks, use a high-grit sanding stick (400 to 1000 grit) to buff them out, followed by a rouge-impregnated cloth.
- The Uneven Loop: If your loops are inconsistent, mark your pliers with a fine-tip permanent marker to ensure you are placing the wire at the exact same spot on the jaw every time.
Studio Organization: Store your wire on vertical spools to prevent "bird-nesting." Use a dedicated pegboard for your pliers so the tips never touch the table, which prevents the precision edges from dulling or chipping.
THE FINAL REVEAL
Look at that! You have successfully navigated the complex physics of metal to create something deeply personal and structurally sound. Your finished pieces should feel balanced in the hand; they should have a certain heft and a smooth, snag-free finish. Meditative wire bending is a journey of a thousand tiny adjustments, and you have just mastered the most important ones. Whether these become wearable art or desktop sculptures, they carry the energy of your focus and the precision of your technique. You are no longer just a hobbyist; you are a manipulator of molecules.
STUDIO QUESTIONS
What is the best wire gauge for beginners?
18-gauge or 20-gauge wire is ideal for beginners. These sizes offer enough tensile strength to hold their shape while remaining soft enough to manipulate with hand tools without causing significant hand fatigue.
How do I stop my wire from getting brittle?
Avoid over-working the metal. Each time you bend or hammer wire, you compress its crystalline structure, making it harder. If it becomes too stiff, you must anneal it by heating it with a torch to reset the grain.
Why are my wire loops always different sizes?
Inconsistent placement on your round-nose pliers causes varying loop sizes. Use a permanent marker to draw a line on the pliers' jaw. Always align your wire with that mark to ensure every loop has a matching diameter.
Can I do meditative wire bending without pliers?
While you can use your fingers for large, organic shapes, precision work requires ergonomic pliers. Tools allow you to apply concentrated force to a specific point, which is necessary for creating tight, professional-grade bends and secure wraps.