

Imagine the weight of a heavy linen bolt resting against your forearm; it is cool, slightly abrasive, and smells faintly of the field where it grew. When you sit down to cultivate Repetitive Stitching Habits, you are not just making a decorative object. You are engaging in a high-stakes negotiation with the tensile strength of natural fibers and the friction of a polished needle. This is about the visceral click of metal against a thimble and the way a single strand of silk thread resists the air as it slides through a pre-punched hole. We are diving into five slow rows that act as a mechanical reset for your nervous system. By focusing on the exact angle of the wrist and the consistent tension of the yarn, we transform a simple craft into a study of material physics. It is the ultimate antidote to a digital world; it is tactile, it is permanent, and it requires your absolute presence to maintain the structural integrity of every single loop.
THE STUDIO KIT
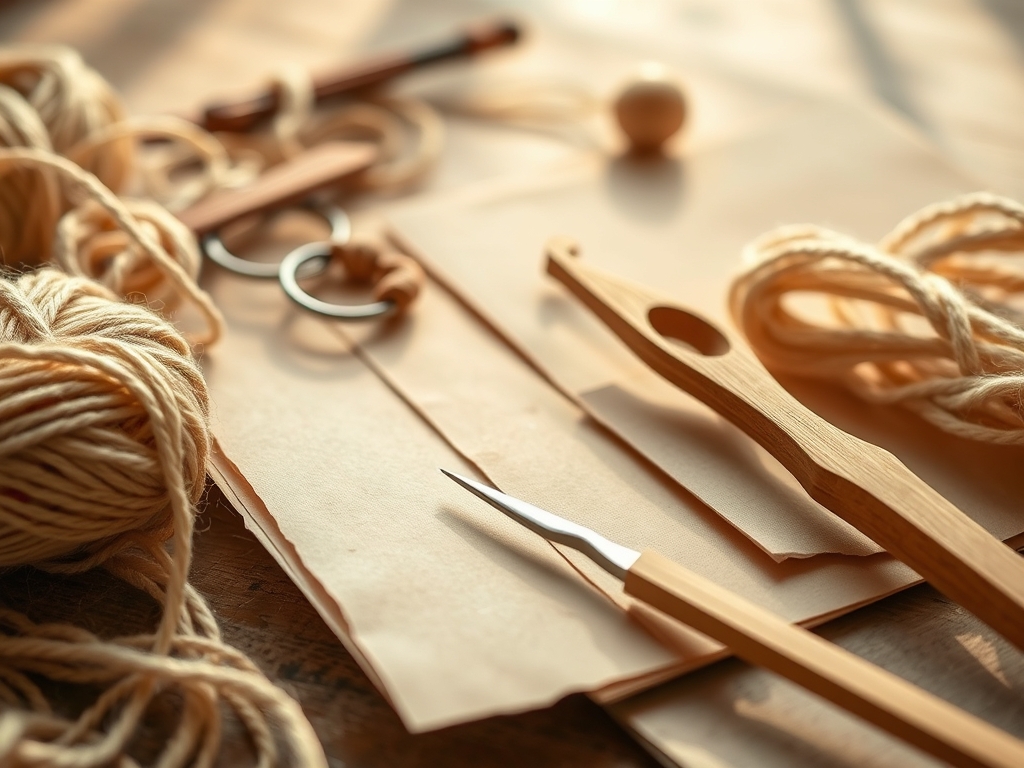
To master these rows, you need a kit that respects the physics of the fiber. Start with a high-count Belgian linen or a heavy-duty cotton canvas. These materials offer a stable grid that prevents the fabric from puckering under high tension. You will need a tapestry needle with a blunt tip to ensure you are navigating between the weave rather than piercing the individual threads. For the thread itself, look for a six-strand mercerized cotton or a filament silk; the mercerization process increases the surface area and luster, making it smoother to pull through the substrate.
Keep a pair of precision forged embroidery scissors nearby. The blades must be sharp enough to provide a clean shear without fraying the ends, which is vital for maintaining a low profile in your knots. Use a bone folder to crisp your edges if you are working on a hem, and a brass thimble to distribute the force across your fingertip. For Material Substitutions, if linen is unavailable, a high-density hemp fabric provides excellent longevity and a similar resistance. If you prefer a more modern feel, a synthetic monofilament can be used for invisible structural support, though it lacks the organic grip of natural fibers.
THE TEMPO
The "Maker's Rhythm" is a biological synchronization between your breath and your needle velocity. For these five rows, expect to spend approximately fifteen minutes on preparation; this includes measuring your thread to the "elbow length" standard to prevent tangling and knotting. Each row should take roughly ten to twelve minutes of active work. This is not a race against the clock; it is a calibration of the hand.
The first two rows are the "Foundation Phase," where you establish the gauge and ensure the fabric remains flat. The middle rows are the "Flow State," where the repetitive motion becomes subconscious. The final row is the "Anchor Phase," requiring extra focus on the terminal knots to ensure the work does not unravel over time. Total active time is about an hour, but the mental clarity gained from the rhythmic oscillation of the needle lasts much longer.
THE CORE METHOD
1. The Foundation Running Stitch
Start by securing your thread with a waste knot. As you weave the needle in and out of the linen, maintain a consistent distance between each entry point. This creates a baseline of tension that dictates the drape of the finished piece.
Mastery Tip: Understand surface tension. If you pull the thread too tight, the fabric will bunch, creating a "pucker" that ruins the planar integrity. If it is too loose, the stitch will sag. Aim for a tension that allows the thread to sit flush against the weave without distorting the warp or weft.
2. The Reinforced Backstitch
This row adds structural density. For every forward movement, you bring the needle back into the previous exit hole. This doubles the amount of thread on the surface and creates a line that mimics the strength of a machine stitch.
Mastery Tip: This step relies on capillary action and friction. By overlapping the thread, you are increasing the surface area of the fiber-to-fiber contact. This creates a mechanical bond that resists pulling from multiple directions, making this the strongest row in your sequence.
3. The Raised Chain Stitch
Shift your focus to the three-dimensional aspect of the work. By looping the thread under the needle before pulling it through, you create a series of interconnected ovals. This row adds height and texture to the fabric surface.
Mastery Tip: Watch the ply twist. As you loop the thread, you may inadvertently add or remove twist from the strand. If the thread starts to kink, drop the needle and let it hang freely to untwist. This preserves the tensile strength and prevents the thread from snapping under the pressure of the loop.
4. The Whipped Edge Stitch
This row is about protection. You will wrap a secondary thread around the base of your previous stitches. This creates a "bumper" that shields the structural threads from abrasion and wear.
Mastery Tip: This is a lesson in load distribution. By wrapping the thread, you are spreading the force of any potential snag across multiple points rather than a single stitch. It is the same principle used in high-end cable manufacturing to prevent core failure.
5. The Terminal Lock Row
The final row is a series of tiny, nearly invisible stitches that lock the entire piece in place. You are essentially "weaving in" the ends to ensure that the friction of the fabric itself holds the thread.
Mastery Tip: Utilize the porous nature of the linen. By sliding the needle through the center of the fabric's weave rather than through the holes, you are using the natural grip of the fibers to create a permanent mechanical lock without the need for a bulky knot.
THE TECHNICAL LEDGER
Maintenance & Longevity: To ensure your work lasts for decades, avoid exposing it to direct UV light, which can degrade natural fibers through photo-oxidation. If the piece becomes soiled, use a pH-neutral detergent and cool water to prevent the fibers from swelling and distorting your tension.
Material Variations: For a sustainable approach, use recycled sari silk or organic bamboo threads. If you want a premium finish, 24k gold-wrapped thread offers unparalleled luster and weight, though it requires a larger needle gauge to prevent the metal from stripping.
The Correction:
- Puckering: If the fabric bunches, use the blunt end of your needle to gently redistribute the tension along the row.
- Thread Fraying: If the thread begins to pill, apply a small amount of beeswax to the strand to smooth the fibers and reduce friction.
- Skipped Holes: If you miss a point in the weave, do not try to "fudge" it. Back out the stitches to the error point to maintain the mathematical symmetry of the row.
Studio Organization: Store your project in a breathable cotton bag or an acid-free archival box. Never store your needle in the fabric, as it can cause "needle rust" or permanent holes if the humidity shifts. Use a dedicated magnet tray for your tools to prevent loss.
THE FINAL REVEAL
Look at that! You have successfully navigated the complex physics of fiber and tension. The finished piece should feel substantial in your hand; a perfect marriage of soft linen and rigid, rhythmic thread. Those five rows are more than just a pattern; they are a physical record of your focus and a testament to your technical skill. The way the light catches the mercerized cotton creates a subtle shimmer that only comes from perfect tension. You have built something that is both structurally sound and aesthetically calming. Take a second to run your thumb over the rows; feel that texture? That is the sound of a job well done and a mind finally at ease.
STUDIO QUESTIONS
How do I prevent my thread from tangling?
Keep your thread length under 20 inches. Use a beeswax conditioner to coat the fibers, which reduces static electricity and smooths the cuticle of the thread, allowing it to glide through the fabric without catching on itself.
What is the best fabric for beginners?
A 14-count Aida cloth or a medium-weight linen is ideal. These fabrics have a visible, consistent grid that helps you maintain even spacing and tension while you are still developing your muscle memory and hand-eye coordination.
Can I use regular sewing thread?
Standard sewing thread is often too thin for decorative repetitive stitching. It lacks the ply density required to create a visible texture. Opt for embroidery floss or pearl cotton to ensure your rows have the necessary structural presence.
How do I fix a knot on the back?
Do not pull it! Use a seam ripper or the tip of your needle to gently tease the knot apart. If it is beyond repair, cut the thread, weave the ends into the fabric, and start a new strand.
Why does my hand cramp while stitching?
Cramping usually indicates a "death grip" on the needle. Focus on ergonomic positioning; keep your shoulders relaxed and use a hoop stand to free up both hands. This reduces the mechanical strain on your small finger joints.

