
Grab your favorite mug of tea and clear the workbench because we are diving into the beautiful, chaotic world of wool sculpting. There is something intoxicating about the tactile resistance of raw roving; it is a springy, chaotic mess of protein fibers just waiting for structure. When you engage in Repetitive Felt Poking, you are essentially acting as a microscopic architect. You are using barbed steel to force scales on individual wool shafts to lock together like biological Velcro. The sound is a rhythmic crunch, a satisfying "crunch-crunch-crunch" that signals the air is being driven out of the mass. We are not just making cute animals; we are manipulating fiber density and structural integrity through sheer mechanical force. It is a high-energy dance between your wrist and the wool, where every strike of the needle increases the tensile strength of your creation. We are going to transform a loose cloud of fluff into a solid, heirloom-quality sculpture that feels as dense as a tennis ball but as soft as a dream.
THE STUDIO KIT
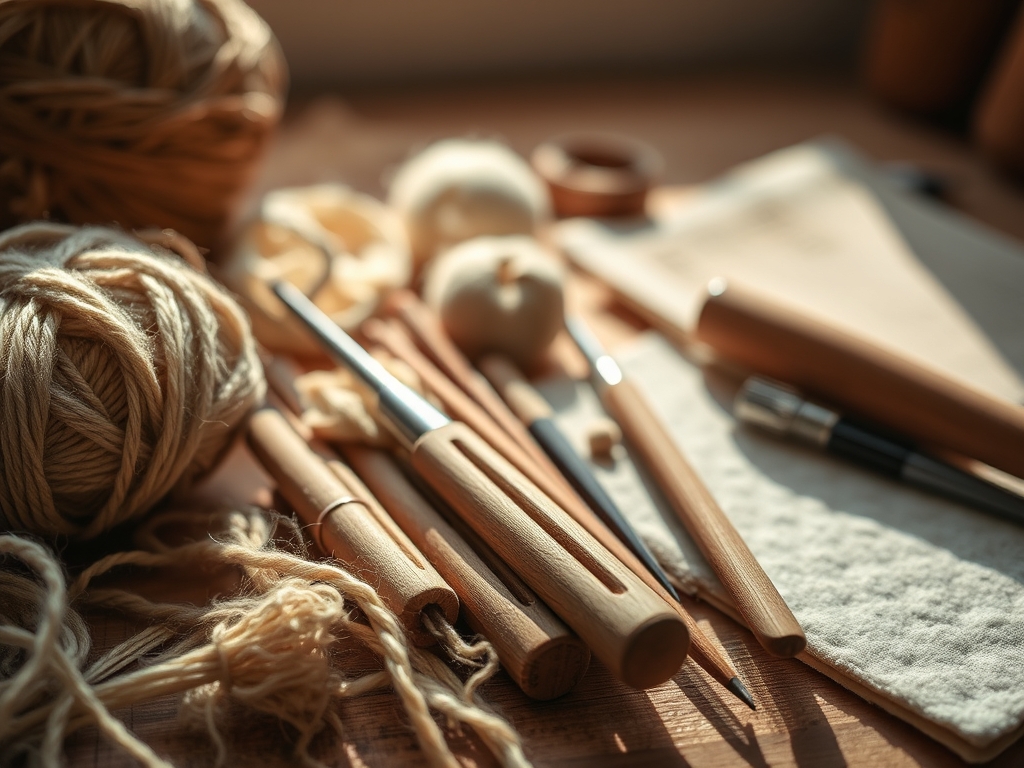
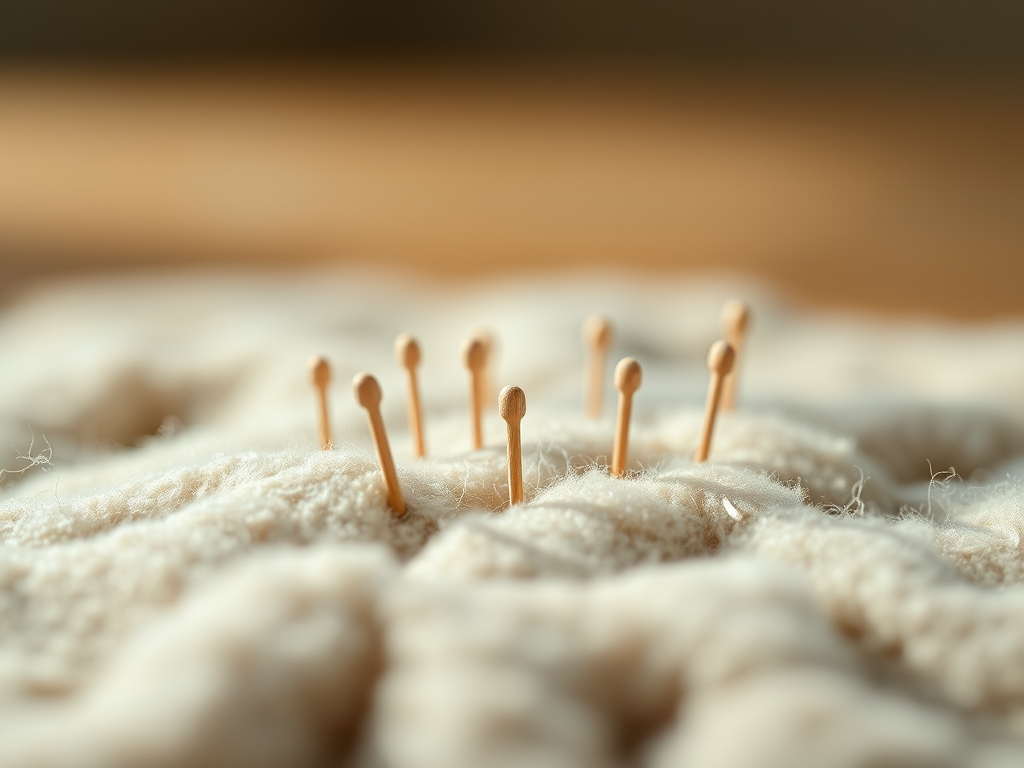
To master this craft, you need more than just enthusiasm; you need a precision toolkit that respects the physics of fiber. Your primary weapon is the felting needle, a high-carbon steel tool with microscopic barbs cut into the edges. Unlike a sewing needle, these are designed to push fibers down and pull them back up to create a permanent entwinement. You will also need a high-density foam pad or a burlap rice bag to act as your sacrificial surface. This prevents your needles from snapping against a hard table. For measuring symmetry in your animals, keep a pair of calipers nearby. It is the only way to ensure those tiny legs are the exact same diameter.
Material Substitutions: If you run out of core wool, you can use clean polyester fiberfill as a base, though it lacks the "grab" of natural scales. In a pinch, a dense upholstery sponge can replace a professional felting mat, but avoid open-cell sponges that might trap your wool fibers forever. For smoothing out the surface, a bone folder or even the back of a metal spoon can be used to burnish the final layer, laying down any stray "frizz" for a professional finish.
THE TEMPO
The "Maker's Rhythm" is a real psychological state where your brain waves sync with the frequency of your needle strikes. For a standard four-inch animal, expect a total time investment of six to eight hours. The initial "bulk phase," where you create the core shapes, takes about forty percent of your time. This is high-velocity work. The "shaping phase" requires more deliberate, angled pokes to define musculature and features, taking another thirty percent. The final thirty percent is dedicated to "surface finishing," which is a slow, meditative process of tucking in every stray fiber. If you rush the bulk phase, your animal will feel squishy and prone to sagging over time. Patience is your best technical asset.
THE CORE METHOD
1. Building the Core Foundation
Start by tightly rolling your core wool into a cylinder or sphere. Use a heavy 36-gauge triangular needle for the initial attachment. The goal here is to create a "firm-soft" density. If you can squeeze the shape and it collapses completely, you need more Repetitive Felt Poking.
Mastery Tip: This stage relies on structural integrity. By poking deeply into the center, you create a dense "heart" that supports the outer layers. Think of it as building the skeleton and muscles simultaneously.
2. Refining the Geometry
Once the bulk is established, switch to a 38-gauge star needle. This needle has four sides of barbs, making it more efficient at moving fiber without leaving large puncture holes. Use your calipers to check the proportions against your reference sketch.
Mastery Tip: Pay attention to the compression ratio. Wool will shrink significantly as it felts. You must over-bulk your initial shape by roughly twenty percent to account for the loss of volume during the consolidation process.
3. Adding the Color Skin
Take your dyed roving and pull it into thin, translucent wisps. Lay them over the core and use a 40-gauge spiral needle. The twist in the needle blade helps wrap the colored fibers around the core fibers, ensuring the "skin" doesn't peel off later.
Mastery Tip: This is about surface tension. By using a finer needle, you are anchoring the color without disrupting the dense core you already built. It creates a smooth, paint-like finish.
4. Sculpting Fine Details
For ears, eyelids, or tiny paws, use a 42-gauge crown needle. These only have barbs at the very tip, allowing you to work on the surface without pushing the needle all the way through the piece. This prevents you from distorting the shape of the head while adding a nose.
Mastery Tip: Use an awl to create a pilot hole before inserting glass eyes or wire armatures. This prevents the internal fibers from bunching up and causing a "bruise" or lump on the surface of your sculpture.
5. The Final Burnish
After all fibers are secured, the piece might still look a bit fuzzy. Take a single 42-gauge needle and shallowly poke any flyaways. For a truly professional look, use a pair of fine embroidery scissors to "shave" the surface, followed by a light steam from an iron held an inch away.
Mastery Tip: The steam causes the protein bonds in the wool to relax and then reset, effectively heat-setting your sculpture and giving it a soft, matte sheen that looks incredibly lifelike.
THE TECHNICAL LEDGER
Maintenance & Longevity: Felting needles are brittle. To prevent breakage, always enter and exit the wool at the same angle. If you feel resistance, do not pry; pull back and realign. Wipe your needles with a microfiber cloth after each session to remove skin oils which can cause oxidation.
Material Variations:
- Sustainable: Use undyed "scoured" wool from local farms to reduce the carbon footprint of chemical dyes.
- Recycled: Old 100% wool sweaters can be shredded and used as core bulk.
- Premium: Merino wool offers a high micron count for ultra-smooth finishes, while Corriedale is the "workhorse" fiber with the perfect grip for beginners.
The Correction:
- The "Swiss Cheese" Look: If your piece is covered in visible holes, you are using too heavy a gauge. Switch to a 40 or 42-gauge needle and poke at an angle to "knit" the holes shut.
- Soft Spots: If one area is squishy, it lacks internal density. Use a multi-needle tool to rapidly increase the fiber lock in that specific zone.
- Asymmetry: If an ear is too large, you don't have to cut it. Increase the frequency of your Repetitive Felt Poking in that area to shrink the wool through higher compression.
Studio Organization: Store your wool in airtight clear bins to prevent dust accumulation and moth infestations. Keep your needles in a "needle book" or a magnetic tray organized by gauge. High humidity can make wool "limp," so keep a silica packet in your storage bins to maintain the fiber's natural loft.
THE FINAL REVEAL
There is nothing quite like the moment you step back and see a personality staring back at you from the foam pad. Your finished animal should feel sturdy, balanced, and surprisingly heavy for its size. When you run your fingers over the surface, it should feel like a single, cohesive unit rather than a collection of loose hairs. The transition between colors should be seamless, and the anatomy should hold its shape even when squeezed. You have successfully turned a pile of fluff into a permanent piece of fiber art through the power of physics and persistence.
STUDIO QUESTIONS
What are the 5 needle sizes for repetitive felt poking?
The five essential sizes are 32-gauge (heavy bulk), 36-gauge (shaping), 38-gauge (refining), 40-gauge (detail), and 42-gauge (finishing). Each gauge represents the thickness of the needle; higher numbers indicate thinner needles for finer work and smaller puncture marks.
How do I stop my needles from breaking?
Always insert and withdraw the needle at the exact same angle. Avoid "prying" or bending the needle while it is inside the wool. Ensure you are using a high-density foam mat to provide a soft landing for the needle tip.
Why is my felted animal so fuzzy?
Fuzziness occurs when surface fibers are not fully anchored. Use a fine 42-gauge needle for shallow surface poking. You can also lightly trim the surface with sharp embroidery scissors or use a handheld steamer to settle the stray fibers.
Can I use any type of wool for felting?
While most wool felts, "short staple" fibers like Corriedale or Romney are best for beginners because they lock quickly. Long-staple fibers like Merino are beautiful but can be slippery and require more patience during the initial core-building phase.
How do I clean a needle-felted animal?
Never submerge your sculpture in water, as it will lose its shape. Use a soft-bristled brush to gently whisk away dust. For localized stains, use a damp cloth with a tiny amount of wool-safe detergent and air dry completely.

