
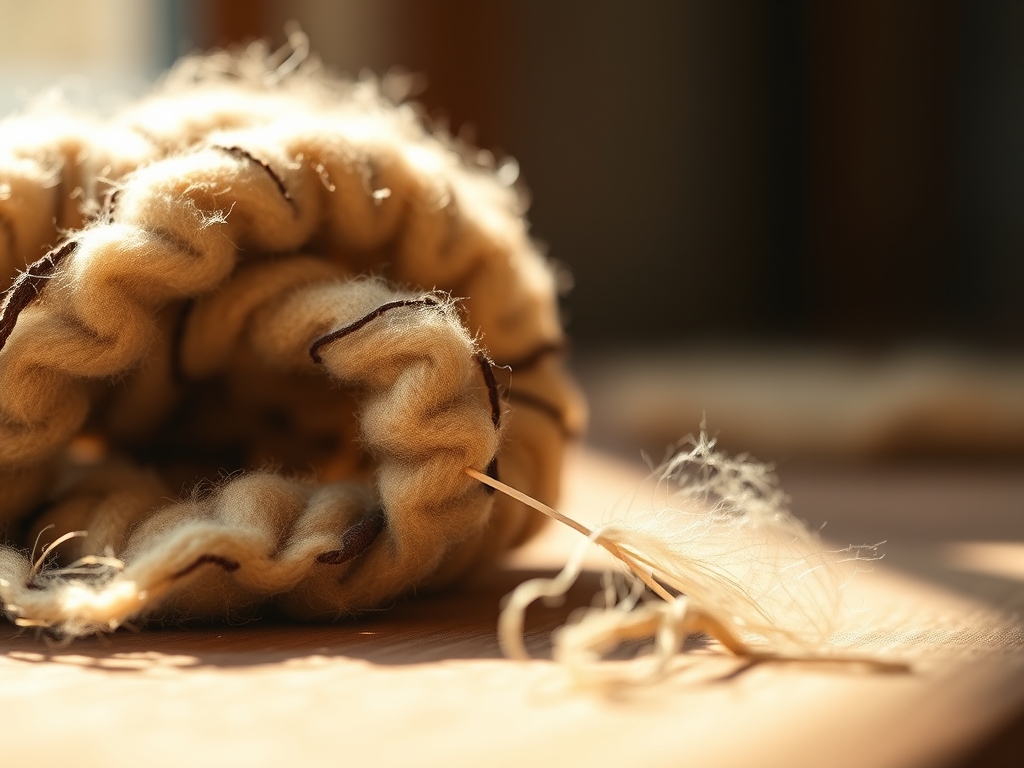
The scent of cedar shavings and ionized air hits you the moment the door swings open. You feel that familiar hum in your chest; it is the anticipation of a project that demands your absolute presence. To reach that elusive flow state, your eyes need more than just brightness. You need Focused Studio Lighting to eliminate the visual noise that distracts your brain from the grain of the wood or the weave of the fiber. When your pupils do not have to constantly adjust to shifting shadows, your prefrontal cortex can finally relax into the task at hand. Imagine the tactile sensation of a high gauge copper wire or the smooth, cool surface of a polished marble slab under a perfectly positioned beam. The physics of light reflection dictates that a concentrated light source reduces the cognitive load required to process fine details. By isolating your workspace, you create a psychological "cone of silence" where only you and your materials exist. It is about more than visibility; it is about creating a sensory vacuum where your craft becomes the only reality.
THE STUDIO KIT

To master Focused Studio Lighting, you must understand the interplay between lumens and the Color Rendering Index (CRI). Your kit starts with a high CRI LED lamp, ideally rated at 95 or above, to ensure that the pigments in your materials appear true to life. You will need a weighted boom arm for ergonomic positioning; this allows you to manipulate the light source without fighting gravity. Keep a set of calipers nearby to measure the distance between the light and your workpiece, as the inverse square law means that doubling the distance quarters the intensity. For diffusion, professional grade spun polyester gels are essential to soften harsh shadows without shifting the color temperature.
Material Substitutions: If you lack professional gels, a piece of high quality parchment paper can act as a heat resistant diffuser. Instead of a commercial boom arm, a sturdy architect lamp with a reinforced spring system can provide similar maneuverability. If you are working with reflective metals, swap your standard bulbs for frosted globes to reduce the "hot spot" glare that can cause eye fatigue during long sessions.
THE TEMPO
The "Maker's Rhythm" is a three phase cycle that aligns your biological clock with your project requirements. The first phase is the Calibration Phase, which takes approximately 20 minutes. During this time, you adjust your Focused Studio Lighting to match the specific reflectivity of your materials. The second phase is the Deep Flow Phase, lasting anywhere from two to four hours. This is where the consistency of your light prevents the "flicker vertigo" often associated with cheap fluorescent ballasts. Finally, the Integration Phase lasts 15 minutes, where you dim the lights to allow your eyes to recalibrate to ambient levels, preventing the post craft headache that comes from sudden environmental shifts.
THE CORE METHOD
1. The Primary Task Axis
Position your main light source at a 45 degree angle to your dominant hand. This setup utilizes the physics of specular reflection to ensure that shadows are cast away from your tool path. If you are using a jeweler's saw or a rotary cutter, this angle highlights the kerf or the cut line without blinding you.
Mastery Tip: By placing the light at this specific angle, you take advantage of micro-shadowing. This phenomenon increases the perceived depth of textures, making it easier to see the subtle differences in material density or surface irregularities that a flat, overhead light would wash out.
2. The Fill Light Counterbalance
Introduce a secondary, lower intensity light source on the opposite side of your primary axis. This light should be diffused through a porous silk screen or specialized film. The goal is not to eliminate shadows entirely, which would destroy your depth perception, but to raise the ambient floor of the workspace.
Mastery Tip: This technique manages the dynamic range of your vision. When the contrast between light and dark is too high, the muscles in your iris work overtime to adjust. By narrowing the contrast ratio, you significantly extend your "eyes on" time before fatigue sets in.
3. The Backlit Silhouette for Precision
For tasks involving intricate edges, such as using an awl on heavy leather or a bone folder on high ply cardstock, place a small light source behind the object. This creates a sharp silhouette that defines the structural integrity of the piece.
Mastery Tip: This utilizes the diffraction of light waves around a solid edge. It creates a high contrast "rim" that makes the exact boundary of your material pop, allowing for sub-millimeter accuracy that is impossible under standard top down lighting.
4. Color Temperature Synchronization
Adjust your Focused Studio Lighting to match the natural light of your environment. If you are working in a basement with no windows, stick to a 5600K daylight balance. If you have large windows, use a smart bulb that shifts its Kelvin rating as the sun moves across the sky.
Mastery Tip: This aligns with your circadian rhythm. Blue rich light (higher Kelvin) suppresses melatonin and increases alertness, which is perfect for the "Deep Flow Phase." Matching the external environment prevents the "sensory mismatch" that leads to mental exhaustion.
5. The Non-Reflective Zone
Cover your immediate work surface with a matte black self healing mat or a piece of dark, non-reflective felt. This prevents "bounce light" from hitting the underside of your chin and nose, which is a subtle but constant source of irritation for the brain.
Mastery Tip: This is about controlling stray photons. When light hits a dark, porous surface, the energy is absorbed rather than reflected. This ensures that the only light hitting your retina is coming directly from the workpiece you are trying to master.
6. The Ergonomic Focal Point
Finalize your setup by ensuring the light head is at least 18 inches from your forehead. Use a spirit level to ensure your boom arm is perfectly horizontal; an unlevel arm will slowly drift due to the torque applied to the mounting bracket, disrupting your flow.
Mastery Tip: Maintaining this distance prevents thermal radiation from affecting your comfort. Even LED lights emit a small amount of heat. By keeping the source at a distance, you prevent a localized "hot zone" around your face that can cause dehydration and loss of focus.
THE TECHNICAL LEDGER
Maintenance & Longevity: Clean your light lenses every two weeks using a microfiber cloth and isopropyl alcohol. Dust accumulation on a bulb can reduce lumen output by up to 15 percent and alter the color temperature. Check the tension screws on your boom arm monthly; use a hex key to tighten any joints that show signs of "creep."
Material Variations: For a sustainable studio, look for recycled aluminum lamp housings which offer superior heat dissipation. Premium setups might include OLED panels, which provide a perfectly uniform light distribution without the "multi-shadow" effect seen in some cheaper LED arrays.
The Correction:
- The Glare Ghost: If you see a white spot on your material, your angle of incidence is too steep. Fix: Move the light 10 degrees further to the side.
- The Color Shift: If your blues look green, your CRI is too low. Fix: Swap the bulb for a verified 95+ CRI source.
- The Vibration Blur: If the light shakes when you hammer, your mount is coupled to your table. Fix: Mount the light to a separate floor stand or a wall bracket to isolate it from mechanical shocks.
Studio Organization: Store your portable lighting components in a padded hard case when not in use. Coil cables loosely in a "figure eight" pattern to prevent internal wire fatigue and maintain the tensile strength of the protective shielding.
THE FINAL REVEAL
Look at that workspace! It is a masterpiece of optical engineering. The way the light catches the burnished edges of your project makes every detail sing with professional clarity. You have transformed a simple desk into a high performance laboratory where physics and creativity shake hands. With your Focused Studio Lighting dialed in, you are no longer just making; you are vibrating at the same frequency as your craft. The clarity is breathtaking, the shadows are purposeful, and your brain is finally quiet enough to let your hands do the talking.
STUDIO QUESTIONS
How do I stop my light from flickering?
Ensure you are using a high quality constant current driver. Cheap LEDs use pulse width modulation which creates invisible flickers. Upgrading to a "flicker free" rated bulb will stabilize the output and protect your eyes from neurological strain.
What is the best light for color matching?
Look for a light with a 95+ CRI and a color temperature of 5000K to 5600K. This range mimics natural midday sunlight, providing the most accurate representation of the visible spectrum for paints, dyes, and textiles.
Can I use Focused Studio Lighting for photography?
Yes, but you must manage the shutter speed of your camera. If your light uses a low frequency driver, you may see "banding" in your photos. Using a diffused, high CRI source will make your finished pieces look professional.
Is warm light or cool light better for focus?
Cooler light (5000K and up) is superior for focus as it mimics daylight and boosts serotonin levels. Warmer light (2700K) is better for relaxation but can make your eyes feel heavy during intricate, high precision tasks.

