Imagine the sensation of a cold, velvet-textured block resting in your palm while the rhythmic scrape of a steel rasp echoes through your studio. We are diving deep into the world of repetitive stone carving today. This is not about the monumental marble statues of antiquity; it is about the meditative, high-frequency practice of shaping small, palm-sized forms. When you engage in repetitive stone carving, your hands learn the unique resistance of every mineral grain. You start to anticipate how the stone will yield before the tool even touches the surface. The goal here is to master the tactile feedback of soft minerals, where the material behaves more like dense butter or compressed chalk than rigid rock. We are looking for that perfect intersection of low Mohs hardness and high structural integrity. This allows for intricate detailing without the risk of catastrophic cleavage planes ruining your work halfway through. Grab your apron and tie back your hair; we are about to turn dust into high-art miniatures.
THE STUDIO KIT
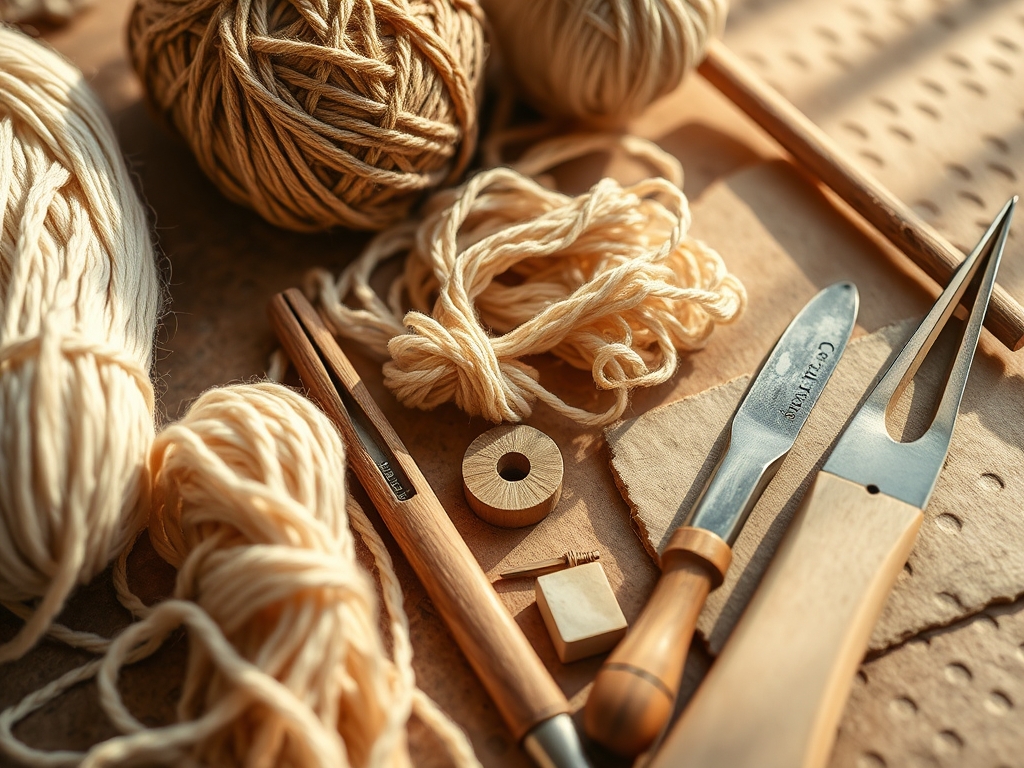
To succeed in repetitive stone carving, your toolkit must be as precise as your vision. You will need a set of diamond-grit needle files for refining tight radii and a tungsten carbide scriber for initial layout lines. Unlike woodworking, where you follow a grain, stone requires you to manage dust and friction. A high-quality N95 respirator is non-negotiable because the particulates from minerals like chlorite or talc are microscopic and hazardous to your lungs. You should also have a bench pin to stabilize your work and a set of digital calipers to ensure your repetitive forms remain consistent in dimension.
For material substitutions, if you cannot find high-grade Alabaster, look for architectural plaster blocks or high-density polyurethane modeling foam. While these are not minerals, they mimic the carving resistance of soft stone and are excellent for prototyping complex geometries before moving to expensive raw materials. Always keep a small squeeze bottle of water nearby. Wet sanding is the secret to a professional finish; it prevents the stone from overheating and keeps the dust suppressed.
THE TEMPO
The maker's rhythm in stone carving is a three-act play: the reduction, the refinement, and the burnish. For a small sculpture roughly three inches in height, expect to spend about two hours in the "bulk reduction" phase. This is where you use heavy rasps to remove the excess mass. The "refinement" phase is the longest, often taking four to six hours of focused work with rifflers and sandpaper to achieve perfect symmetry. Finally, the "burnish" or polishing phase takes about an hour.
This rhythm is cyclical. You will find that repetitive stone carving induces a flow state where your breathing synchronizes with the stroke of the file. The "tempo" is determined by the stone's hardness. A soft soapstone allows for a faster cadence, while a denser alabaster demands a slower, more deliberate approach to prevent the tool from skipping and scarring the surface.
THE CORE METHOD
1. Selecting Your Mineral Substrate
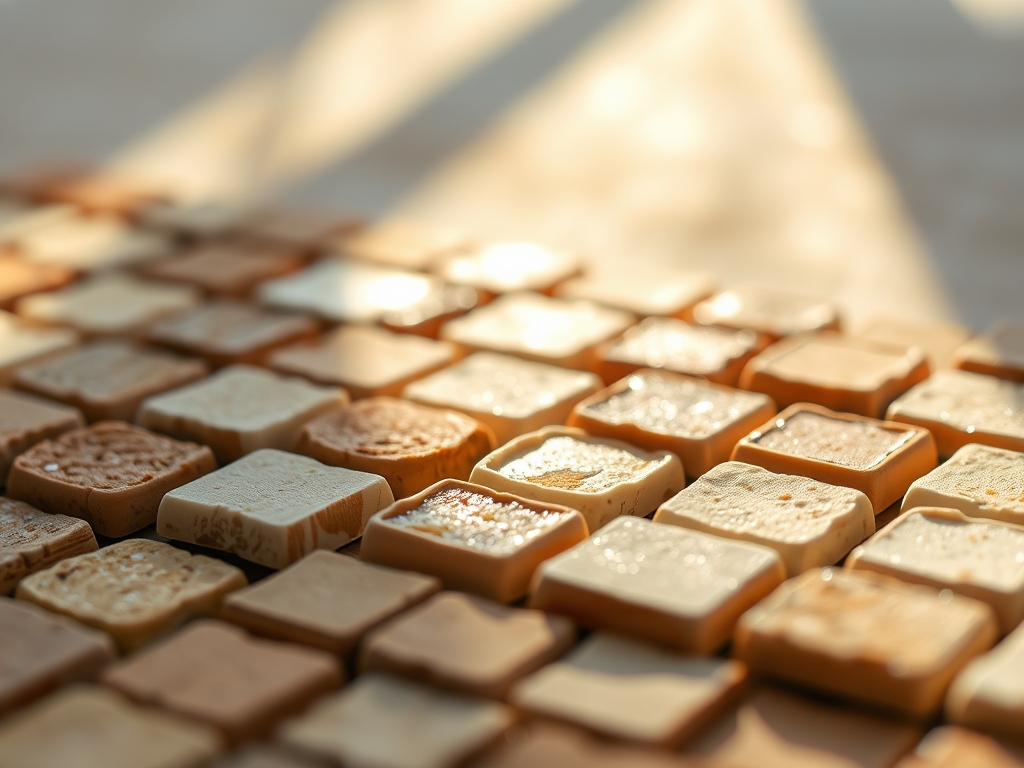
The first step is choosing from the elite eight: Soapstone, Alabaster, Pyrophyllite, Selenite, Lepidolite, Chlorite, Steatite, and Wonderstone. Each has a Mohs hardness between 1 and 3.5. Examine the stone for "vugs" or internal fractures.
Mastery Tip: Check the specific gravity of your piece by weighing it. A stone that feels lighter than its volume suggests may have hidden air pockets or internal fissures that will cause it to shatter under the pressure of a chisel.
2. Mapping the Geometry
Use your tungsten scriber to mark your primary axes. Because repetitive stone carving relies on consistency, you must establish a "datum" or a fixed reference point on the stone from which all measurements are taken.
Mastery Tip: Use a contour gauge to duplicate shapes across multiple pieces. This ensures that the structural integrity of your series remains uniform, preventing thin sections from becoming brittle points of failure.
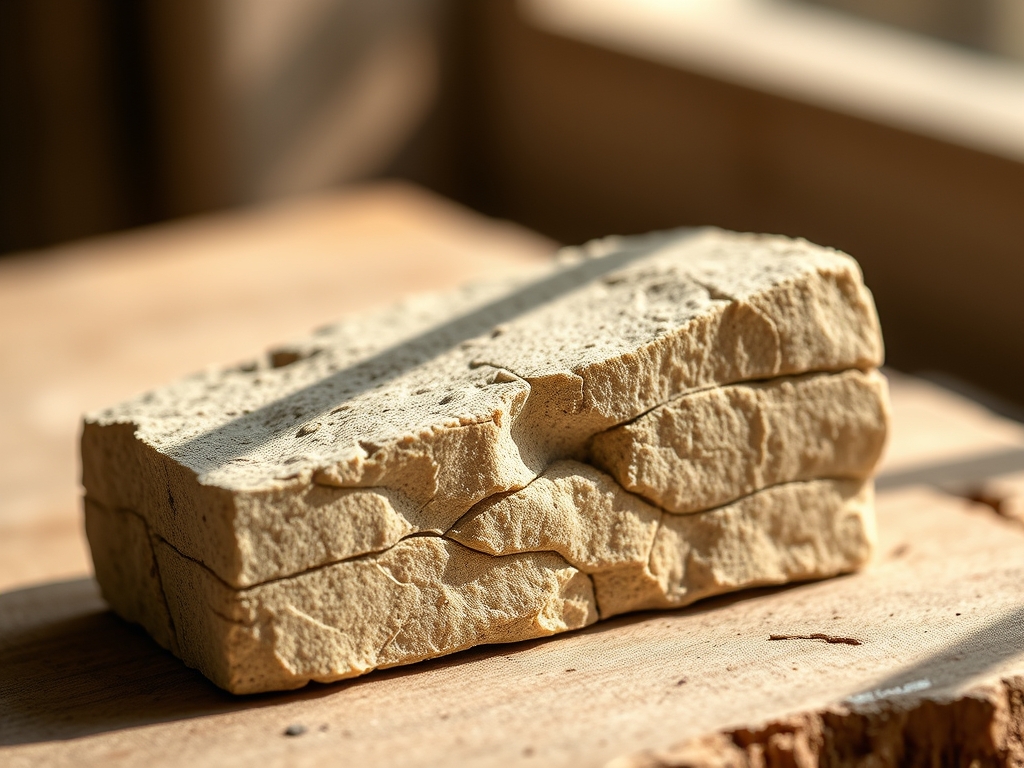
3. Bulk Reduction and Squaring
Using a coarse rasp, remove the corners of your block to create a "round." Work from the edges toward the center to avoid "spalling," which is when the edge of the stone chips off unexpectedly due to the lack of lateral support.
Mastery Tip: This stage relies on compressive strength. Always support the back of the stone against a leather sandbag to absorb the kinetic energy of your strokes, which prevents the stone from snapping under tension.
4. Detail Refinement with Rifflers
Switch to your needle files and rifflers. This is where the repetitive stone carving becomes an exercise in muscle memory. Use light, unidirectional strokes. If you scrub back and forth, you risk creating "chatter marks" that are difficult to sand out later.
Mastery Tip: Pay attention to surface tension. As you smooth the stone, the friction generates heat. If the stone feels warm, stop. Rapid thermal expansion can cause micro-cracks in sensitive minerals like Selenite.
5. Progressive Wet Sanding
Start with 200-grit wet/dry sandpaper and move up to 2000-grit. The water acts as a lubricant and a carrier for the stone slurry. This slurry actually helps polish the stone by acting as a fine abrasive paste.
Mastery Tip: This process utilizes capillary action. The water draws the finest dust particles out of the stone's pores, allowing the light to penetrate deeper into the mineral and creating that coveted translucent glow.
6. Final Burnish and Sealing
Once the stone is sanded to a mirror finish, use a piece of felt or a soft leather chamois to burnish the surface. For many soft minerals, a coat of natural beeswax or microcrystalline wax will protect the surface from oils and moisture.
Mastery Tip: The wax creates a hydrophobic barrier. Because soft minerals are often porous, they can absorb oils from your skin, which leads to discoloration over time. Sealing the stone preserves its natural hue.
THE TECHNICAL LEDGER
Maintenance & Longevity: Soft stone sculptures are delicate. Avoid placing them in direct sunlight, as UV rays can dehydrate minerals like Selenite, causing them to become opaque and brittle. Clean only with a dry, soft-bristled brush.
Material Variations:
- Sustainable: Look for "quarry tailings" or scrap pieces from local countertop manufacturers.
- Premium: Translucent Italian Alabaster offers the highest light-refraction quality.
- Recycled: Reclaimed slate or soapstone sinks can be broken down into carving blocks.
The Correction:
- The Over-Cut: If you remove too much material, use a mixture of stone dust and cyanoacrylate (super glue) to create a structural filler.
- The Surface Scratch: If a deep scratch appears during polishing, you must drop back down two sandpaper grits. You cannot "buff out" a deep scratch with high-grit paper.
- The Fracture: For a clean break, use a two-part epoxy. Clamp the pieces with surgical tubing to provide even, circumferential pressure while the bond cures.
Studio Organization: Store your raw mineral blocks in a climate-controlled environment. Drastic humidity shifts can cause "heaving" in porous stones. Keep your files in a tool roll to prevent the teeth from dulling against one another.
THE FINAL REVEAL
Look at that! You have successfully navigated the physics of the earth to create something beautiful. The finished piece should feel balanced and ergonomic in the hand. When you hold it up to the light, the edges should have a slight translucency, showing off the internal grain you worked so hard to respect. Repetitive stone carving is a journey of patience; you have effectively sped up the process of erosion by a million years using nothing but your hands and a few steel tools. The result is a tactile treasure that feels as ancient as the bedrock it came from.
STUDIO QUESTIONS
What is the best stone for a total beginner?
Soapstone is the gold standard for beginners. It has a Mohs hardness of 1, meaning you can carve it with basic steel tools or even heavy-duty kitchen knives. It is incredibly forgiving and takes a high polish with minimal effort.
How do I prevent my stone from cracking?
Always work with the stone supported on a padded surface like a sandbag. Avoid using hammers or heavy mallets on soft minerals. Instead, rely on the steady, consistent pressure of rasps and files to remove material without introducing shockwaves.
Can I carve stone inside my house?
Only if you use "wet" methods and a high-quality vacuum system. Stone dust is highly invasive and can damage electronics or your lungs. Always wear a respirator and use water to keep the dust contained in a slurry.
Why did my stone turn white after sanding?
This is usually "bruising" or "stunning." It happens when you apply too much pressure, crushing the internal crystal structure of the mineral. To fix it, you must sand past the bruised layer using a coarse grit and start again.
What tools are essential for tiny details?
A set of diamond-coated needle files and a jeweler's saw are essential. The diamond grit allows you to cut in any direction without catching on the stone's grain, while the jeweler's saw is perfect for creating deep, narrow decorative channels.