Imagine the sharp, metallic scent of cold copper meeting the heavy heat of a propane torch; it is a scent that lingers in the air like a secret. You are standing over a polished steel anvil, and the weight of the cross-peen hammer feels like an extension of your own arm. This is the art of repetitive metal hammering, a process where brute force meets surgical precision to transform a flat, lifeless disc into a functional piece of art. There is a specific frequency to the work; a high-pitched ping that vibrates through your marrow as the metal begins to yield. We are not just hitting things today. We are navigating the molecular lattice of non-ferrous alloys, forcing atoms to slide past one another until they form the graceful curve of a rustic bowl. It is a dance of heat, pressure, and sound that demands your total presence. If you miss a beat, the metal remembers. If you find the rhythm, the copper flows like water under your hands.
THE STUDIO KIT
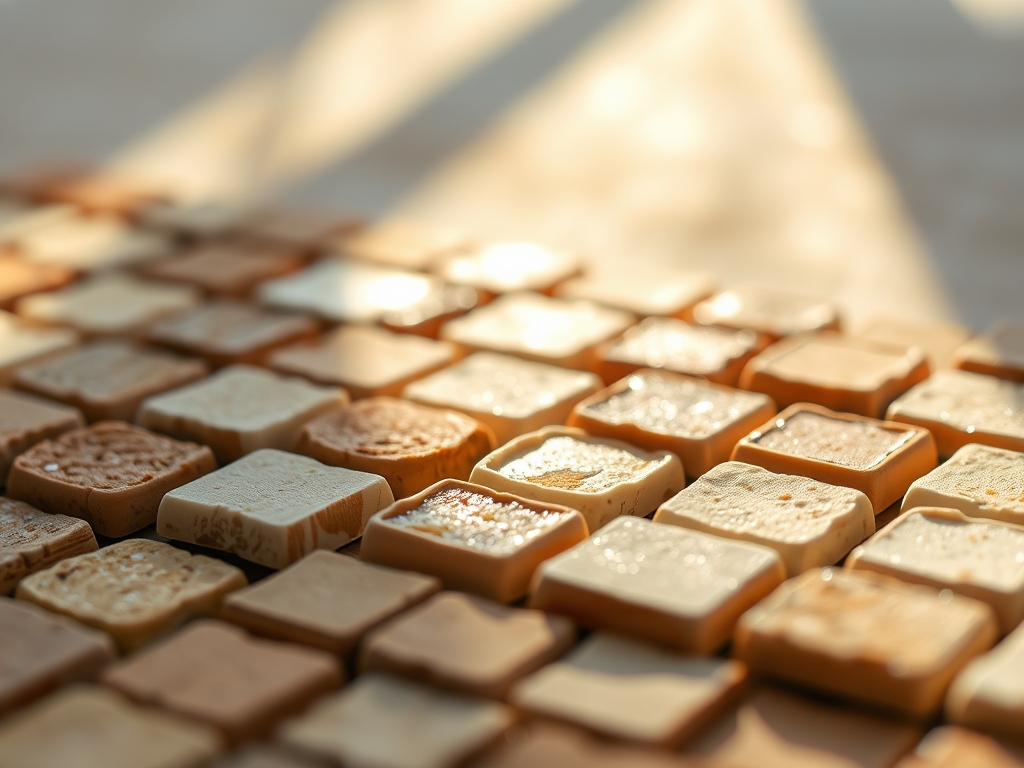
To master this craft, you need a kit that respects the physics of impact. Your primary material is a 24-gauge copper sheet, chosen for its high ductility and beautiful oxidation potential. You will also need a ball-peen hammer for deep texture and a planishing hammer with a mirror-polished face to smooth out the ridges. A leather sandbag or a wooden sinking block serves as your workspace; these materials absorb the shock while allowing the metal to "cup" without thinning too quickly.
For precision, keep a pair of digital calipers nearby to monitor the thickness of the rim as it compresses. You will also need a jeweler's saw with 2/0 blades for trimming the perimeter and a bench block for flattening the base. If you cannot find copper, a material substitution of aluminum is possible, though it lacks the same tensile strength and requires a much lighter touch to avoid tearing. For a premium upgrade, sterling silver offers incredible luster but requires frequent annealing due to its rapid work-hardening rate.
THE TEMPO
The "Maker's Rhythm" is a three-act play that spans roughly four to six hours for a medium-sized bowl. The first hour is the sinking phase, where you establish the primary depth. This is loud, fast, and physically demanding. The second phase is the annealing cycle, which happens repeatedly; every twenty minutes of hammering requires five minutes of heating to reset the metallic grain. The final two hours are dedicated to planishing and finishing. This is the meditative part of the process where the strikes are light, rapid, and overlapping. Think of it like a heartbeat; the faster and more consistent your tempo, the more professional the finish.
THE CORE METHOD
1. Scribing the Radius
Begin by using a steel compass or a scribe to mark a perfect circle on your copper sheet. Once marked, use your jeweler's saw to cut the disc, ensuring the edges are burr-free. A rough edge creates stress points that can lead to cracking during the hammering process.
Mastery Tip: The science here involves crack propagation. Even a microscopic nick on the edge acts as a stress concentrator; filing the edges smooth ensures the structural integrity of the metal remains intact as it stretches.
2. The First Anneal
Light your torch and move the flame in a circular motion until the copper turns a dull cherry red. This process, known as annealing, rearranges the crystalline structure of the metal, making it soft and workable again. Immediately quench the piece in a pickle solution to remove the fire scale.
Mastery Tip: This step utilizes thermal energy to relieve internal stresses. When you hammer metal, you create dislocations in the atomic lattice; heating it allows those atoms to migrate back into a relaxed state.
3. Sinking the Center
Place the disc over the center of your sandbag. Using the round end of your ball-peen hammer, begin striking the center of the metal. Work in a spiral pattern, moving from the center toward the outer edge. This is the foundation of repetitive metal hammering.
Mastery Tip: This is about displacement. You are not just thinning the metal; you are pushing the volume of the material into a new geometric plane. The sandbag provides counter-resistance that prevents the metal from bouncing.
4. Raising the Walls
Switch to your sinking block. Tilt the bowl at a slight angle and strike the metal just above where it touches the wood. This technique "raises" the sides by compressing the metal inward. Keep your strikes consistent in weight to ensure even wall thickness.
Mastery Tip: This phase relies on compressive stress. By hitting the metal against a hard surface at an angle, you are forcing the circumference of the disc to shrink, which naturally pushes the walls upward.
5. Leveling the Rim
As the bowl takes shape, the rim will become wavy. Use a rawhide mallet and a flat steel block to gently tap the rim back into a level plane. Check your progress frequently with your calipers to ensure one side isn't becoming significantly thinner than the other.
Mastery Tip: The rawhide mallet is essential here because it has a lower Mohs hardness than the copper. It allows you to move the metal without leaving unsightly "beauty marks" or further work-hardening the edge.
6. Planishing for Surface Tension
Once the shape is finalized, switch to your planishing hammer. Start at the bottom center and deliver light, overlapping blows. Each strike should slightly overlap the previous one, creating a "honeycomb" of tiny, shimmering facets across the surface.
Mastery Tip: Planishing increases the surface tension and hardness of the bowl. This final round of repetitive metal hammering makes the vessel rigid and durable enough for daily use.
7. The Acid Bath
Submerge the finished bowl in a spare pickle or a mild citric acid solution to remove the last of the oxidation. This reveals the true, bright salmon color of the copper. Rinse thoroughly with water and a neutralizing agent like baking soda.
Mastery Tip: The acid works through chemical reduction, stripping away the copper oxides without attacking the base metal. This ensures a pristine surface for the final polish or patina application.
8. Burnishing and Polishing
Use a steel burnisher or high-grit sandpaper to smooth the rim. For a rustic look, you can apply a liver of sulfur patina to darken the recesses of the hammer marks, then buff the highlights with a soft cloth and polishing compound.
Mastery Tip: Burnishing is a form of friction-based finishing. It flattens the microscopic peaks of the metal surface, which increases light reflectivity and creates that professional "studio" glow.
THE TECHNICAL LEDGER
Maintenance & Longevity
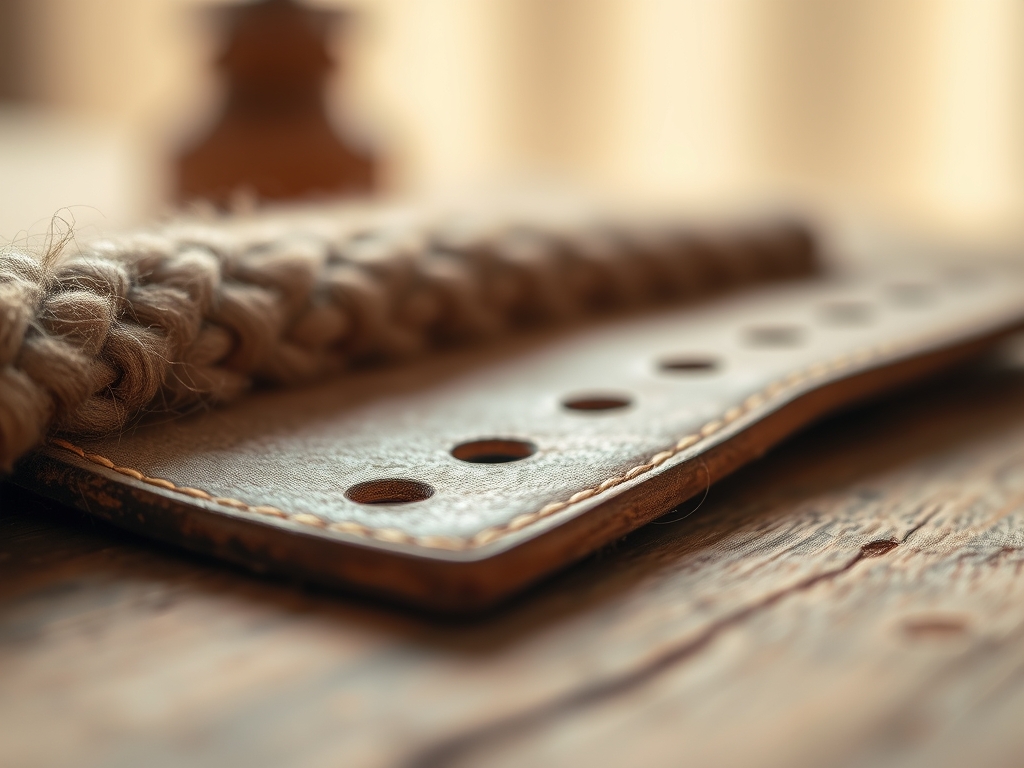
Copper is a reactive metal. To prevent unwanted verdigris (green oxidation), apply a thin coat of microcrystalline wax. This creates a moisture-resistant barrier that preserves the "bright" finish. Store your tools in a low-humidity environment; steel anvils should be wiped with a light machine oil to prevent pitting.
Material Variations
For a sustainable approach, source recycled roofing copper. It is often a heavier gauge, providing excellent resistance for deep bowls. If you want a premium feel, phosphor bronze offers incredible strength and a unique golden hue, though it is significantly harder to hammer than pure copper.
The Correction
- The Problem: The metal is cracking at the edges. The Fix: You waited too long between anneals. File the crack out immediately and re-anneal before continuing.
- The Problem: The bowl is lopsided. The Fix: Use a surface gauge to mark a level line around the bowl and trim the excess with your jeweler's saw.
- The Problem: Deep, ugly gouges from the hammer. The Fix: Your hammer face is dirty. Sand the hammer head with 1000-grit paper until it is a mirror finish.
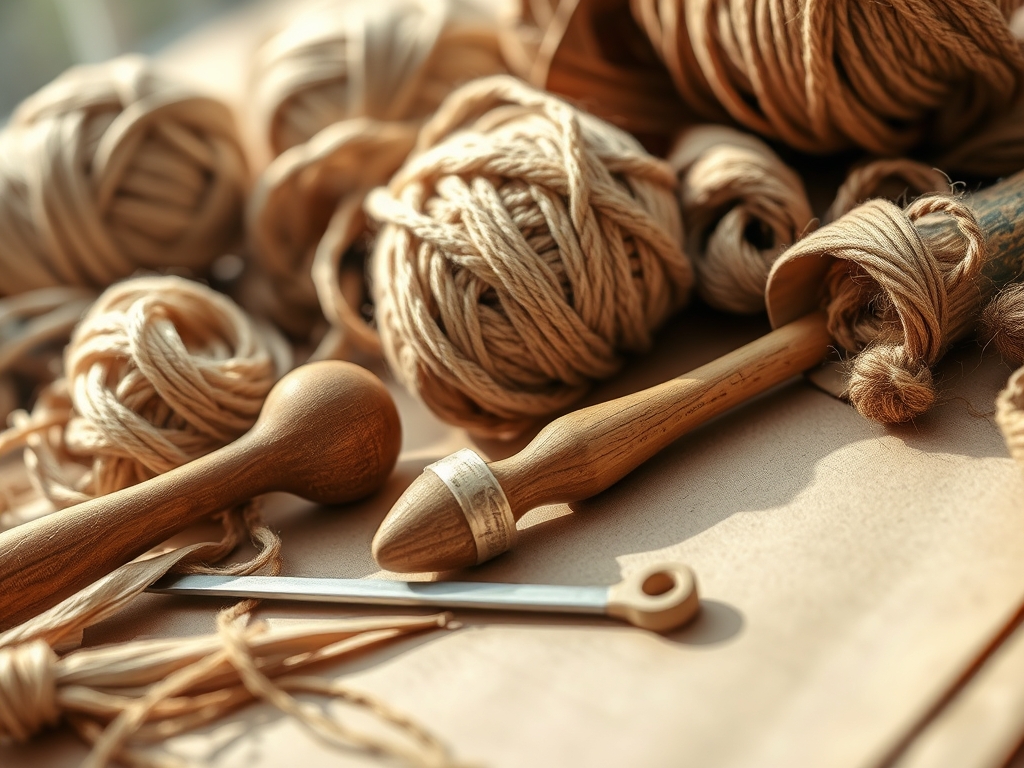
Studio Organization
Store your copper sheets vertically to prevent surface scratches. Use a dedicated "hammer rack" to keep your striking faces from touching other metal tools. This prevents accidental dings that would be transferred to your work during the hammering process.
THE FINAL REVEAL
There is nothing quite like the weight of a finished rustic bowl in your hands. After hours of repetitive metal hammering, the piece feels alive; it has a resonance and a "ring" that factory-made items simply cannot replicate. The facets catch the light in a thousand different directions, telling the story of every strike and every breath you took at the anvil. It is sturdy, soulful, and scientifically sound. You have taken a flat, cold element and breathed life into it through the simple physics of impact.
STUDIO QUESTIONS
Why does the metal get harder as I hammer it?
This is called work-hardening. As you strike the metal, the internal crystal grains compress and lock together. This increases the material's yield strength but makes it brittle, requiring heat to reset the structure.
How do I know when it is time to anneal?
Listen to the sound. Soft copper has a dull "thud" when struck. As it work-hardens, the pitch rises to a sharp "ping." When the metal feels springy or resists the hammer, it is time for the torch.
Can I use a regular carpenter's hammer?
No. Carpenter's hammers have a textured or slightly convex face designed for nails. For metalwork, you need a polished, hardened steel face to avoid leaving deep, irreparable gashes in your soft copper sheet.
What is the best way to clean fire scale?
Use a "pickle" solution, which is a mild acid. You can make a safe, sustainable version using warm vinegar and salt. This dissolves the black cupric oxide layer without the need for harsh industrial chemicals.