Imagine the crisp, cool friction of a high-quality liner brush gliding across a vertical plane of silica. There is a specific, addictive resistance when the pigment meets the pane; it is a microscopic dance of surface tension and fluid dynamics. We are diving deep into the world of Meditative Glass Painting today. This practice is not just about aesthetics. It is a calculated sensory experience designed to synchronize your breath with the viscosity of the paint. As the sunlight hits your window, the light refraction changes based on the density of your application. You are not just decorating a room; you are engineering a private cathedral of light. We are going to master the flow of translucent resins and the steady hand required to turn a standard window into a vibrant, glowing masterpiece of personal expression.
THE STUDIO KIT
THE STUDIO KIT
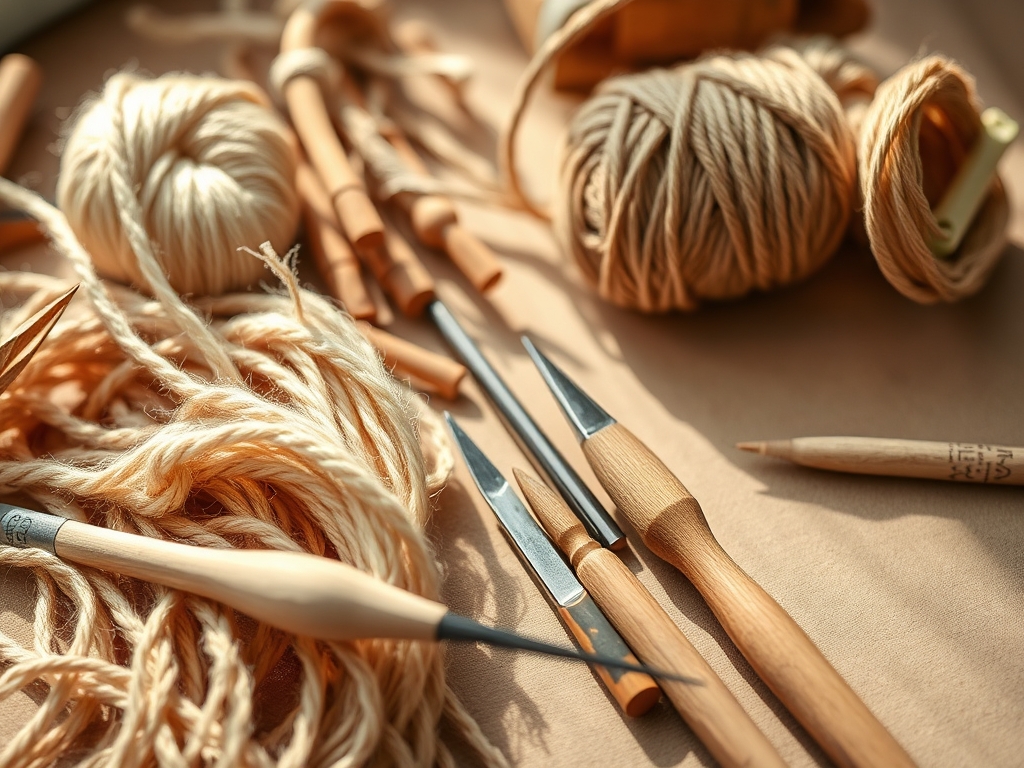
To achieve professional results, you need to understand the molecular bonding of your materials. Your primary tool is the outliner, usually a thick, viscous paste housed in a precision nozzle bottle. This creates a structural dam to contain your liquid pigments. You will need a set of synthetic taklon brushes because natural hair fibers are too porous and can introduce air bubbles into the resin. Grab a high-precision hobby knife for trimming excess dried paint and a burnishing tool to ensure your stencils are flush against the glass.
For the pigments themselves, we are looking at solvent-based glass paints for their superior lightfastness and clarity. If you are working in a space with limited ventilation, you can substitute these with water-based acrylic enamels, though they possess a slightly lower refractive index. Always have a bottle of 99 percent isopropyl alcohol on hand. This acts as your primary degreaser, removing skin oils that would otherwise compromise the adhesion integrity of the paint. If you lack a professional outliner, a heavy-body acrylic mixed with a thickening gel can serve as a temporary substitute, though it lacks the same tensile strength when dry.
THE TEMPO
The "Maker's Rhythm" in Meditative Glass Painting is dictated by the evaporation rate of your solvents. This is a three-phase process that cannot be rushed. Phase one is the Degreasing and Layout, which takes approximately forty-five minutes of focused, tactile preparation. Phase two is the Outlining, the most demanding part of the project. You must maintain a consistent ergonomic grip for sixty to ninety minutes to ensure the lines have a uniform gauge.
The final phase is the Infilling, which is where the true meditation occurs. Depending on the complexity of your five chosen colors, this can take three to five hours. You must account for a twenty-four-hour curing window before the paint reaches its maximum hardness. During this time, the polymers cross-link, creating a durable, scratch-resistant surface. Do not attempt to clean the window for at least seven days to allow the chemical bond to fully stabilize against the glass substrate.
THE CORE METHOD
1. Substrate Decontamination
Before a single drop of paint touches the glass, you must achieve a chemically clean surface. Use a lint-free microfiber cloth and your isopropyl alcohol to strip away every trace of dust and lipids. Mastery Tip: The science of wetting tension dictates that paint will pull away from even the smallest speck of oil. Use a pair of digital calipers to mark your center point, ensuring your design is mathematically balanced within the frame.
2. Structural Outlining
Hold your outliner at a forty-five-degree angle. As you squeeze, move the nozzle at a constant velocity to maintain a consistent bead height. This creates a physical barrier known as a containment rim. Mastery Tip: This relies on capillary action. If your line is too thin, the liquid paint will breach the wall. If it is too thick, it will lose its structural integrity and sag during the drying process.
3. Pigment Loading and Leveling
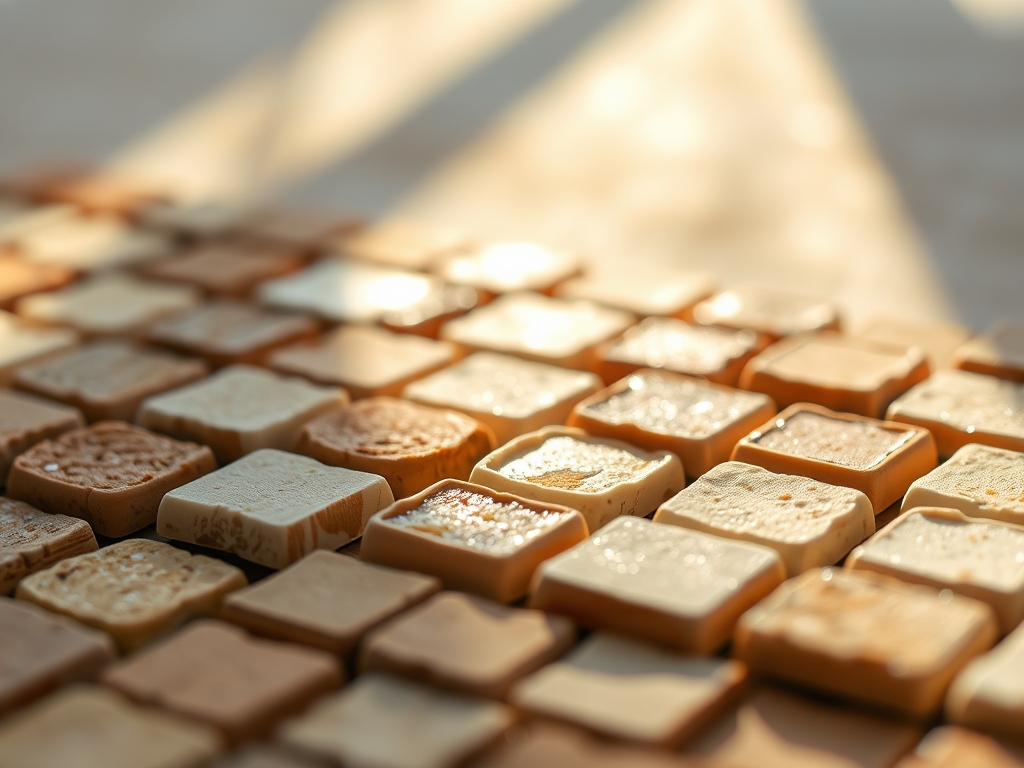
Using a dropper or a loaded brush, pool the paint into the center of each outlined section. Use a fine-point awl to drag the paint into the corners. This ensures the pigment is distributed evenly across the entire surface area. Mastery Tip: Observe the meniscus of the liquid. You want the paint to be slightly convex. As the solvent evaporates, the volume will decrease, leaving a perfectly flat, translucent finish.
4. Gradient Blending
While the paint is still "open" or wet, introduce a second color to create a transition. Use a soft dabbing motion with a clean brush to intermingle the pigments at the molecular level. Mastery Tip: This process utilizes diffusion. By controlling the temperature of the room, you can slow down the drying time, giving you a longer "workable window" to perfect your color transitions.
5. Final Curing and Inspection
Once the painting is complete, use a high-intensity LED light to inspect the surface for pinholes or trapped air. Use a sewing needle to gently pop any bubbles before the surface tension becomes too high. Mastery Tip: The thermal expansion coefficient of glass means that as the window heats up in the sun, the paint must be flexible enough to expand with it. Quality glass paints are engineered with specific plasticizers to prevent cracking during these temperature shifts.
THE TECHNICAL LEDGER
Maintenance & Longevity
To preserve the optical clarity of your work, avoid using ammonia-based cleaners, which can break down the polymer chains over time. Use a damp, soft cloth for dusting. If the paint begins to look dull, a thin coat of UV-resistant clear varnish can be applied to restore the luster and protect the pigments from solar degradation.
Material Variations
For a sustainable approach, look for VOC-free mineral pigments. These are derived from natural earth oxides and offer a more muted, organic palette. If you want a premium finish, incorporate dichroic glass flakes into your wet paint. These flakes reflect different wavelengths of light, creating a shimmering effect that changes as you move through the room.
The Correction
- The Overspill: If your paint breaches the outline, wait for it to become "tacky" (about ten minutes). Use a rotary cutter or hobby knife to slice the bridge and peel away the excess.
- The Air Bubble: If a bubble appears after drying, use a tiny drop of fresh paint to fill the crater. The new solvent will slightly melt the old layer, creating a seamless chemical weld.
- The Streak: If your color looks muddy, you likely over-mixed. You must strip that section with a bone folder wrapped in an alcohol-soaked wipe and start fresh.
Studio Organization
Store your glass paints in a temperature-controlled environment, ideally between sixty and seventy-five degrees Fahrenheit. Keep bottles upright to prevent the pigments from settling in the nozzle. Use a label maker to record the date of purchase; most glass resins have a shelf life of eighteen months before the viscosity begins to shift permanently.
THE FINAL REVEAL
The moment the sun hits your completed project, the physics of your labor becomes visible. Those five vibrant colors transform from mere liquid chemicals into a living light show. The chromatic saturation will fill your space with a glow that shifts from dawn to dusk. You have successfully manipulated light through the application of technical skill and meditative focus. Your window is no longer just a portal to the outside world; it is a high-performance filter that reflects your internal rhythm and creative mastery.
STUDIO QUESTIONS
What is the best way to prevent paint from running?
Maintain a consistent bead gauge with your outliner. Ensure the outline is fully cured for at least two hours before adding liquid pigments. This creates a solid structural dam that utilizes surface tension to keep colors contained within their designated zones.
Can I use regular acrylic paint for this?
Standard acrylics are too opaque and lack the refractive properties needed for glass. While you can use them, they will block light rather than transmit it. For a meditative, glowing effect, professional translucent glass pigments are chemically superior for light transmission.
How do I fix a shaky line in my outline?
Wait for the outliner to dry completely. Use a precision hobby knife to shave away the irregular sections. Because the glass is non-porous, the dried paint will lift easily without leaving a residue, allowing for a perfect technical correction.
Why does my paint look cloudy after drying?
Cloudiness is usually caused by moisture entrapment or high humidity during the curing phase. Always work in a dry environment. If clouding occurs, a light application of heat from a hair dryer can sometimes help clear the polymer matrix by driving out residual moisture.