Grab your slotted tool and feel that initial resistance; it is the tactile thrill of potential energy waiting to be released. When we dive into the world of Symmetrical Paper Quilling, we are not just playing with scraps. We are manipulating the tensile strength of cellulose fibers to create structural masterpieces. You can feel the grain of the paper resisting or yielding as you apply pressure. This is where art meets engineering. Achieving perfect symmetry requires more than a steady hand; it demands an understanding of how paper reacts to humidity and torque. We are aiming for that crisp, mirror-image perfection that makes a handmade card look like a precision-milled artifact. As we wind these coils, we are essentially building tiny, concentric springs. The goal is to balance the internal tension so each side of your design reflects the other with mathematical accuracy. Let's get our hands on some high-quality cardstock and start the transformation from flat strips to three-dimensional architecture.
THE STUDIO KIT
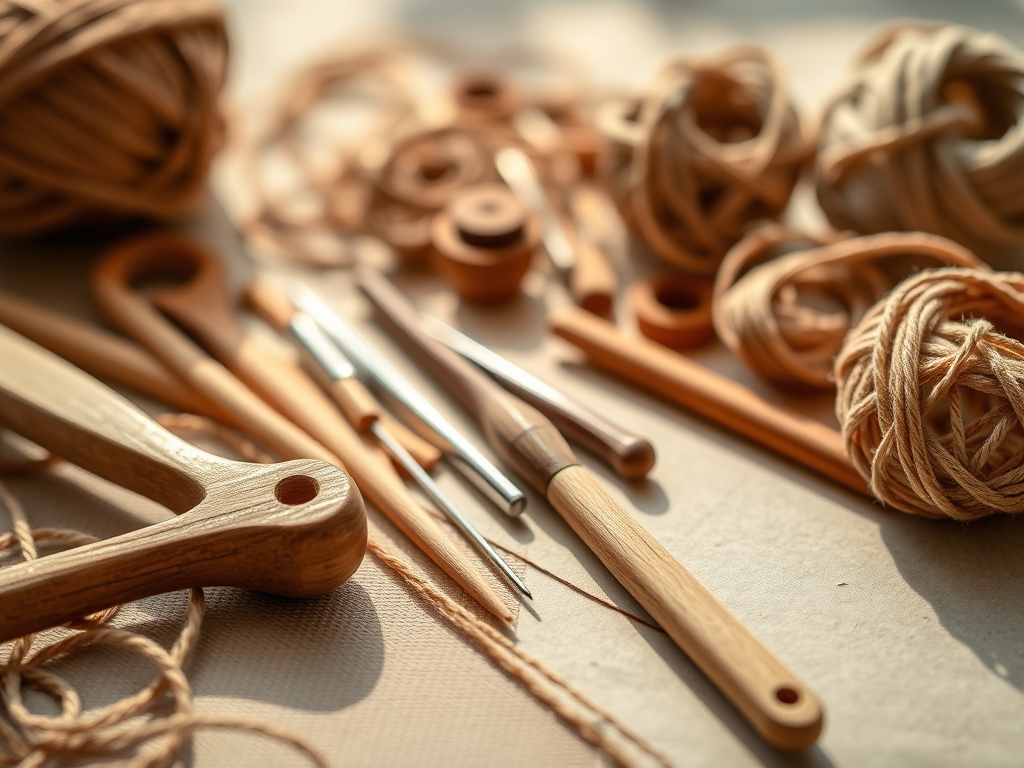
To master the art of Symmetrical Paper Quilling, your kit must be as precise as a watchmaker’s bench. Start with a **slotted rolling tool** featuring an ergonomic handle to prevent hand fatigue during long sessions. You will also need a **needle tool** for those ultra-fine centers where a slot would leave too large a gap. For measuring, skip the plastic rulers and grab a set of **digital calipers**; they allow you to verify the exact diameter of your coils to the millimeter. Your paper choice is critical. Look for 120 GSM (grams per square meter) strips, which offer the ideal balance of flexibility and **structural integrity**.
A circle sizer board is non-negotiable for symmetry. This tool ensures that every "Loose Circle" you expand has the exact same volume of air between the layers. For adhesives, use a fine-tip glue applicator filled with a high-tack, low-moisture PVA glue. This prevents the paper from warping due to excessive water absorption. If you are looking for Material Substitutions, you can use a jeweler's awl if you lack a needle tool, or even a toothpick in a pinch, though the latter lacks the polished surface needed for a smooth release.
THE TEMPO
The "Maker's Rhythm" is a meditative state where your hands move faster than your internal critic. For a standard symmetrical card project, expect to spend about 15 minutes in the Prep Phase, where you measure and cut your strips using a rotary cutter to ensure perfectly square edges. The Coiling Phase is the bulk of the work, taking roughly 45 to 60 minutes. This is where you establish a steady cadence, winding each strip with consistent torque. Finally, the Assembly Phase requires about 20 minutes of high-focus work. You must allow at least 30 minutes for the glue to undergo polymerization, ensuring the bonds are permanent before you handle the piece. Total time: roughly two hours of pure, focused creativity.
THE CORE METHOD
1. The Precision Tight Coil
Insert the end of your paper strip into the slot of your tool. Keep your thumb and forefinger close to the head of the tool to maintain lateral tension. Rotate the tool while keeping the paper perpendicular to the shaft. Once the strip is fully wound, apply a microscopic dot of glue to the tail and hold for five seconds.
Mastery Tip: The capillary action of the glue will pull it between the layers, so use a minimal amount to avoid "glue spots" that disrupt the light reflection on the paper's surface.
2. The Balanced Loose Circle
Wind a tight coil but do not glue the end immediately. Place the coil into a specific diameter hole on your sizing board. Let go and watch the paper expand. The elasticity of the paper will cause it to unfurl until it hits the walls of the template. Glue the tail only after the expansion has stabilized.
Mastery Tip: Always use the same brand of paper for symmetrical pairs; different manufacturers use different wood pulp densities, which affects the expansion rate.
3. The Symmetrical Teardrop
Start with a Loose Circle. Pinch one side of the circle between your thumb and index finger to create a sharp point. This compresses the fibers on one side while leaving the other side rounded. For symmetry, use your calipers to ensure the point is exactly the same distance from the center on both pieces.
Mastery Tip: When you pinch, you are effectively burnishing the fold. This creates a permanent structural change in the paper's grain, making the shape hold its form against gravity.
4. The Geometric Marquise
Create a Loose Circle and pinch it simultaneously on opposite sides. This creates an eye shape. To ensure symmetry, align the two points with a grid mat. The internal coils should shift to fill the center evenly, creating a beautiful, organic pattern within a rigid geometric frame.
Mastery Tip: The torque applied during the initial winding determines how the "guts" of the marquise look. Consistent winding speed is the secret to identical internal spirals.
5. The Elegant Open Heart
Fold a strip of paper in half to find the exact center. Use your needle tool to roll each end inward toward the center fold. The two coils should meet in the middle, creating a heart shape. This is the ultimate test of linear symmetry.
Mastery Tip: Use a bone folder to crisp the center crease. A sharp crease acts as a mechanical hinge, allowing the two coils to sit at a perfect 45-degree angle from the center line.
6. The Curved Crescent
Start with a Loose Circle and pinch it into a teardrop. Then, take your thumb and press the rounded end inward, creating a concave curve. This shape is perfect for framing larger elements in a symmetrical layout.
Mastery Tip: The tensile strength of the outer layer of paper is what prevents the crescent from snapping. If the paper cracks, your studio humidity is likely too low; try "breathing" on the strip to add a touch of moisture before bending.
THE TECHNICAL LEDGER
To ensure your work lasts for decades, you must consider Maintenance & Longevity. Always use acid-free, lignin-free paper to prevent yellowing and "foxing" over time. If you want to go green, Sustainable Variations include using recycled 80lb text weight paper, which has a wonderful porous texture that grips glue instantly. For a luxury feel, use metallic-edged strips which add a ply of reflective foil to the design.
The Correction: 3 Common Fixes
- The Unraveling Coil: If your coil pops open, you likely didn't hold the glue long enough for the solvent to evaporate. Re-roll and hold for a full ten count.
- Asymmetrical Points: If one teardrop is longer than its twin, use your needle tool to gently "massage" the internal coils toward the point to redistribute the mass.
- Glue Smeared Surface: If you get glue on the face of the paper, wait for it to dry completely and then use a fine-grit sanding stick or a specialized adhesive eraser to gently lift it without tearing the fibers.
Studio Organization is vital. Store your finished coils in a partitioned acrylic box. This prevents degradation from dust and keeps your symmetrical pairs together so they don't get crushed or lose their shape before assembly.
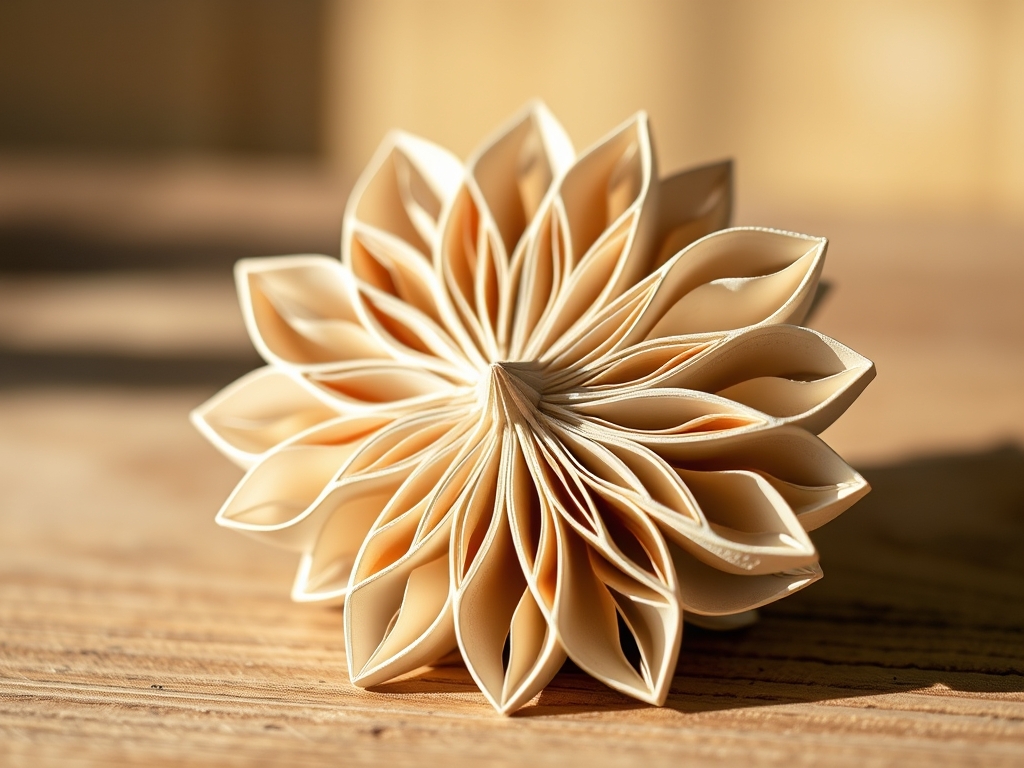
THE FINAL REVEAL
Look at that! You have just turned simple strips of paper into a masterclass in structural physics. Your symmetrical coils should look like they were grown in a lab; perfectly balanced, crisp, and radiating with professional polish. When you mount these onto a card base, the shadows cast by the 3D shapes create a depth that flat printing can never replicate. The way the light catches the burnished edges of your teardrops and crescents is pure magic. You didn't just make a card; you engineered an experience.
STUDIO QUESTIONS
Why is my paper cracking when I pinch it?
Cracking occurs when the cellulose fibers are too dry or the paper is too thick. Use a lighter gauge paper or lightly dampen the strip with a moist sponge to increase flexibility before shaping your coils.
How do I make two coils exactly the same size?
Use a circle sizer board and a consistent length of paper. Even a millimeter difference in strip length will change the fiber density of the coil, causing the two shapes to expand at different rates.
What glue is best for quilling?
A specialized PVA glue with a fine-tip applicator is best. It offers high tactile grip and dries clear with minimal shrinkage, which prevents your symmetrical designs from warping or pulling out of alignment.
Can I quill with regular printer paper?
You can, but it lacks the tensile strength of dedicated quilling paper. Printer paper is often too "soft," meaning your coils will lack the crisp, architectural edges needed for high-end Symmetrical Paper Quilling.
How do I stop my coils from leaning to one side?
This "spiraling" effect happens if your tool isn't held at a perfect 90-degree angle. Ensure your slotted tool is perpendicular to the paper edge to maintain even lateral pressure across the entire width of the strip.