Close your eyes and imagine the scent of sun-dried grass hitting your workbench. There is a specific, grounding magic in the way a raw fiber resists your pull before finally yielding to a perfect loop. We are diving deep into the world of mindful basket coiling today. This is not just a hobby; it is a high-stakes engineering project disguised as art. When you engage in mindful basket coiling, you are essentially managing the structural integrity of organic polymers through repetitive tension. The friction between your fingers and the damp raffia creates a tactile feedback loop that tethers your brain to the present moment. We are talking about the intersection of ancient physics and modern soul-searching. You are not just making a container. You are choreographing a dance of tensile strength and radial symmetry. Every stitch is a decision, and every coil is a commitment to the slow, steady rhythm of creation. Grab your favorite mug of tea, because we are about to turn literal weeds into sculptural masterpieces.
THE STUDIO KIT
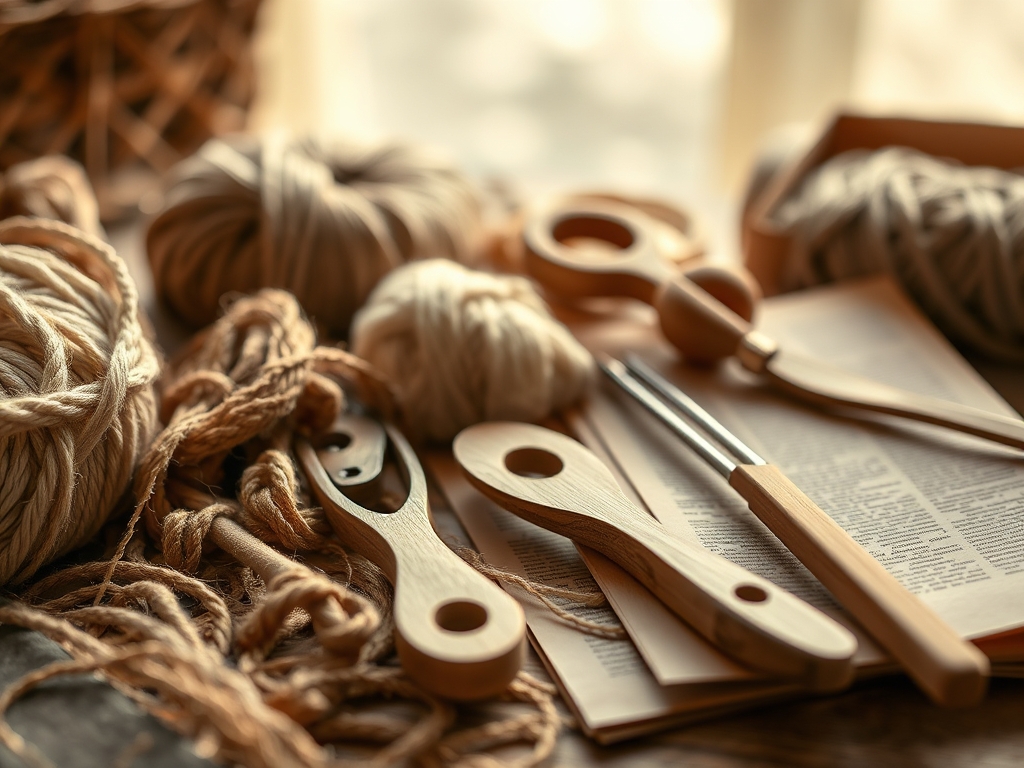
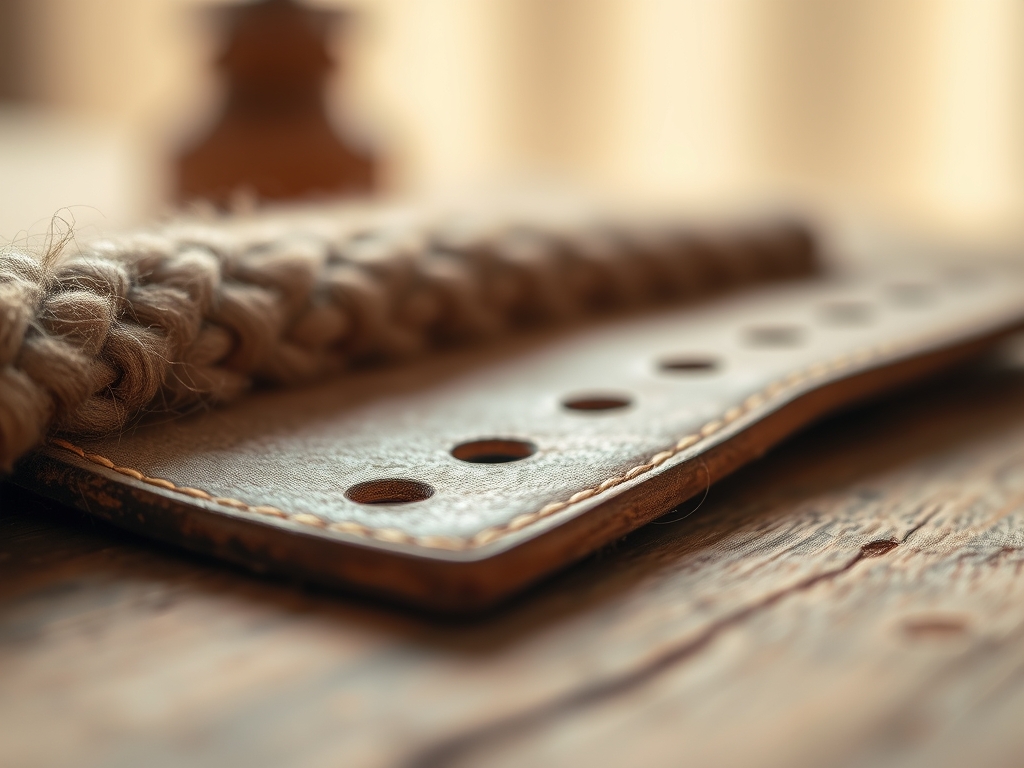
To master this craft, you need more than just a pile of straw. You need a curated selection of tools that respect the cellular structure of your materials. Your primary driver is the tapestry needle, specifically a size 13 or 16 with a blunt tip to prevent piercing the core fibers. You will also need a sharp awl for creating pilot holes in tougher materials like pine needles or thick seagrass. For precision trimming, a pair of micro-tip snips or high-carbon steel floral shears is essential to ensure clean, flush cuts that do not fray the vascular bundles of the plant.
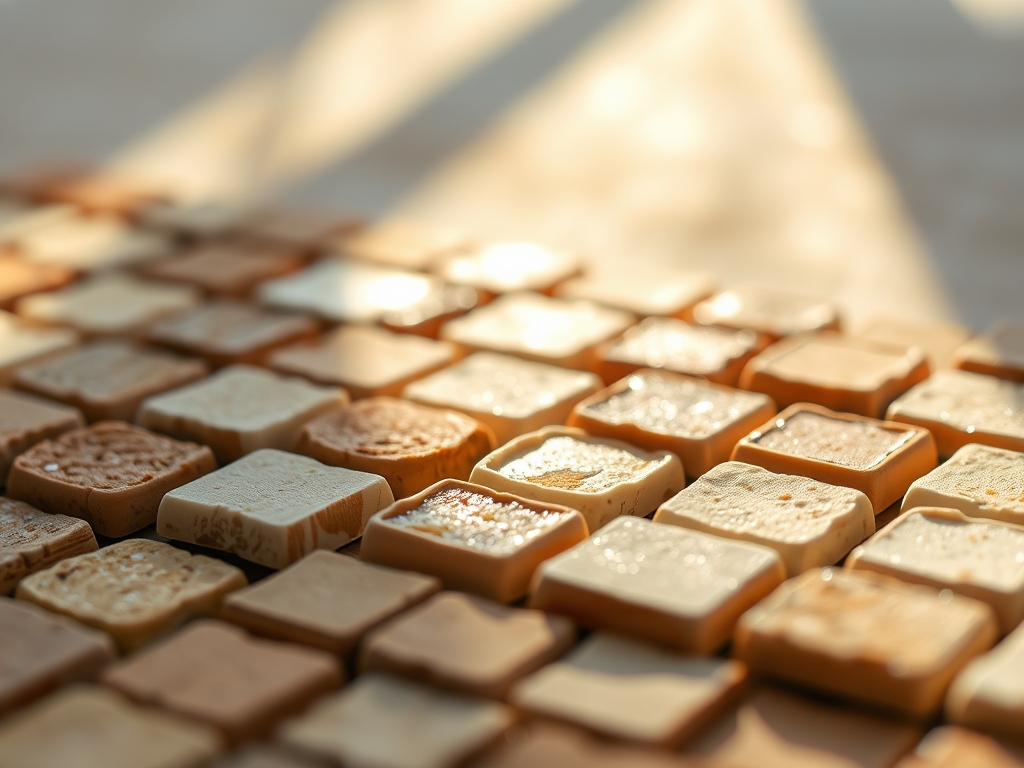
The materials themselves are the stars. Your core material provides the structural skeleton; think of it as the rebar in a concrete pillar. Common choices include bundled pine needles, thick hemp cord, or flexible willow withes. The binding fiber is your aesthetic and structural skin. This is where you play with long-leaf pine needles, raffia, sweetgrass, daylily leaves, iris blades, willow bark, bulrush, and maize husks.
Material Substitutions: If you cannot source high-grade raffia, look for waxed linen thread; it offers incredible grip due to the friction of the wax coating. If pine needles are scarce, use a 3mm cotton piping cord as a synthetic core substitute. It lacks the organic scent but provides a consistent gauge for beginners.
THE TEMPO
The "Maker's Rhythm" is a biological synchronization between your heart rate and your stitching speed. On average, a small four-inch coaster-sized base takes approximately two hours of focused labor. A mid-sized bowl requires a commitment of ten to fifteen hours.
The first phase, the radial start, is the most cognitively demanding. It takes about thirty minutes to secure the center without creating a "volcano" effect. Once the base is established, you enter the expansion phase, where the rhythm becomes hypnotic. Here, you spend about twenty minutes per inch of diameter. The final rimming and binding phase requires an additional hour to ensure the terminal end is seamlessly integrated into the previous coil, maintaining the illusion of an infinite loop.
THE CORE METHOD
1. Hydrating the Vascular Bundles
Before you even touch a needle, you must manage the moisture content of your fibers. Submerge your core materials in lukewarm water for at least twenty minutes. This increases the elasticity of the cellulose fibers, preventing snapping during tight turns.
Mastery Tip: This process utilizes capillary action, where water molecules pull themselves into the microscopic tubes of the plant. A properly hydrated fiber can withstand a 180-degree bend without structural failure because the water acts as an internal lubricant for the lignin.
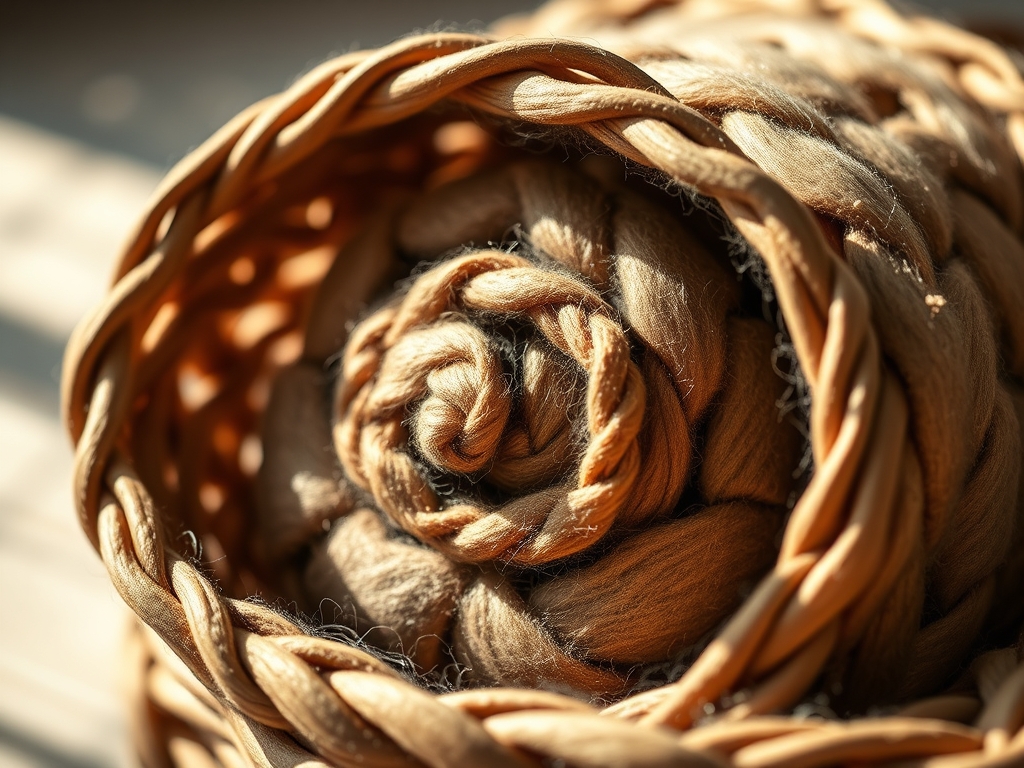
2. The Radial Foundation
Create a small loop at the end of your core material and wrap your binding fiber around it several times to secure the "tail." This is the anchor point for your entire vessel. Use your bone folder to compress the fibers into a tight, flat disk.
Mastery Tip: The strength of your base relies on compressive force. By tightly binding the initial loop, you create a dense center of gravity that prevents the basket from wobbling or sagging as it grows in height and weight.
3. The Figure-Eight Stitch
As you move into the second row, pass your needle through the center hole and over the new core material. This "figure-eight" or "long-and-short" stitch locks the new row to the previous one. Maintain consistent tension to ensure the ply of the fiber does not loosen.
Mastery Tip: This stitch relies on mechanical interlocking. By weaving the binder between the two rows, you are distributing the weight of the basket across the entire surface area rather than a single point of contact.
4. Managing Taper and Wall Height
To transition from a flat base to rising walls, begin stacking the new coil slightly on top of the previous one rather than alongside it. Use a caliper to check the diameter at regular intervals to ensure the walls are symmetrical and not flaring unintentionally.
Mastery Tip: This is a lesson in structural integrity. As the walls rise, the center of pressure shifts. Stacking the coils directly atop one another creates a vertical column of strength that can support significant weight without collapsing.
5. Seamless Splicing
When you run out of core material, do not just overlap the ends. Taper the end of the old core and the beginning of the new core with a sharp knife to create a scarf joint. Wrap the binding fiber tightly over this junction to hide the transition.
Mastery Tip: Splicing is about maintaining a consistent cross-sectional area. By tapering the ends, you ensure that the thickness of the coil remains uniform, preventing "lumps" that would cause uneven stress distribution across the basket.
THE TECHNICAL LEDGER
Maintenance & Longevity: Organic baskets are susceptible to UV degradation and moisture. To preserve your work, apply a light coat of beeswax polish or a matte archival fixative. This seals the pores of the fiber, preventing dust from settling into the grain and slowing the oxidation of the natural pigments.
Material Variations:
- Sustainable: Foraged corn husks offer a soft, papery texture and are a zero-waste dream.
- Recycled: Strips of old denim or silk saris can be used as binding fibers for a contemporary twist.
- Premium: Hand-dyed Madagascar raffia provides the highest tensile strength and color saturation for professional-grade gallery pieces.
The Correction:
- The Gap: If you see daylight between coils, your tension is uneven. Fix this by using an awl to gently nudge the fibers together and tightening the following three stitches.
- The Spiral Twist: If the basket is leaning, you are pulling the binding fiber too hard in one direction. Neutralize the torque by alternating the direction of your stitches for one full rotation.
- The Brittle Snap: If fibers break, they are too dry. Use a spray bottle to mist the working area; do not over-soak, or you risk inviting mold into the core.
Studio Organization: Store your raw fibers in breathable cotton bags or perforated bins. Never use airtight plastic, as trapped moisture will lead to fungal growth. Use a rotary cutter to prep uniform strips of binding material and store them by color and length to streamline your workflow.
THE FINAL REVEAL
Look at that! You have successfully manipulated raw, organic matter into a structured, functional form. The finished piece should feel dense and heavy in your hand, a testament to the thousands of tiny tension points you created. The surface should have a slight burnish from the oils in your skin, and the scent of the fibers should linger in the air. This is the culmination of mindful basket coiling; a physical manifestation of patience and physics. Whether it is a shallow tray for keys or a tall, sculptural vessel, your basket is a unique record of your time and focus. It is beautiful, it is sturdy, and it is entirely yours.
STUDIO QUESTIONS
How do I prevent my pine needles from molding?
Ensure they are completely dry before storage. If they were soaked for coiling, let the finished basket air dry in a well-ventilated area for 48 hours. Use a light salt-water dip during hydration to act as a natural antifungal agent.
What is the best way to hide the end of the thread?
Thread your needle back through the previous three or four stitches within the core of the basket. Pull it tight and snip it flush. The friction of the surrounding fibers will lock the tail in place without needing a knot.
Can I use garden weeds for mindful basket coiling?
Absolutely. Many long-stemmed grasses or vines work beautifully. Just be sure to harvest them before they go to seed and dry them thoroughly to test their tensile strength before you begin your project.
Why is my basket base curling upward like a bowl?
This usually happens when your stitches are too tight. The tension pulls the outer coil toward the center. To keep it flat, ensure you are adding enough "increase" stitches as the circumference of your circle grows.
How do I clean a natural fiber basket?
Never submerge it. Use a soft-bristled brush or a vacuum with a brush attachment to remove dust. For stains, a slightly damp cloth with a drop of mild soap is sufficient, followed by immediate air drying to prevent rot.