Listen to that. That crisp, rhythmic thud against the poly board is the heartbeat of a real workshop. When you press your thumb against a vegetable tanned shoulder, you are feeling the dense network of collagen fibers that have been preserved through organic tannins. It is firm, slightly oily, and smells like a library full of old secrets. We are diving into the world of repetitive leather punching today because making a belt is not just about holes; it is about the physics of structural integrity and the geometry of a perfect fit. If you miss your mark by even a millimeter, the eye catches the deviation instantly. We are looking for that buttery smooth finish where the buckle tongue seats perfectly into the strap. You need to feel the resistance of the hide and understand how the grain reacts to every strike. Grab your coffee and clear your bench. We are about to turn a raw strip of cattle hide into a piece of wearable engineering that will outlast your favorite pair of denim jeans.
THE STUDIO KIT
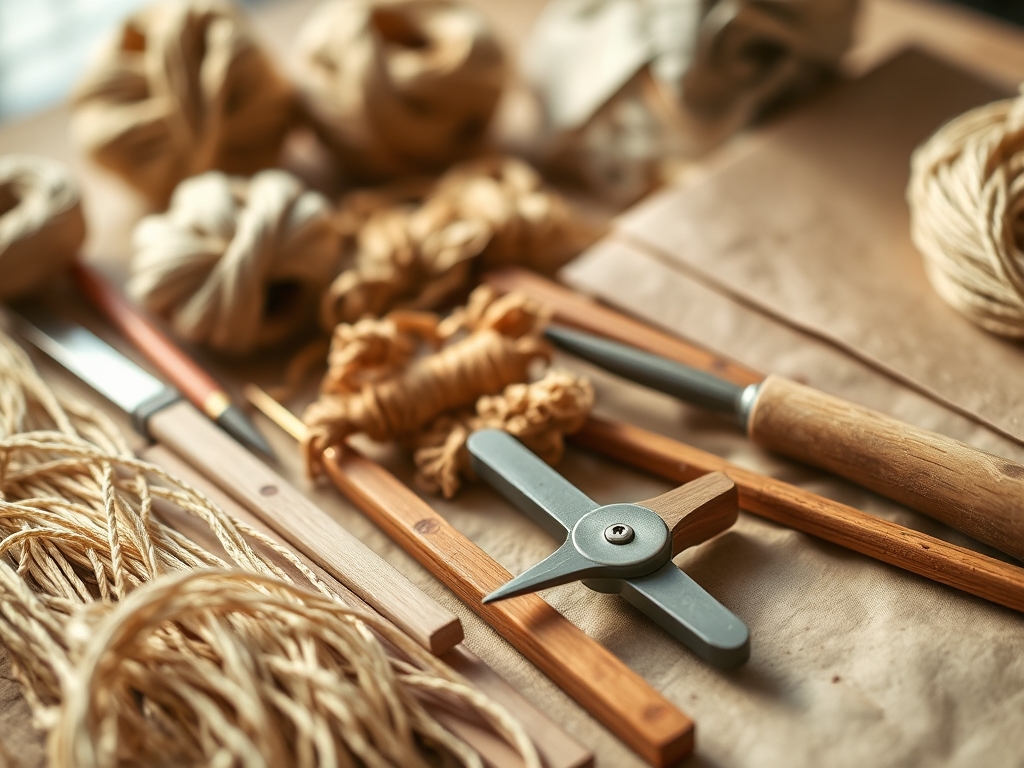
To master the art of repetitive leather punching, you need a kit that respects the tensile strength of your material. We are working with 8 to 9 ounce leather, which refers to the weight per square foot, roughly translating to a thickness of 3.2 to 3.6 millimeters. Your primary weapon is the Rotary Punch, a heavy duty tool with a revolving turret of heat treated steel tubes. For more precision, we use Drive Punches, which are individual steel tubes you strike with a Polymer Mallet. Never use a metal hammer; the rebound energy of steel on steel will vibrate through your wrist and damage the tool head.
You will also need a Strap Cutter to maintain a consistent width across the entire length of the belt. A Wing Divider is essential for scribing a perfectly centered line where your holes will live. For the finishing touches, keep a Bone Folder and a Wood Burnisher nearby to compress the edge fibers. If you cannot find high grade cowhide, a "Material Substitution" would be heavy synthetic Biothane, though it lacks the porous nature of real leather and requires cobalt drill bits for clean apertures. Always keep a Self Healing Mat underneath your work to protect the sharp edges of your punches from dulling against the workbench.
THE TEMPO
The "Maker's Rhythm" is a psychological state where your muscle memory takes over the technical execution. For a standard 40 inch belt, expect to spend about 15 minutes on the initial layout and strap cutting. The repetitive leather punching phase takes approximately 10 minutes of intense focus; you want to maintain a steady cadence to ensure every strike carries the same force. Edge beveling and burnishing are the most time consuming elements, requiring 30 to 40 minutes of consistent friction to achieve a glass like finish. Total project time usually clocks in at 90 minutes. The key is to never rush the layout. If your measurements are off, the physics of the belt will fail, causing the leather to stretch unevenly over time.
THE CORE METHOD
1. Scribing the Centerline
Before you ever pick up a punch, you must establish a guide. Use your Wing Dividers to find the exact center of your strap width. Lock the screw and drag one leg along the edge of the leather while the other lightly scores the surface grain. This creates a visual path for your repetitive leather punching. Mastery Tip: This process relies on the surface tension of the grain side; do not press too hard or you will tear the fibers. A light score creates a track that guides the punch tip into the center of the leather's structural mass.
2. Calibrating the Interval
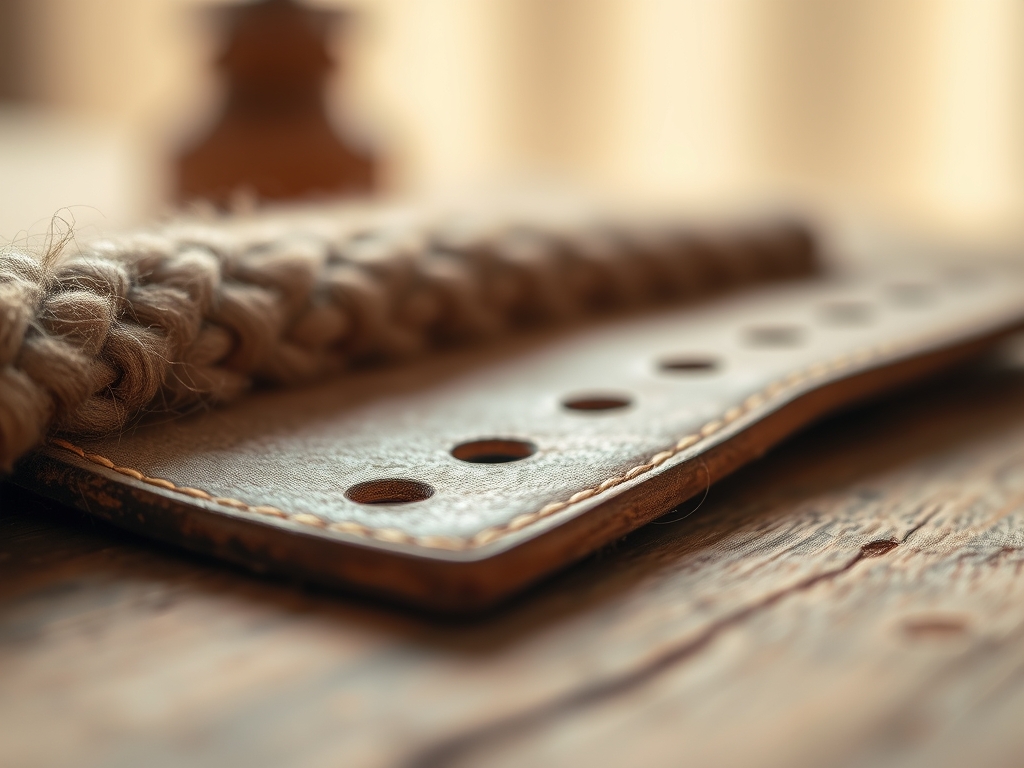
Standard belts usually feature holes spaced 1 inch apart. Use a steel ruler or a specialized belt template to mark five to seven points. Start your center hole at the measurement that matches the wearer's waist size. Mastery Tip: The distance between holes affects the structural integrity of the strap. Placing holes too close together creates a "perforation effect" that can lead to tearing under high tension. Maintaining a 1 inch gap ensures there is enough fiber density to support the buckle tongue.
3. Executing the Strike
Place your drive punch vertically on your mark. Hold it firmly with your non dominant hand and deliver a single, authoritative blow with the mallet. You should hear a clean "pop" as the steel shears through the ply of the leather. Mastery Tip: This is pure capillary action in reverse; the sharp edge of the punch displaces the fibers outward before cutting them. If you need multiple hits, you risk creating a "stepped" hole which weakens the seat of the buckle.
4. Beveling the Aperture
After punching, use a small edge beveler to remove the sharp rim around each hole on both the grain and flesh sides. This prevents the leather from "mushrooming" outward when the buckle is fastened. Mastery Tip: By removing the sharp edge, you are managing the ergonomic interface between the metal hardware and the organic material. This reduces friction and prevents the leather from cracking at the stress points over years of use.
5. Burnishing for Longevity
Apply a small amount of tragacanth gum or water to the inside of the punched holes and the edges of the belt. Use a wooden slicker to rub the leather until it generates heat. Mastery Tip: The friction causes the collagen fibers to fuse together in a process called thermal burnishing. This seals the leather, making it resistant to moisture and preventing the edges from fraying under the repetitive stress of daily wear.
THE TECHNICAL LEDGER
Maintenance & Longevity: Your punches are precision instruments. Periodically "strop" the cutting edges by punching through a piece of scrap leather loaded with polishing compound. This keeps the steel honed to a mirror finish. If a punch becomes dull, it will crush the leather fibers rather than cutting them, which ruins the tactile quality of the belt.
Material Variations: While vegetable tanned leather is the gold standard for its tensile strength, you can experiment with "Premium" English Bridle leather which is pre waxed for weather resistance. For a "Sustainable" approach, look for oak bark tanned hides which use traditional, slow chemistry that is easier on the environment. Avoid "Genuine Leather" labels, as these are often bonded scraps with zero structural value for repetitive leather punching.
The Correction:
- The Off Center Hole: If a hole is slightly crooked, do not try to punch a new one next to it. Use a round file to subtly elongate the hole toward the center; it is better to have a slightly oval hole than a structurally compromised strap.
- The Mushroomed Edge: If the leather bulges around the punch site, your tool was dull. Fix this by dampening the area and compressing it with a bone folder before it dries.
- The Rough Interior: If the inside of the hole is fuzzy, use a tiny bit of beeswax on a toothpick to coat the interior fibers, then spin a drill bit by hand inside the hole to smooth them down.
Studio Organization: Store your leather straps flat or loosely coiled in a climate controlled area. High humidity can cause the tannins to migrate, while extreme dryness makes the fibers brittle. Keep your punches in a wooden block with the cutting heads facing up to prevent moisture trapped in the mat from causing oxidation on the steel.
THE FINAL REVEAL
Look at that! You have successfully navigated the physics of repetitive leather punching to create a masterpiece of utility. The holes are perfectly aligned like a row of soldiers; the edges are slick and dark with a professional burnish. When you thread that buckle through, you will feel a satisfying "click" as the hardware seats against the beveled edges. This is not just a belt. It is a testament to your precision and your understanding of how raw materials respond to the right tools. Wear it with pride, knowing that every fiber is locked in place and ready for a lifetime of service.
STUDIO QUESTIONS
What is the best leather weight for a belt?
A weight of 8 to 9 ounces is ideal. This provides enough tensile strength to prevent stretching while remaining flexible enough for daily comfort. Thinner leathers will warp under the pressure of the buckle tongue over time.
How do I stop my leather from stretching?
Always cut your straps parallel to the spine of the hide. The fibers are densest along the back, offering the highest resistance to elongation. Repetitive leather punching across the grain can lead to structural failure under heavy loads.
Why are my punch holes messy on the bottom?
You likely have a dull tool or a soft punching surface. Use a high density poly board and ensure your punch is honed. A clean shear requires the leather to be compressed against a firm, flat backing.
Can I use a hammer instead of a mallet?
No; a metal hammer will mushroom the end of your steel punches and cause excessive vibration. A polymer or rawhide mallet absorbs the shock while delivering the necessary force to penetrate the dense collagen layers.
How do I sharpen a circular leather punch?
Chuck the punch into a drill and spin it against fine grit sandpaper, then finish with a leather strop. Keeping the edge "razor keen" ensures that repetitive leather punching remains effortless and prevents fiber crushing.